192
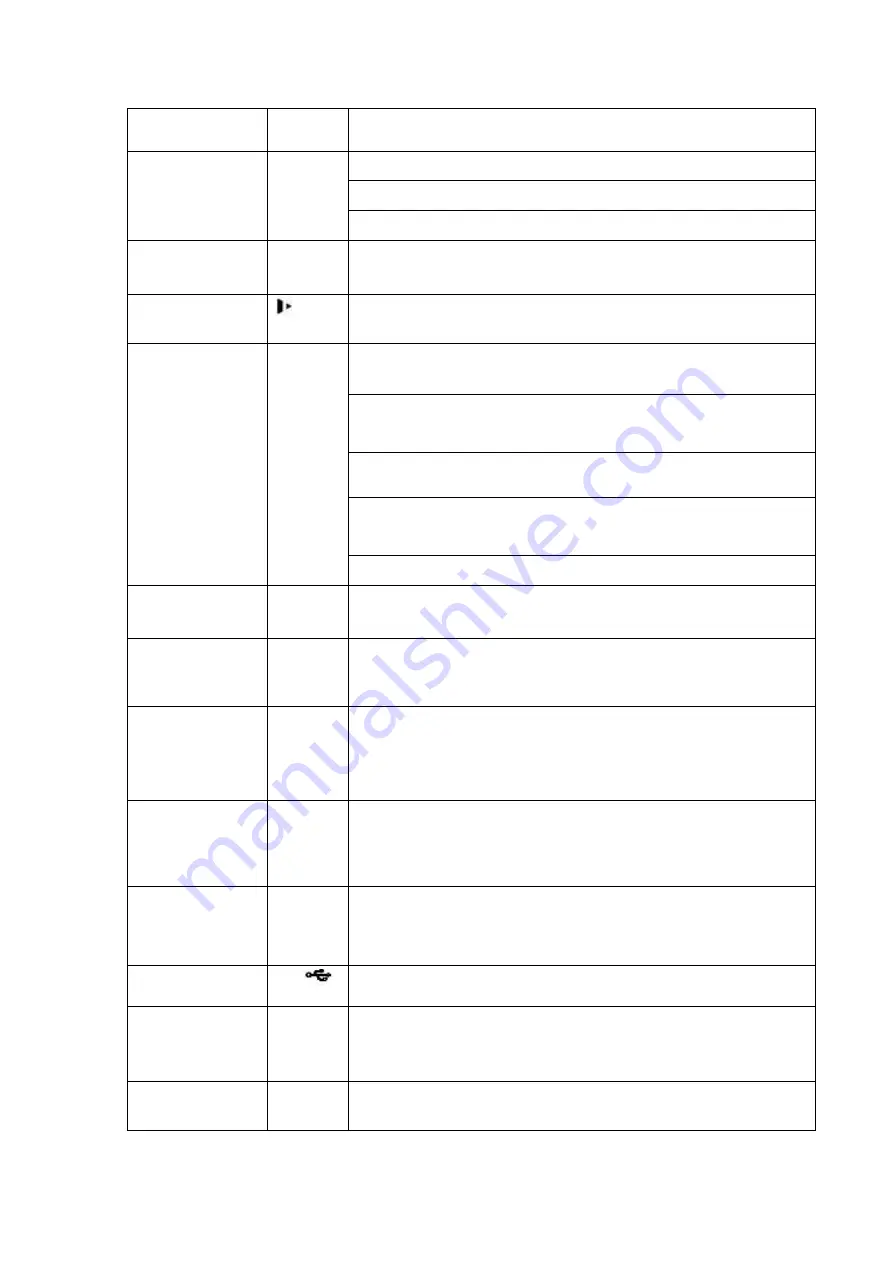
When playback, click it to restore real-time monitor mode.
Enter
ENTER
Confirm current operation
Go to default button
Go to menu
Record
REC
Manually stop/start recording, working with direction keys
or numeral keys to select the recording channel.
Slow play/8
Multiple slow play speeds or normal playback.
In text mode, input number 8 (English character T/U/V).
Assistant
Fn
One-window monitor mode, click this button to display
assistant function: PTZ control and image color.
Backspace function: in numeral control or text control, press
it for 1.5seconds to delete the previous character before the
cursor.
In motion detection setup, working with Fn and direction keys
to realize setup.
In text mode, click it to switch between numeral, English
character(small/capitalized) and etc.
Realize other special functions.
Fast play/7
Various fast speeds and normal playback.
In text mode, input number 7 (English character P/Q/R/S).
Play previous/0
|
In playback mode, playback the previous video
In text mode, input number 0.
Reverse/Pause/6 ||
In normal playback or pause mode, click this button to
reverse
playback
In reverse playback, click this button to pause playback.
Play Next/9
►│
In playback mode, playback the next video
In menu setup, go to down ward of the dropdown list.
In text mode, input number 9 (English character W/X/Y/Z)
Play/Pause /5
►||
In normal playback click this button to pause playback
In pause mode, click this button to resume playback.
In text mode, input number 5(English character J/K/L).
USB port
To connect USB storage device, USB mouse.
Network
abnormal
indication light
Net
Network error occurs or there is no network connection, the
light becomes red to alert you.
HDD
abnormal
indication light
HDD
HDD error occurs or HDD capacity is below specified
threshold value, the light becomes red to alert you.
Summary of Contents for HCVR5104C Series
Page 1: ...Dahua HDCVI Standalone DVR User s Manual Dahua HDCVI Standalone DVR User s Manual V2 3 2 ...
Page 200: ...184 ...
Page 425: ...409 Figure 4 137 Figure 4 138 ...
Page 440: ...424 Figure 4 153 Step 2 Draw the zone 1 Click Draw button to draw a zone See Figure 4 154 ...
Page 446: ...430 Figure 4 157 Figure 4 158 ...
Page 447: ...431 Figure 4 159 Figure 4 160 ...
Page 448: ...432 Figure 4 161 Figure 4 162 ...
Page 451: ...435 Figure 4 165 Figure 4 166 ...
Page 452: ...436 Figure 4 167 Figure 4 168 ...
Page 458: ...442 Figure 4 177 Figure 4 178 4 9 4 1 2 2 Trigger Snapshot ...
Page 460: ...444 Figure 4 180 Figure 4 181 4 9 4 1 2 3 Priority ...
Page 466: ...450 Figure 4 186 Figure 4 187 ...
Page 471: ...455 Figure 4 193 Figure 4 194 ...
Page 557: ...541 Figure 5 69 Figure 5 70 ...
Page 573: ...557 device Figure 5 86 Figure 5 87 ...
Page 579: ...563 Figure 5 94 Figure 5 95 ...
Page 580: ...564 Figure 5 96 Figure 5 97 Please refer to the following sheet for detailed information ...
Page 607: ...591 Figure 5 136 Note For admin you can change the email information See Figure 5 137 ...


