


329
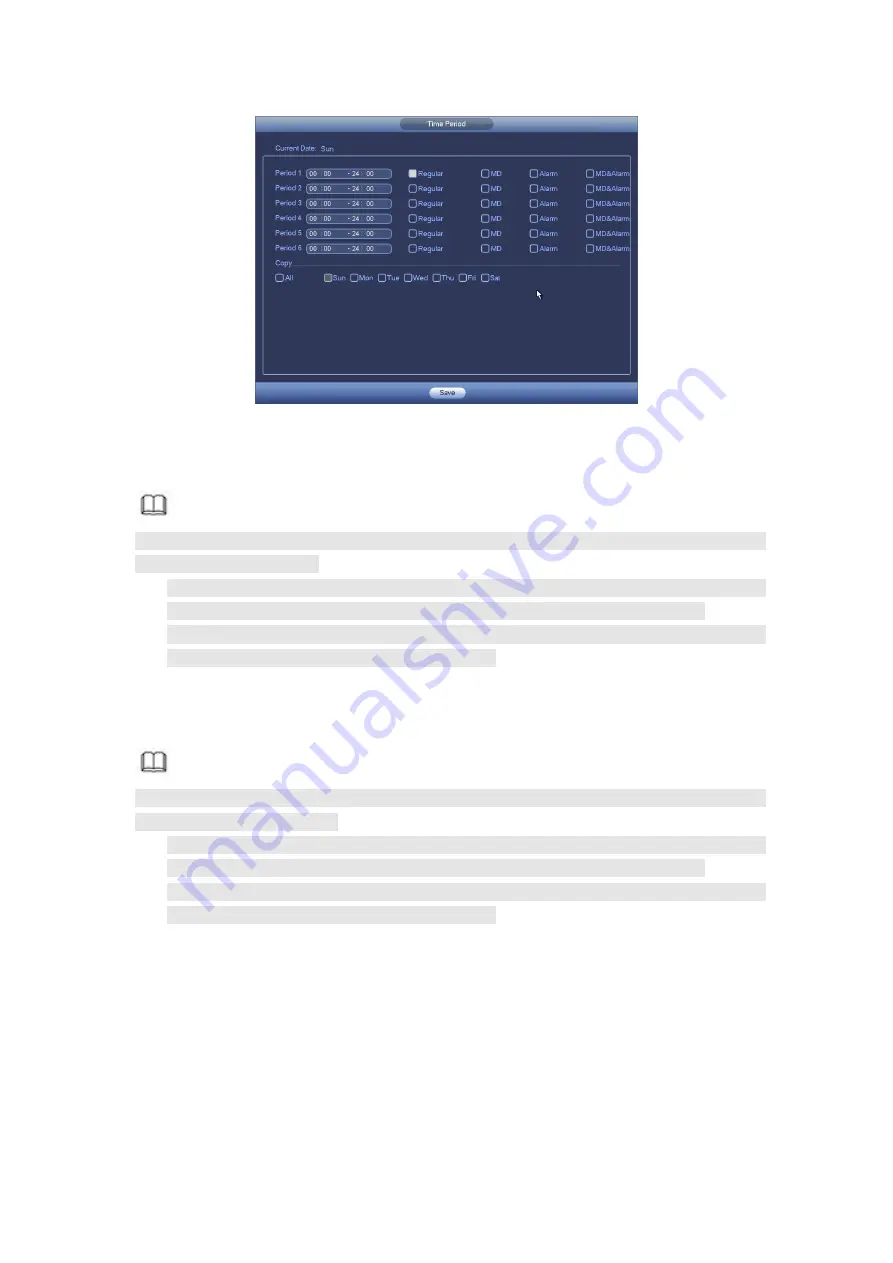
Figure 4- 44
Step 3 Click Apply to exit.
Note
After setting in the Schedule interface, please refer to the following contents to enable
schedule record function.
From main menu->Setting->Event, select corresponding event and then enable
record function. Refer to chapter 4.9.3 Alarm events for detailed information.
From main menu->Setting->Storage->Record, set record mode as auto. Refer to
chapter 4.9.4.5 Record for detailed information.
4.1.4.7.2 Snapshot
Device snapshots images as you set here.
Refer to chapter 4.1.4.7.1 Record for detailed information.
Note
After setting in the Schedule interface, please refer to the following contents to enable
schedule snapshot function.
From main menu->Setting->Event, select corresponding event and then enable
record function. Refer to chapter 4.9.3 Alarm events for detailed information.
From main menu->Setting->Storage->Record, set record mode as auto. Refer to
chapter 4.9.4.5 Record for detailed information.
Quick Setup
Copy function allows you to copy one channel setup to another. After setting in channel 1,
click Copy button, you can go to interface Figure 4- 45. You can see current channel name
is grey such as channel 1. Now you can select the channel you want to paste such as
channel 5/6/7. If you want to save current setup of channel 1 to all channels, you can click
the first box “ALL”. Click the OK button to save current copy setup. Click the OK button in
the Encode interface, the copy function succeeded.
Summary of Contents for HCVR5104C Series
Page 1: ...Dahua HDCVI Standalone DVR User s Manual Dahua HDCVI Standalone DVR User s Manual V2 3 2 ...
Page 200: ...184 ...
Page 425: ...409 Figure 4 137 Figure 4 138 ...
Page 440: ...424 Figure 4 153 Step 2 Draw the zone 1 Click Draw button to draw a zone See Figure 4 154 ...
Page 446: ...430 Figure 4 157 Figure 4 158 ...
Page 447: ...431 Figure 4 159 Figure 4 160 ...
Page 448: ...432 Figure 4 161 Figure 4 162 ...
Page 451: ...435 Figure 4 165 Figure 4 166 ...
Page 452: ...436 Figure 4 167 Figure 4 168 ...
Page 458: ...442 Figure 4 177 Figure 4 178 4 9 4 1 2 2 Trigger Snapshot ...
Page 460: ...444 Figure 4 180 Figure 4 181 4 9 4 1 2 3 Priority ...
Page 466: ...450 Figure 4 186 Figure 4 187 ...
Page 471: ...455 Figure 4 193 Figure 4 194 ...
Page 557: ...541 Figure 5 69 Figure 5 70 ...
Page 573: ...557 device Figure 5 86 Figure 5 87 ...
Page 579: ...563 Figure 5 94 Figure 5 95 ...
Page 580: ...564 Figure 5 96 Figure 5 97 Please refer to the following sheet for detailed information ...
Page 607: ...591 Figure 5 136 Note For admin you can change the email information See Figure 5 137 ...


