50
Chapter 5 Software Installation
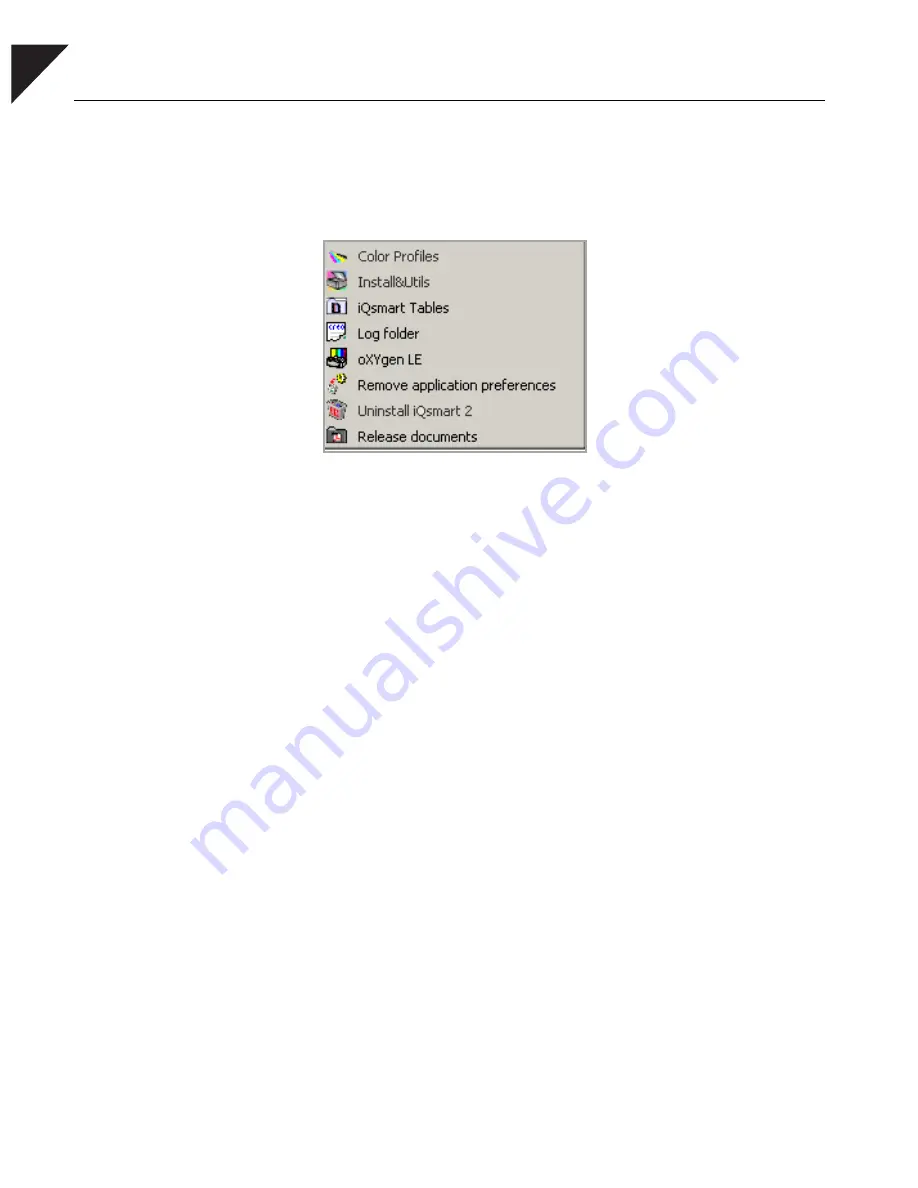
The scanner software is now installed. Execute the following
sequence to access the scanner software:
Start
→
Programs
→
iQsmart
. The iQsmart folder contains the
following items:
Color profiles
Device color tables
User Application
Install&Utils
For scanner installation and automatic
creation of tables
iQsmart Tables
Creo-supplied tables
Log folder
Every time you enter the Scanning or
Installation and Utility application,
existing application log files are
erased and new application log files
are created instead
User Application
oXYgen LE
Scanning application
Remove application
preferences
For removing and reset application
preferences
Uninstall iQsmart
2
For uninstalling the iQsmart
2
application
Release documents
Device color tables
PC
Summary of Contents for iqsmar series
Page 2: ......
Page 3: ...iQsmart Scanners Installation and Maintenance Guide Mac and PC Platforms...
Page 4: ......
Page 10: ......
Page 15: ...1 Environment Management System EMS...
Page 18: ......
Page 19: ...5 Chapter 1 Site Preparation General Requirements 6 Safety Instructions 10...
Page 25: ...11 Chapter 2 Unpacking Unpacking the Scanner 12 Unlocking Screws and Removing Packing 18...
Page 28: ...14 Chapter 2 Unpacking 4 Remove the top foam corners...
Page 34: ......
Page 35: ...21 P C Chapter 3 FireWire Installation for PC Platform FireWire Adaptor Installation 23...
Page 44: ......
Page 49: ...Powering on the Scanner 35 5 Power the scanner ON The scanner enters Standby mode...
Page 52: ......
Page 79: ...Stage 3 Enter the Serial Number 65 Scanner serial number...
Page 118: ...104 Chapter 9 Maintenance 6 Release the lock screw on the side of the transparency lamp unit...
Page 123: ...Lamp Unit Replacement 109 6 Lift the two handles of the base glass 7 Pull out the base glass...
Page 124: ...110 Chapter 9 Maintenance 8 Place the base glass on a soft surface...
Page 127: ...Lamp Unit Replacement 113 11 Slide the lamp unit out...
Page 134: ...120 Chapter 9 Maintenance 3 Lift the two handles of the base glass 4 Pull out the base glass...
Page 135: ...Cleaning the Glass 121 5 Turn the base glass upside down and place it on a soft surface...
Page 138: ......
Page 155: ...141 Appendix A Packing the Scanner Locking the Scanner 142 Packing the Scanner 143...
Page 160: ...146 Appendix A Packing the Scanner 6 Use straps to attach the wooden palette to the carton...
Page 161: ...147 Appendix B Technical Specifications...
Page 164: ......
Page 170: ......
Page 174: ......
Page 191: ...177 Appendix F Language Support...
Page 193: ...179 Appendix G Part Numbers...
Page 196: ......


