Upgrading The Computer
6 - 12 Upgrading the System Memory (RAM)
6
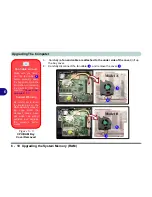
10. Press the module in and down towards the mainboard until the slot levers click into
place to secure the module.
11. Replace the bay cover (see sidebar and below for
Model A
Computers) and
screws (
make sure you reconnect the fan cable before screwing down the
bay cover
).
12. Restart the computer to allow the BIOS to register the new memory configuration
as it starts up.
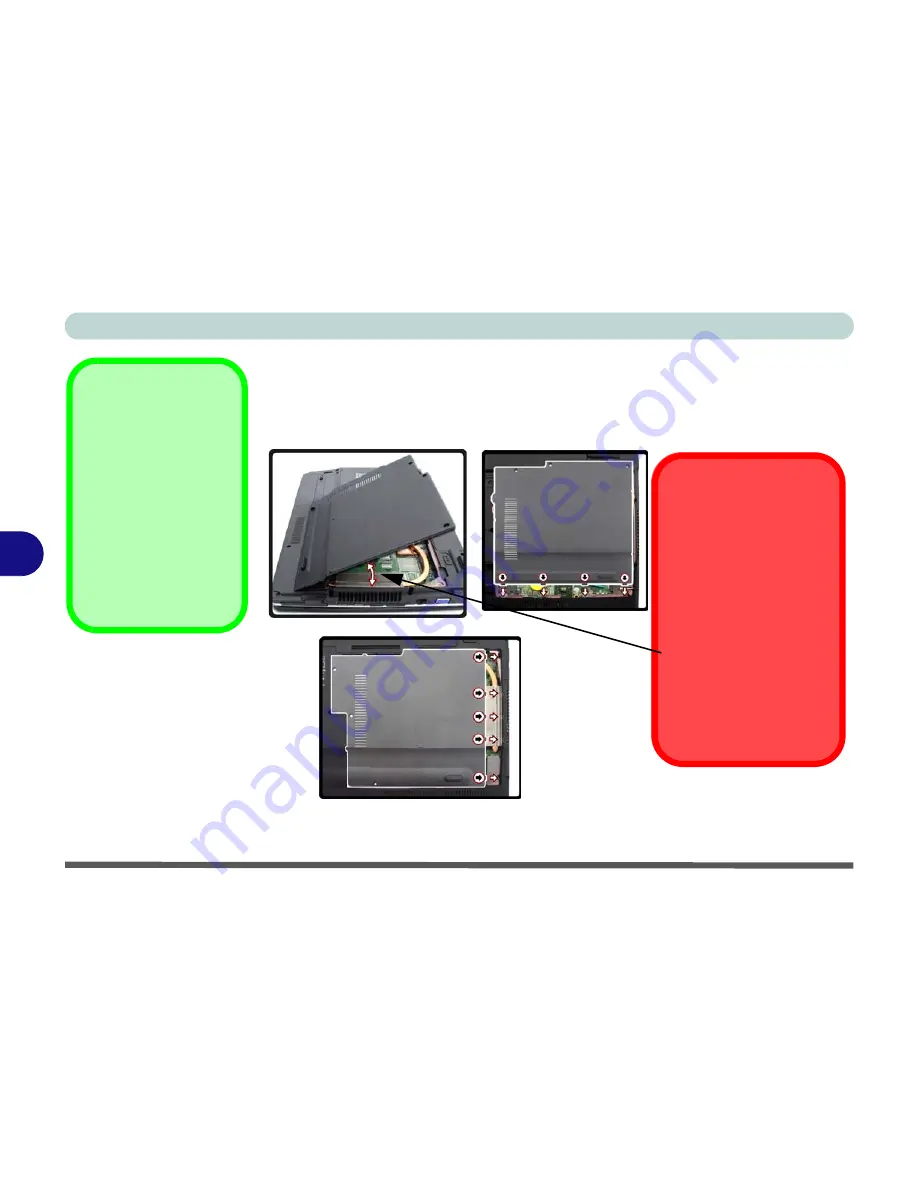
Cover Pins
Note
that
Model A
com-
puters have
four
cover
pins and
Model B
com-
puters have
five
cover
pins. These pins need to
be aligned with slots in
the case to insure a
proper cover fit, before
screwing down the bay
cover
Figure 6 - 10
Cover Pin
Alignment
Model A
Model B
Model A
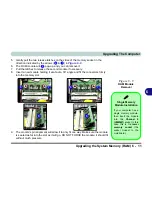
Model A Cover
Alignment
When replacing the
Model
A
bay cover firstly attach
the fan cable and then
align the pins with the slots
in the case. When aligning
the cover pins with the
case slots,
DO NOT hold
the bay cover in excess
of an angle of 60 degrees
to the case (the less verti-
cal the better)
Model A
Summary of Contents for W760K
Page 1: ...V09 1 00 ...
Page 2: ......
Page 16: ...XIV Preface ...
Page 22: ...XX Preface ...
Page 78: ...Drivers Utilities 4 8 4 ...
Page 118: ...Modules Options 7 14 PC Camera Module 7 Figure 7 11 Audio Setup for PC Camera Right click ...
Page 142: ...Modules Options 7 38 7 ...
Page 160: ...Interface Ports Jacks A 4 A ...
Page 176: ...Specifications C 4 C ...
Page 230: ...D 54 D ...


