NX603/FX503
27
English
MEMO
s
Also refer to the User’s Manual for the
connected external device.
s
External input connector jack
- A 3.5 mm dia. stereo mini plug can
be connected. Thoroughly read the
User’s Manual for the audio cable
(without resistor) and the device to be
connected.
- Use the battery, etc. provided with the
device as the power supply for that
device. Using an external device while
it is being charged by the accessory
socket on the vehicle sometimes
causes noise.
s
The screen momentarily turns black when
switching between the audio and video
modes. However, this is not a malfunction.
Listening to video from
external devices
1
MENU
AUX1
or
AUX2
2
Touch the screen
Audio
3
Operate the external device.
Audio is played.
Watching video from external
devices
1
MENU
AUX1
or
AUX2
2
Video
3
Operate the external device.
Video and audio are played.
MEMO
s
While linked to a smartphone, the
smartphone application screen is
displayed though it cannot be operated
on by touch operations. When using
Smartphone linking, see “Using Smart
Access.”
p
P.33
Setting external device listening
Compensating for volume
differences
Compensate for volume difference that
occurs depending on the type of connected
external device.
1
MENU
2
AUX1
or
AUX2
3
Touch the screen
4
Audio Level
5
Select the audio level.
6
Close
7
Back
The level is adjusted to the adjusted
volume.
Switching the screen size
Notice
s
When the screen size is switched, the
image sometimes appears different from
the original video image.
1
MENU
2
AUX1
or
AUX2
3
Touch the screen
4
Display Mode
5
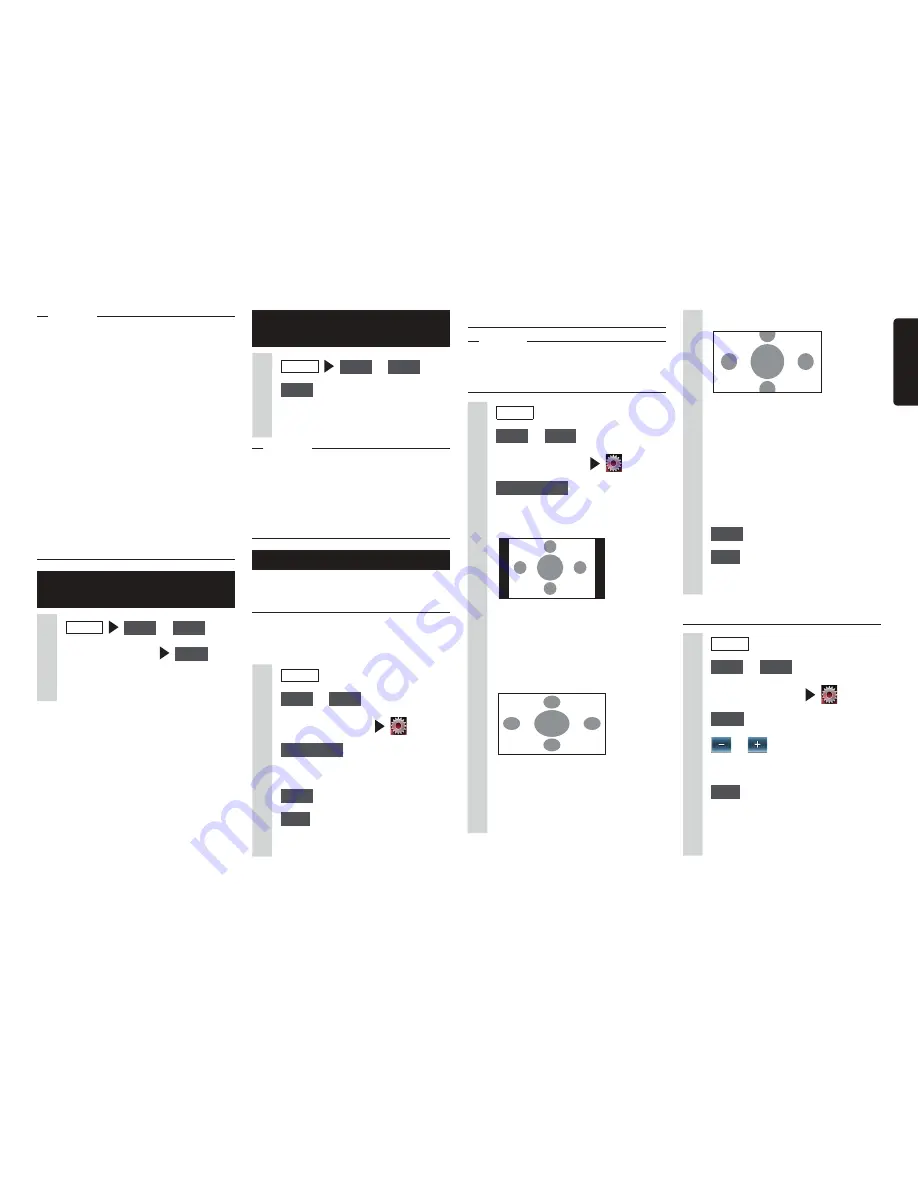
Select the screen display size.
Normal:
Video is displayed in the center of
the screen with its aspect ratio held
intact. When the size of the video
and screen differ, excess parts of
the screen are displayed in black.
Full:
The video is displayed to fit the
entire screen. When the size of the
video and screen differ, the aspect
ratio of the video is displayed
altered.
Cinema:
This is used when displaying
cinema scope size or vista size
video on a regular TV. When the
size of the video and screen differ,
the horizontal size of the video is
displayed to match the horizontal
and vertical size of the screen.
Unused parts at the top and
bottom are displayed in black.
6
Close
7
Back
The screen is displayed at the
selected size.
Adjusting image quality
1
MENU
2
AUX1
or
AUX2
3
Touch the screen
4
Setup
at [Display Adjustment]
5
or
of item to adjust
Adjust the image quality while viewing
the video image on screen.
6
Back
This sets the newly adjusted image
setting. Image quality adjustments
can be set for both the day and night
screens.


