13-19
Cisco Wireless LAN Controller Configuration Guide
OL-17037-01
Chapter 13 Configuring Hybrid REAPWireless Device Access
Configuring Hybrid-REAP Groups
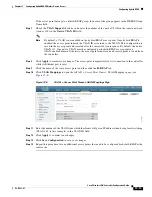
Step 9
Perform one of the following:
•
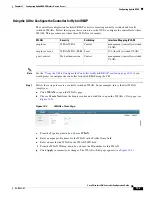
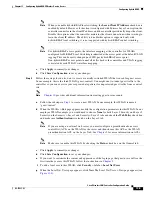
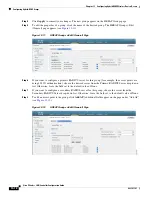
To choose an access point that is connected to this controller, check the
Select APs from Current
Controller
check box and choose the name of the access point from the AP Name drop-down box.
Note
If you choose an access point on this controller, the MAC address of the access point is
automatically entered in the Ethernet MAC field to prevent any mismatches from occurring.
•
To choose an access point that is connected to a different controller, leave the
Select APs from
Current Controller
check box unchecked and enter its MAC address in the Ethernet MAC field.
Note
If the hybrid-REAP access points within a group are connected to different controllers, all
of the controllers must belong to the same mobility group.
Step 10
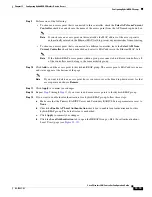
Click
Add
to add the access point to this hybrid-REAP group. The access point’s MAC address, name,
and status appear at the bottom of the page.
Note
If you want to delete an access point, hover your cursor over the blue drop-down arrow for that
access point and choose
Remove
.
Step 11
Click
Apply
to commit your changes.
Step 12
through
if you want to add more access points to this hybrid-REAP group.
Step 13
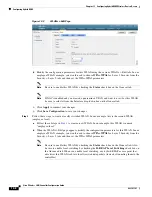
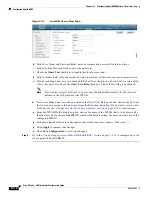
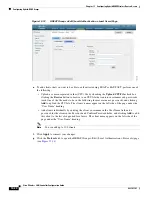
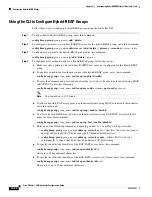
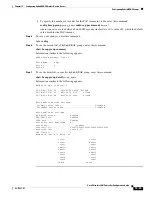
If you want to enable local authentication for a hybrid-REAP group, follow these steps:
a.
Make sure that the Primary RADIUS Server and Secondary RADIUS Server parameters are set to
None
.
b.
Check the
Enable AP Local Authentication
check box to enable local authentication for this
hybrid-REAP group. The default value is unchecked.
c.
Click
Apply
to commit your changes.
d.
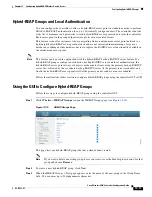
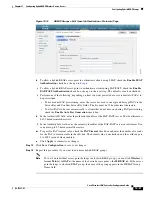
Click the
Local Authentication
tab to open the HREAP Groups > Edit (Local Authentication >
Local Users) page (see
).

