8-49
Cisco Wireless LAN Controller Configuration Guide
OL-17037-01
Chapter 8 Controlling Mesh Access Points
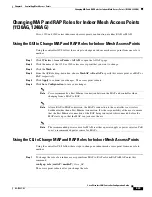
Changing MAP and RAP Roles for Indoor Mesh Access Points (1130AG, 1240AG)
Changing MAP and RAP Roles for Indoor Mesh Access Points
(1130AG, 1240AG)
Cisco 1130 and 1240 series indoor mesh access points can function as either RAPs or MAPs.
Using the GUI to Change MAP and RAP Roles for Indoor Mesh Access Points
Using the controller GUI, follow these steps to change an indoor mesh access point from one role to
another.
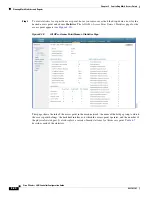
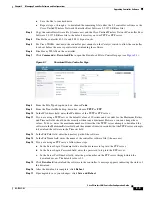
Step 1
Click
Wireless
>
Access Points
>
All APs
to open the All APs page.
Step 2
Click the name of the 1130 or 1240 series access point that you want to change.
Step 3
Click the
Mesh
tab.
Step 4
From the AP Role drop-down box, choose
MeshAP
or
RootAP
to specify this access point as a MAP or
RAP, respectively.
Step 5
Click
Apply
to commit your changes. The access point reboots.
Step 6
Click
Save Configuration
to save your changes.
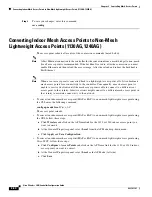
Note
Cisco recommends a Fast Ethernet connection between the MAP and controller when
changing from a MAP to RAP.
Note
After a RAP-to-MAP conversion, the MAP’s connection to the controller is a wireless
backhaul rather than a Fast Ethernet connection. It is the responsibility of the user to ensure
that the Fast Ethernet connection of the RAP being converted is disconnected before the
MAP starts up so that the MAP can join over the air.
Note
The recommended power source for MAPs is either a power supply or power injector. PoE
is not a recommended power source for MAPs.
Using the CLI to Change MAP and RAP Roles for Indoor Mesh Access Points
Using the controller CLI, follow these steps to change an indoor mesh access point from one role to
another.
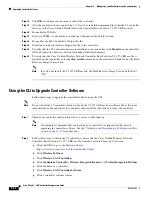
Step 1
To change the role of an indoor access point from MAP to RAP or from RAP to MAP, enter this
command:
config ap role
{
rootAP
|
meshAP
}
Cisco_AP
The access point reboots after you change the role.


