5-111
Cisco Wireless LAN Controller Configuration Guide
OL-17037-01
Chapter 5 Configuring Security Solutions
Configuring IDS
Step 9
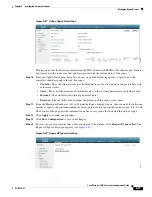
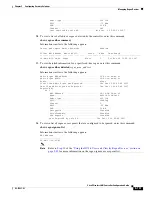
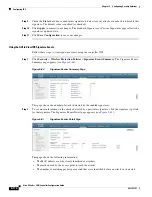
If you are downloading the signature file using a TFTP server, enter the amount of time in seconds before
the controller times out while attempting to download the signature file in the Timeout field.
Range:
1 to 254 seconds
Default:
6 seconds
Step 10
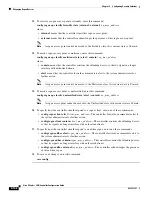
In the File Path field, enter the path of the signature file to be downloaded or uploaded. The default value
is “/.”
Step 11
In the File Name field, enter the name of the signature file to be downloaded or uploaded.
Note
When uploading signatures, the controller uses the filename you specify as a base name and then
adds “_std.sig” and “_custom.sig” to it in order to upload
both
standard and custom signature
files to the TFTP server. For example, if you upload a signature file called “ids1,” the controller
automatically generates and uploads both ids1_std.sig and ids1_custom.sig to the TFTP server.
If desired, you can then modify ids1_custom.sig on the TFTP server (making sure to set
“Revision = custom”) and download it by itself.
Step 12
If you are using an FTP server, follow these steps:
a.
In the Server Login Username field, enter the username to log into the FTP server.
b.
In the Server Login Password field, enter the password to log into the FTP server.
c.
In the Server Port Number field, enter the port number on the FTP server through which the
download occurs. The default value is 21.
Step 13
Click
Download
to download the signature file to the controller or
Upload
to upload the signature file
from the controller.
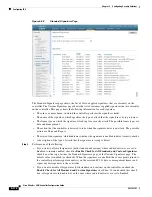
Using the GUI to Enable or Disable IDS Signatures
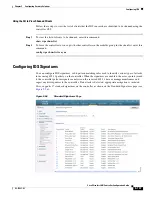
Follow these steps to enable or disable IDS signatures using the controller GUI.
Step 1
Click
Security
>
Wireless Protection Policies
>
Standard
Signatures
or
Custom
Signatures
. The
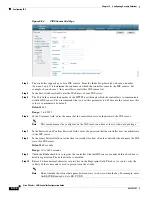
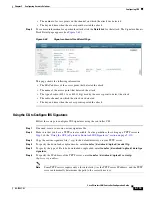
Standard Signatures page (see
) or the Custom Signatures page appears.

