C I R R U S
A I R P L A N E M A I N T E N A N C E M A N U A L
M O D E L S R 2 0
51-20
Page 35
All
EFFECTIVITY:
Note:
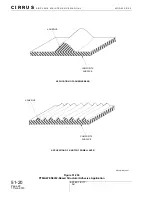
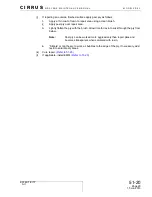
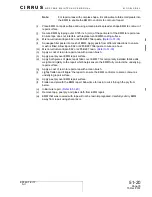
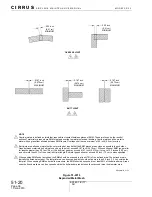
For repair areas with complex shape, it is allowable to fold small pleats into
the EMM to enable the EMM to conform to contour of repair.
(i)
Place EMM on repair surface and using a clean plastic spreader, shape EMM to contour of
repair surface.
(j)
Secure EMM by taping outer 0.125 inch (mm) of the perimeter of the EMM to repair area.
Ensure tape does not interfere with replacement EMM bonding surface.
(k)
Mix non-structural Epon 862 or L285/H287 filler paste.
(l)
Squeegee filler paste into mesh of EMM. Apply paste from different directions to ensure
mesh is filled. Allow Epon 862 or L285/H287 filler paste to cure one hour.
(m)
Mix non-structural Epon 862 or L285/H287 resin.
(n)
Apply a coat of resin to repair area with a clean brush.
(o)
Apply peel ply over EMM repair surface.
(p)
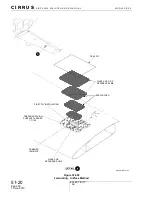
Apply both pieces of glass repair fabric over EMM. This temporarily installed fabric adds
weight and rigidity to the repair which helps ensure the EMM fully contacts the underlying
repair surface.
(q)
Apply a coat of resin to repair area with a clean brush.
(r)
Lightly flatten and “stipple” the repair to ensure the EMM conforms to same contour as
underlying repair surface.
(s)
Apply peel ply over EMM repair surface.
(t)
Flatten and smooth the EMM repair. Allow time for resin to wick through the ply from
below.
(u)
Initial cure repair.
(v)
Remove tape, peel ply, and glass cloth from EMM repair.
(w)
EMM that was covered with tape will not be resin impregnated. Carefully cut dry EMM
away from repair using sharp razor.
15 Dec 2014

