background image


SPECIALISTS IN DIGITAL TELECARE


21 

chiptech.co.nz 

NOTE:

 If the 16 slots are filled in one learning session, these are all active and the base unit will not accept a 17

th

 RF 

device because the last device cannot be deleted. In this instance, a device needs to be deleted through the Chiptech 
Wizard 

or the ‘Clear RF Device’ option in the Installer Menu

. If you are testing multiple RF devices with a base unit, we 

recommend testing five to ten pendants at a time to avoid filling all the spaces.  

NOTE:


If the ‘Clear all RF Devices’ function is used, inactive devices don’t exist as the full RF device list is deleted. 


Probable Scenarios for Active and Inactive Devices: 

1)


A couple - each has a pendant, and one pendant is taken away when one of them goes into care.  You will need to 
relearn the pendant you want to remain 

active

 for your customer who is staying at the property. The pendant 

that you are removing and taking off site becomes 

inactive, 

as it has not been relearned into the unit.


Because 

the pendant is inactive, the base unit will not send a missing pendant report for the pendant that has been taken 
off site. 

Do not press the inactive pendant, as doing so will make it active again. 


2)


A device is lost and a replacement one needs to be learned in.  Learning in a new device will make the lost one 

inactive

, even though it may still be on the premises.  As a safety feature, this 

inactive

 pendant would become 

active

 if it was pressed in an emergency 

 it may have been found and mixed up with the new one. 


3)


The monitoring centre ge

ts a ‘F

ailed 

to test’ report after a 

device replacement, but the RF device works fine when 

the client presses it.  The old RF device may have been pressed after a new one was learned in, making 

both 

active

. When learning in new devices, make sure the only devices that will be left on the property are pressed 

when in RF Learn, and the old devices are removed from the property. 


10


 RF Test  

RF Test Mode is used for testing the range between the personal help button or fitted SID devices, to the SEVEN base 
unit, at the location it has been installed. Testing the personal help button range must be done using the Range 
Testing process, and NOT by sending additional alerts to the monitoring centre. We suggest testing all personal help 
devices from different locations around the property. 


10.1


RF Test Mode 


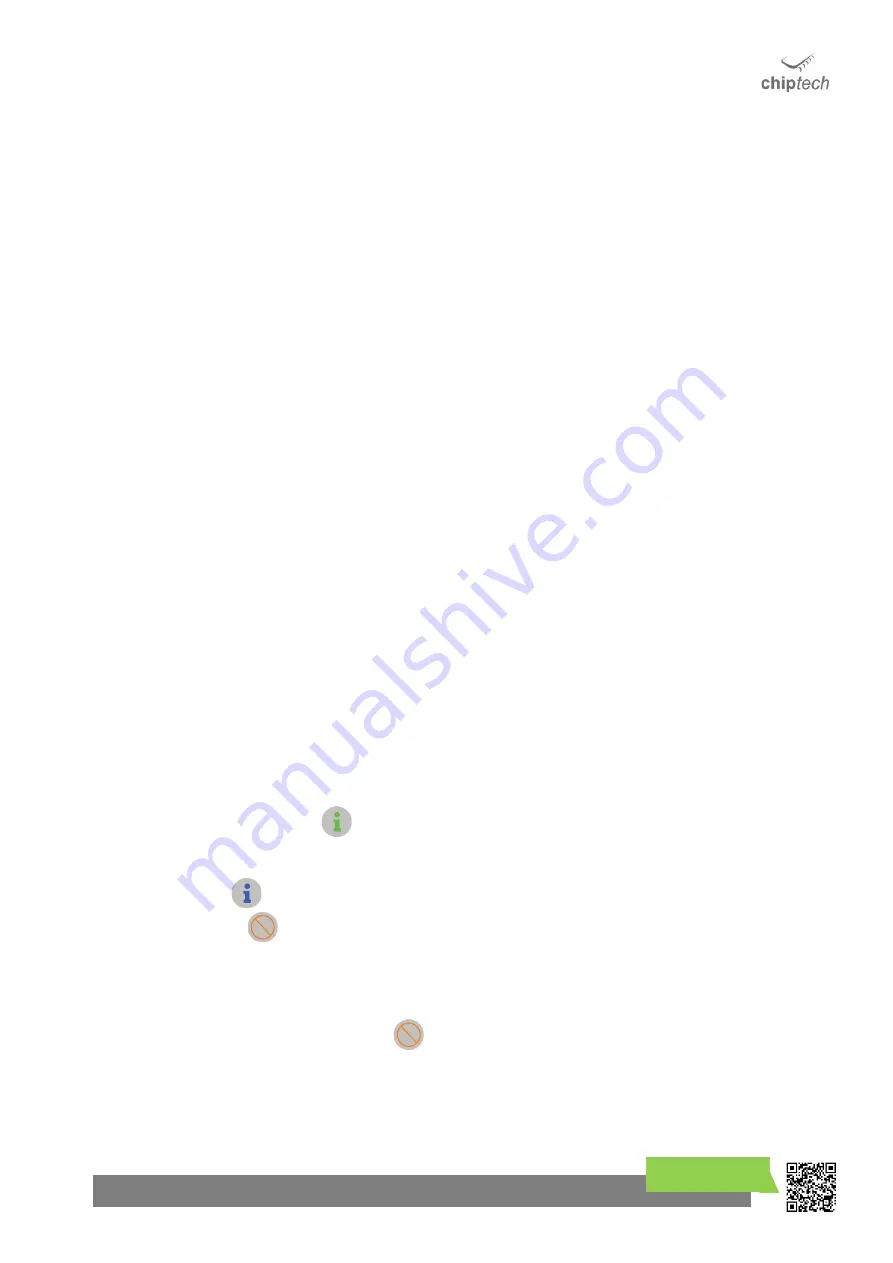
Press and hold the Info button 

 for three (3) seconds to enter RF Test Mode. 


SEVEN will 

play “There are no messages,” b

eep, 

and then play “RF test, please activate all you

r RF devices, or 

press cancel to finish.” This voice message will repeat periodically while no RF device activations are received. 


The Info button 

 will be solid blue while in RF Test.  


The Cancel button 

 light also turns on to indicate how to end the RF Test mode. Alternatively, as a safety 

feature the RF Test mode will time out after ten (10)* minutes.   


 Range test 

all

 the RF devices.  


When completed, press the


Cancel button 

 once to end the proce

ss, SEVEN will announce “RF Test end.” 


NOTE:

 An emergency activation can still be sent during RF Test or RF Learn by pressing the HELP button.  


Summary of Contents for SEVEN - 3G PERS

Page 1: ...Manual and Installation Process The future of telecare base units 4G 3G cellular communication SEVEN offers superior functions and reliability while operating with existing Chiptech personal help butt...

Page 2: ...vice 20 9 2 Active Inactive RF Devices 20 10 RF Test 21 10 1 RF Test Mode 21 10 2 RF Test Process 22 11 Reminders 23 11 1 Reminder Reports 23 11 2 Additional Voice Phrases 23 12 Messaging 24 12 1 SMS...

Page 3: ...M Wi Fi and Ethernet it includes comprehensive hardware for future proof applications 2 SEVEN LE X is the extended aerial version it has no internal cellular antennas and must have an external cellula...

Page 4: ...notifications If there is a message to be heard or an action required these buttons will change colour to orange red or blue Power Solid green when the base unit is turned on and operating as expected...

Page 5: ...p to five years Backup battery life is up to 70 hours The label placed here contains standards To Wall Mount Use the two available screw slots to mount SEVEN to the wall or wall mount bracket Expansio...

Page 6: ...to date list of suppliers 3 2 How to Attach the Aerial Attach the external aerial directly or with a coax cable to the SMA connector which is located on the back panel of SEVEN X This only needs to b...

Page 7: ...mended to start SEVEN on battery If you need to do so press the Power button for three 3 seconds SEVEN will speak and the Power button will flash orange 4 1 2 Turn Off Unplug the SEVEN plug pack from...

Page 8: ...occur every time SEVEN starts up or is reset It will typically take about 15 seconds to connect to a local cellular tower but sometimes this process can take up to one minute If an issue is detected...

Page 9: ...at a task be performed Press to hear the request Flashes red when there is a Critical warning message for e g evacuation notices or emergency events Flashes blue when a Pendant Test is required No lig...

Page 10: ...erently when using Installer Mode In the Installer Setup menu press the Cancel button to move to the next setting option NOTE The Cancel button cannot be used to exit the Installer Setup To exit press...

Page 11: ...o it can be uniquely identified CONNECT and INFO and CANCEL Installer Setup To access the Installer Setup press and hold the Connect Info and Cancel buttons at the same time for three 3 seconds SEVEN...

Page 12: ...SEVEN which then sends an alert to the monitoring centre summoning help for the user Pearl Advanced has an elegant discrete casing that is hot waterproof and can be worn in the bath or shower Pearl A...

Page 13: ...ter edge of GO keep the user informed as their alert for help is being sent They can speak to an operator over the handsfree speakerphone GO can be paired with a SEVEN base unit utilising the same Pea...

Page 14: ...ch as computers televisions touch lamps old cordless phones Also avoid placing SEVEN next to large metal objects e g a water cylinder microwave or fridge Remember to use the line of sight rule when in...

Page 15: ...e Internet push the Ethernet cable through the cable hole at the back of SEVEN as depicted and into the Ethernet socket marked in the base of the cable cavity Push the cable from outside SEVEN until y...

Page 16: ...lar A and B you will need to adjust the unit s configuration to single SIM only See Section 14 1 Step 6 The Pearl personal help button supplied in the box will already be learned into SEVEN If you do...

Page 17: ...o end the process SEVEN will announce RF Test end Step 8 If you only have a single communication pathway for connecting to monitoring i e one SIM card no Ethernet skip to Step 9 If you have more than...

Page 18: ...ice messages and point out the flashing Help button while SEVEN is connecting to monitoring Wait for the operator to phone back and let the speakerphone pick up so the customer can hear the operator s...

Page 19: ...n to move to the next setting in the menu To exit press the Power button If left the Installer Setup Menu will timeout after two 2 minutes 8 1 Installer Setup Options Depending on the configuration fi...

Page 20: ...Pearl SID and GO SEVEN will announce when a device has been successfully learned into the base unit as well as its allocated zone number i e One RF Learned Zone 1 Your organisation may require you to...

Page 21: ...in an emergency it may have been found and mixed up with the new one 3 The monitoring centre gets a Failed to test report after a device replacement but the RF device works fine when the client presse...

Page 22: ...und level as well so the customer is covered in the event of a fall 10 2 2 Range Testing with SID Devices All fitted devices environmental monitoring products and wall mounted buttons should be tested...

Page 23: ...n acknowledged can also be setup to occur Ticking the Send Not Ack report brings up a timing window where you can specify in minutes how long the reminder will repeat before a reminder not acknowledge...

Page 24: ...ID of the base unit then the msg string format outlined below CSIDmsg msg1 msg2 msg3 e g 1234msg C 17 15 A 0 SEVEN with a CSID of 1234 will announce the Critical messages 17 then 15 and zero is used t...

Page 25: ...y mode and during silent hours 12 3 Pre recorded Voice Phrases The messages that can be announced are selected from the message list Each message is followed by a short pause so they sound correct whe...

Page 26: ...e pre alarm will sound as usual Reminders and Critical messages will announce at any time Please Note Critical messages received by the base unit will announce and repeat during silent hours 14 Connec...

Page 27: ...entre SEVEN with a single SIM card fitted will check the network every ten minutes If six of these checks in a row are detected as unavailable then the Connect button will flash orange or red dependin...

Page 28: ...r ends the call SEVEN will automatically hang up SEVEN will answer incoming calls for ten minutes after an alert for help After each incoming call is answered the speakerphone will automatically pick...

Page 29: ...Cellular A 1 Following each communication pathway test the unit will announce either Pass or Fail When all unique pathways have been tested successfully the alarm will announce Communication Pathway T...

Page 30: ...eivers Pearl personal help button batteries have an expected life of up to six years and cannot be replaced A Pearl with a low battery is not able to be learned into a base unit Pearl Advanced Fall De...

Page 31: ...o connect to an alarm you will require a SERMOD cable an ERICA or SEVEN router and a computer with a USB port and access to the internet To perform a remote connection please refer to the Chiptech Wiz...

Page 32: ...d A solid red Power button indicates that the base battery has been removed or is no longer functioning Remove all cables before opening the battery cover Check that the battery pack is still connecte...

Page 33: ...tton is flashing red The Connect button flashes red to indicate there are no connections to communication pathways and an alert will not be able to be sent to monitoring Press the Connect button this...

Page 34: ...nce There is a problem learning this RF Device The RF device will not be learned You will need to learn in a different RF device pendant Note This is the same message that is announced when there is n...

Page 35: ...is the sole property of Chiptech and Chiptech International Limited Chiptech and may only be used with prior permission inside your company or organisation for the exclusive purposes of evaluating and...

Reviews: