28
11.6 Impostazione limite di alta e di bassa umidità
Il CR72 offre la possibilità di visualizzare dei codici d’allar-
me di alta (HIA) e bassa (LOA) umidità.
I parametri che gestiscono questo funzionamento sono:
P14:
è lo scostamento massimo positivo rispetto al set-
point espresso in valore assoluto che l’umidità può
raggiungere senza attivare HIA.
P15:
è lo scostamento massimo negativo rispetto al set-
point espresso in valore assoluto che l’umidità può
raggiungere senza attivare LOA.
NOTA: Per visualizzare ed impostare i parametri fare rife-
rimento al par. 11.8.
11.7 Impostazione limiti per i set point
Al fine di evitare la manomissione dei set-points che
potrebbero creare problemi all’ambiente interessato, esi-
ste la probabilità di limitare l’escursione del set-point a
valori accettabili mediante due parametri che fissano il
minimo ed il massimo del valore impostabile. I parametri
che gestiscono questo funzionamento sono:
P12:
rappresenta il minimo set-point impostabile
P13:
rappresenta il massimo set-point impostabile
NOTA: Per visualizzare ed impostare i parametri fare rife-
rimento al par. 11.8.
11.8 Come si impostano i parametri
Impostazione parametri di configurazione “C”
1 Attivazione: Premere contemporaneamente PRG e
SEL per circa 5 secondi. Sul display compaiono: C00 in
A, che corrisponde alla richiesta della parola chiave, in
B il valore 888 e in C la sigla Cod. Utilizzando
/
impostare il valore 842 e premere SEL per
entrare nella procedura di configurazione.
2 Impostazione valori: per passare al parametro succes-
sivo premere SEL. Per modificare il valore corrente
usare
/
.
3 Uscita: per uscire dalla procedura di configurazione
registrando le modifiche effettuate premere PRG.
La procedura si autodisattiva dopo 60 secondi di inattività,
senza registrare le modifiche effettuate.
11.6 Setting the high and low humidity limit
The display of the CR72 controller will show you the alarm
codes of the high (HIA) and low (LOA) humidity levels.
To set them act on the following parameters:
P14: it is the max. negative value with respect to the set-
point that humidity (absolute value) can reach
without causing a LOA alarm.
P15: it is the max. positive value with respect to the set-
point that humidity (absolute value) can reach
without causing a HIA alarm.
NOTE: To display and set the parameters, see 11.8 below.
11.7 Setting set-point limits
In order to limit the potential range of the set-points, it is
useful to set their higher and lower values by means of
the following parameters:
P12: minimum selectable set-point
P13: maximum selectable set-point
NOTE: To display and set the parameters, see 11.8 below.
11.8 How to set parameters
Setting configuration parameters “C"
1 Startup: press PRG and SEL simultaneously for about
5 seconds. The display shows C00 (A zone) correspon-
ding to the password, 888 (B zone) and Cod (C zone).
Press
/
to select the password 842, then
press SEL to enter the configuration procedure.
2 Set the values: press SEL to pass from a parameter to
the next one. Press
/
to modify the current
value of the displayed parameter.
3 Exit the procedure: press PRG to exit the configuration
procedure and save the newly set values.
If no keys are pressed within 60 seconds, the procedure
ends automatically and the new values will be lost.
SET 1
SET 1
3
B
1
A
C
2
fig. 21
100%
-100%
10 V
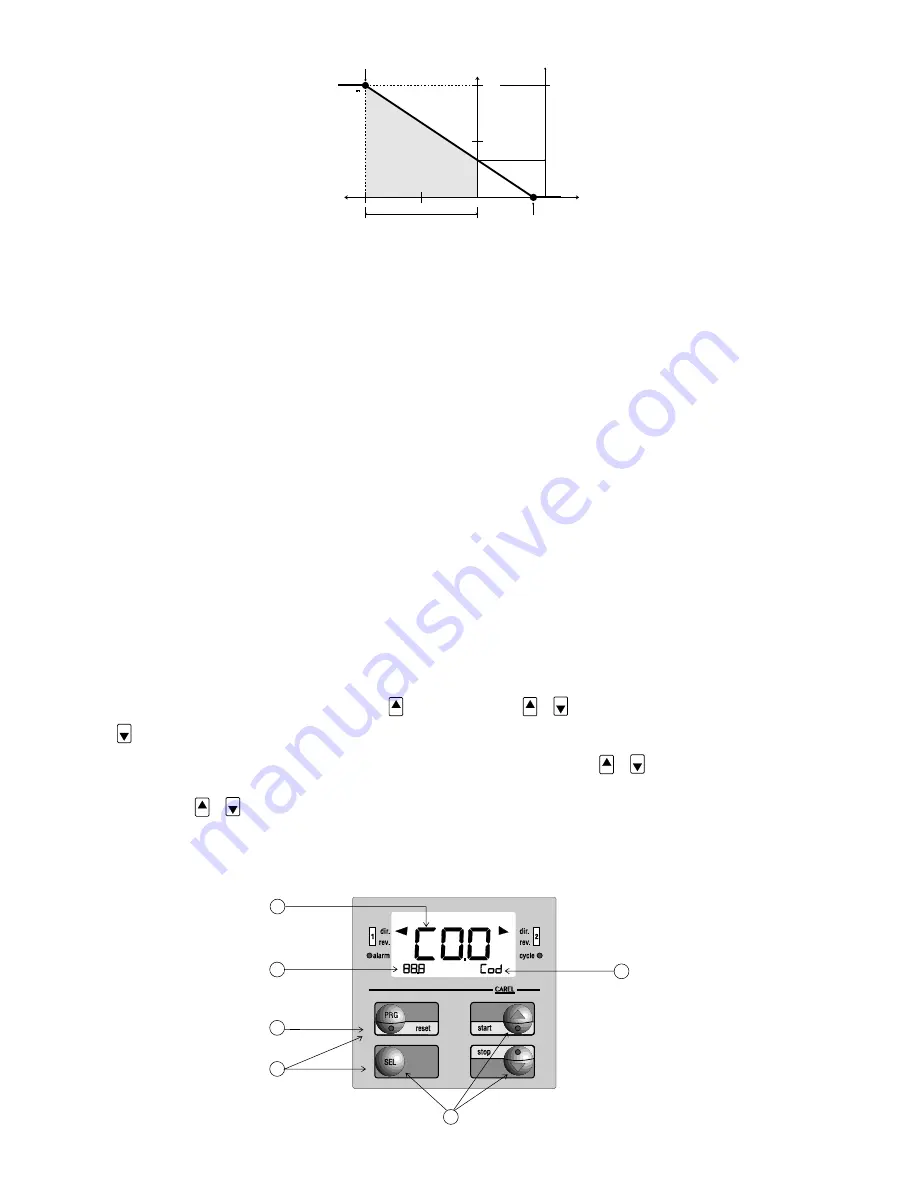
Banda proporzionale / Proportional band (P07)
Pressione aria /
Air pressure
50%
+50%
1,2 bar
2,1 bar
-50%
0%
SET
STOP
MODULAZIONE / MODULATING
P.MAX
Inizio Modulazione / Modulating start
Fine Modulazione / Modulating end (C22)
fig. 20


