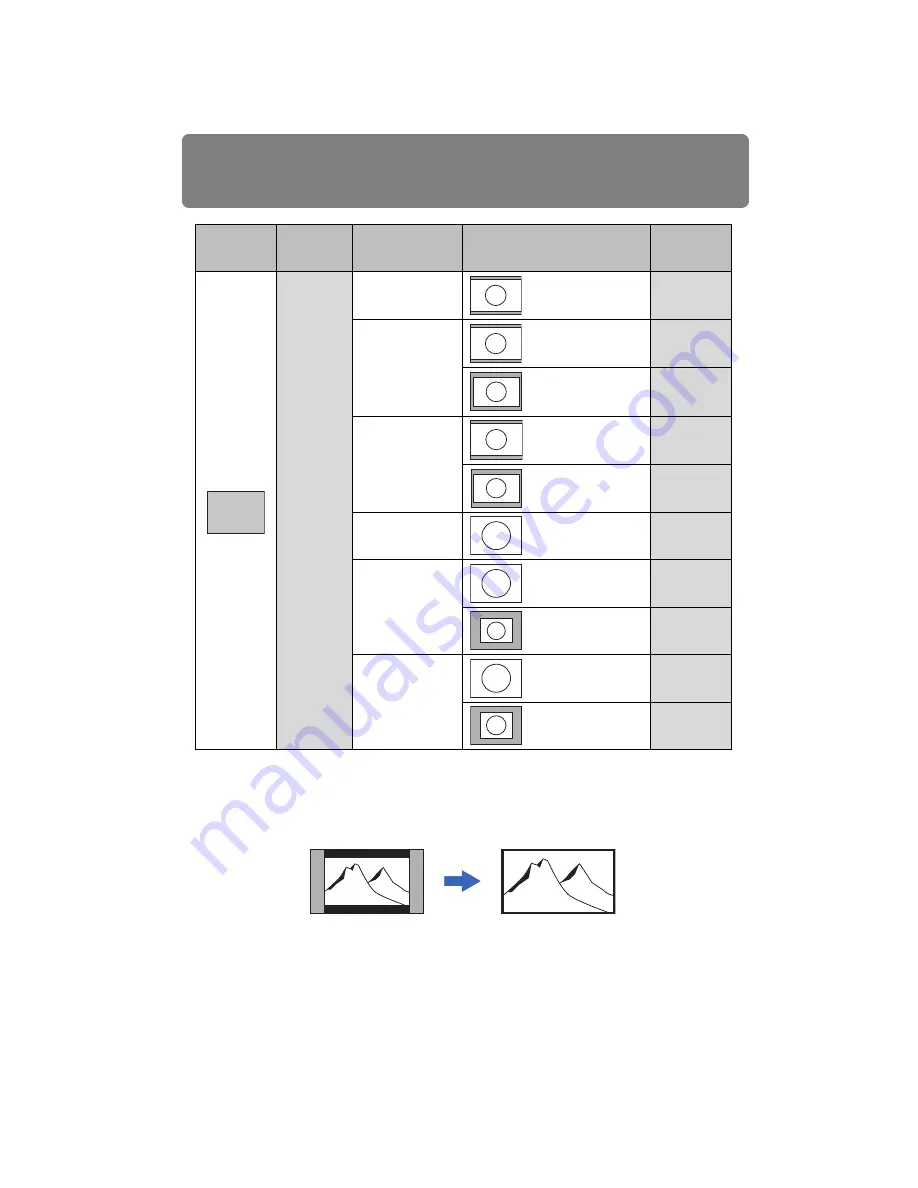
Relationship between Aspect and Screen Aspect
174
• If an image from image software with an aspect ratio of 16:9 is not projected correctly, select [16:9]
as the screen aspect.
• For a 16:9 image with black borders at the top and bottom, such as a terrestrial broadcast movie,
you can project the 16:9 image area so that it is projected on the entire screen by selecting [Zoom]
in [Aspect].
[Zoom] is available when [16:10], [16:9] or [16:9 D. image shift] is selected for the screen aspect
and [HDMI (480p, 576p)] or [Component (480p, 480i, 576p, 576i)] is selected for the input signal.
• To perform keystone adjustment (
), select [16:10], [4:3] or [16:9] for [Screen aspect].
Using
Screen
Screen
aspect ratio
setting
PC
Resolution of
screen
Purpose of projection
Aspect
setting
[4:3]
[4:3 D. image
shift]
WUXGA 16:10
Project an image in
the largest possible
size on the screen.
[Auto]
WSXGA+,
WXGA+ 16:10
Project an image in
the largest possible
size on the screen.
[Auto]
Project the computer
screen in the original
resolution.
[True size]
WXGA
Project an image in
the largest possible
size on the screen.
[Auto]
Project the computer
screen in the original
resolution.
[True size]
UXGA 4:3
Project an image in
the largest possible
size on the screen.
[Auto]
(or [4:3])
SXGA+, XGA,
SVGA, VGA 4:3
Project an image in
the largest possible
size on the screen.
[Auto]
(or [4:3])
Project the computer
screen in the original
resolution.
[True size]
SXGA 5:4
Project an image in
the largest possible
size on the screen.
[Auto]
Project the computer
screen in the original
resolution.
[True size]
4:3
Summary of Contents for REALiS WUX4000 D
Page 35: ...35 MULTIMEDIA PROJECTOR User s Manual Operation...
Page 36: ...36...
Page 72: ...72...
Page 112: ...112...
Page 130: ...130...
Page 156: ...156...
Page 165: ...165 MULTIMEDIA PROJECTOR Appendix...
Page 166: ...166...
Page 181: ...181 Product Specifications Appendix Other Information...


