Installing the Software and USB Driver
14
12
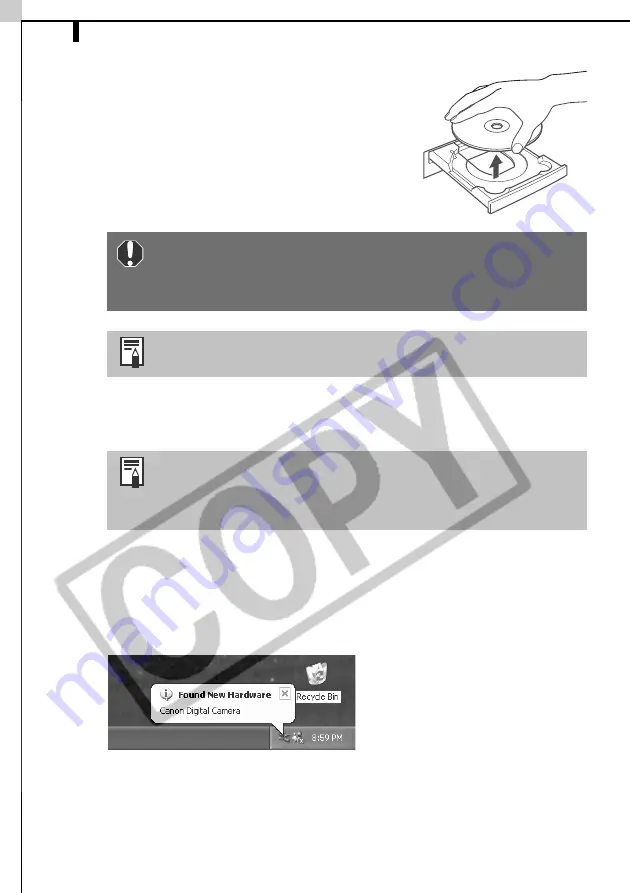
Remove the disk from the CD-ROM drive
when your normal desktop screen appears
after restarting.
This concludes the software installation.
Continue by connecting the camera to the
computer so that the USB Driver can be
utilized.
13
Attach the camera to the computer and set it to the correct mode for
connecting.
The USB Driver will automatically finish installing onto the computer when
you attach the camera and open a connection. Dialogs similar to the
following ones will appear during this process (first connection only).
Windows XP
The following dialog will appear after a few moments and the USB Driver
supplied with the Windows operating system will automatically install.
Windows 2000/Windows Me/Windows 98
The "Add New Hardware Wizard" will appear after a few moments and
the USB Driver will automatically install.
If you installed a USB Driver, so far the required files have
only been copied to your computer. You must now connect
the camera to the computer with the USB cable to complete
the installation and prepare the driver for use.
See
Uninstalling the Software
(p. 106) to delete the software
installed with these procedures.
Procedures for attaching the camera to the computer and
placing it in the correct mode for connecting vary between
camera models. See
Information about Your Camera
(p. 91)
for details.
Summary of Contents for PowerShot G5
Page 22: ...16 MEMO ...
Page 62: ...56 MEMO ...
Page 96: ...90 MEMO ...
Page 129: ...123 MEMO ...
Page 130: ...124 MEMO MEMO ...
Page 132: ...CDI E089 010 XX02CHXX 2003 CANON INC PRINTED IN JAPAN Software Starter Guide For Version 13 ...


