Use the reinforcement unit
Introduction
When you install a reinforcement unit, output can be delivered with a pre-punched, self-adhesive
strip.
When to do
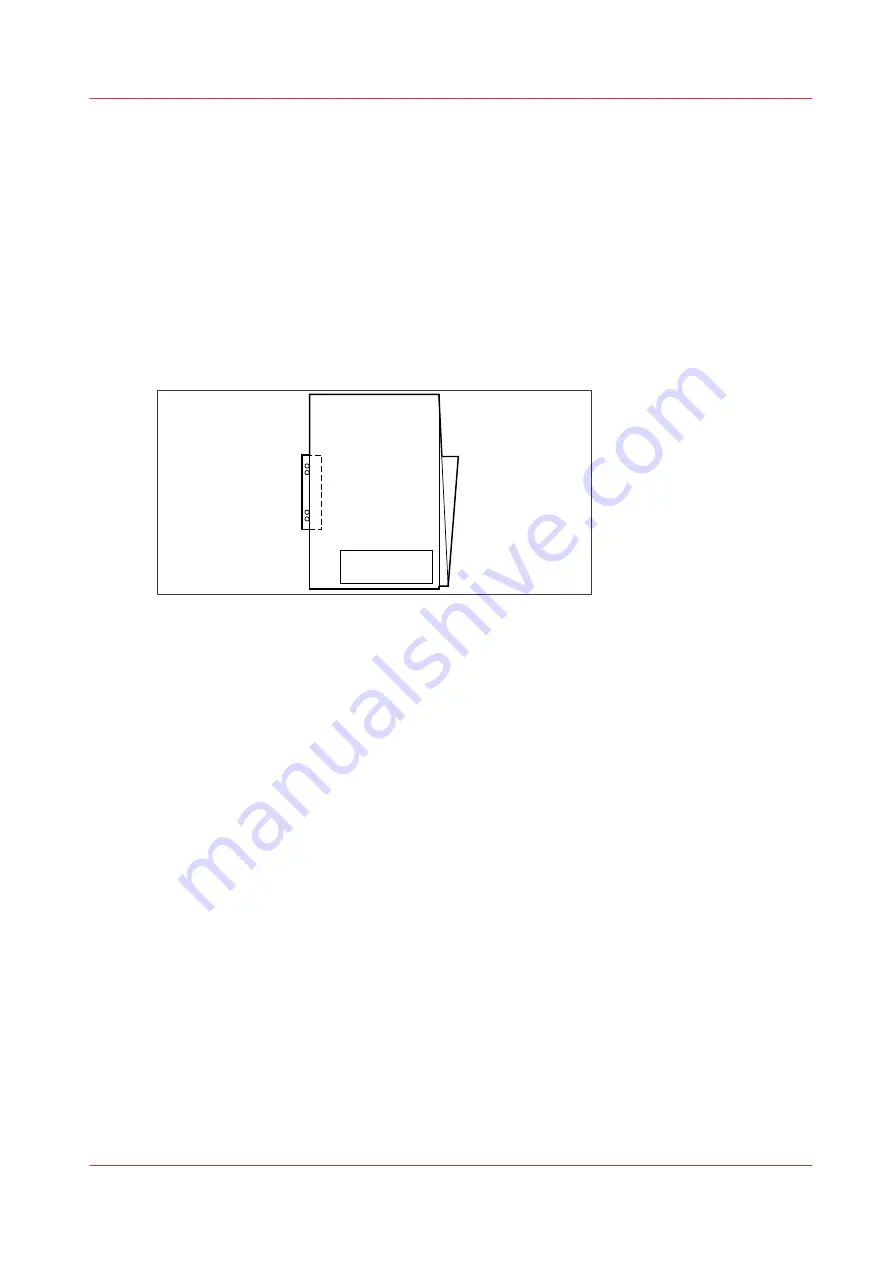
The reinforcement unit glues pre-punched strips to the back of the folded package. You can:
• Store the folded package in a binder, without the risk of torn-out punching holes.
• Unfold a folded map in a binder without opening the binder mechanism.
[3] Example of a folded map
Maintain the Reinforcement Unit (Optional) on page 257
for more information about
inserting a new tape roll and other maintenance issues.
Enable and use reinforcement
Procedure
1.
Open Océ Express WebTools.
2.
Open the [Preferences] - [Fold] tab.
3.
Click on the edit icon to change an existing template, or click on the create new icon to create a
new template.
The template window opens.
4.
Set the [Folding method] setting to [With same size back].
5.
Set the [Reinforcement] setting to [Enabled].
6.
Make any additional settings and save the template.
7.
Send a job to the printer, or submit one locally.
8.
On the user panel of the printer, select the fold template you created for reinforcement.
Your output will be delivered with a reinforcement strip.
Use the reinforcement unit
Chapter 5 - Use the Folder
223
Summary of Contents for Oce PlotWave 450
Page 1: ...Operation guide Océ PlotWave 450 550 ...
Page 4: ......
Page 10: ...Contents 10 ...
Page 11: ...Chapter 1 Introduction ...
Page 16: ...Available documentation 16 Chapter 1 Introduction ...
Page 17: ...Chapter 2 Get to Know the Printing System ...
Page 43: ...Chapter 3 Define your Workflow with Océ Express WebTools ...
Page 143: ...Chapter 4 Use the Printing System ...
Page 214: ...Clear the system 214 Chapter 4 Use the Printing System ...
Page 215: ...Chapter 5 Use the Folder ...
Page 226: ...Adjust the side guides of the belt 226 Chapter 5 Use the Folder ...
Page 227: ...Chapter 6 Maintain the Printing System ...
Page 245: ...Media types Chapter 6 Maintain the Printing System 245 ...
Page 267: ...Chapter 7 License Management ...
Page 273: ...Chapter 8 Account Management ...
Page 280: ...Workflow on the printer 280 Chapter 8 Account Management ...
Page 281: ...Chapter 9 Solve Problems ...
Page 308: ...Print the print density chart 308 Chapter 9 Solve Problems ...
Page 309: ...Chapter 10 Support ...
Page 317: ...Chapter 11 Contact ...
Page 329: ......


