4
Press
▲
or
▼
to select a setting value in the range -5 to 5, and then press the
OK
button.
At this time, if banding in dark colors appears, select a setting value in the range 1 to 5, and if banding in light
colors appears, select a setting value in the range -1 to -5.
Adjusting Line Length
Adjusting Line Length
To ensure that lines in CAD drawings are printed at exactly the right length, use
Adjust Length
to adjust the amount
that paper is advanced.
There are two options in
Adjust Length
:
AdjustmentPrint
and
Change Settings
.
•
AdjustmentPrint
After a test pattern is printed, you will measure the discrepancy based on the results of printing.
•
Change Settings
No test pattern is printed. Instead, you will measure a document already printed to determine the discrepancy.
Additionally, two modes are available in both
AdjustmentPrint
and
Change Settings
:
A:High
or
B:Standard/Draft
.
Choose the mode that suits your particular printing application.
•
A:High
This setting is applied when
Highest quality
or
High
is selected in
Print Quality
in the printer driver.
•
B:Standard/Draft
This setting is applied when
Standard
or
Fast
is selected in
Print Quality
in the printer driver.
Note
•
We recommend executing the adjustment if you have changed the paper type or paper size.
•
Always check the
Adj. Priority
values before using
Adjust Length
Selecting a Feed Amount Adjustment Meth-
Paper to Prepare
When Using Rolls
•
An unused roll at least 254.0 mm (10.00 in) wide
•
High-precision ruler
When Using Sheets
•
One sheet of unused paper of at least A4/Letter size
•
High-precision ruler
Perform adjustment as follows.
1
Load the paper.
•
Loading Rolls on the Roll Holder
•
•
Loading Sheets in the Feed Slot
Important
•
Always make sure the loaded paper matches the type of paper specified. Adjustment cannot be completed
correctly unless the loaded paper matches the settings.
2
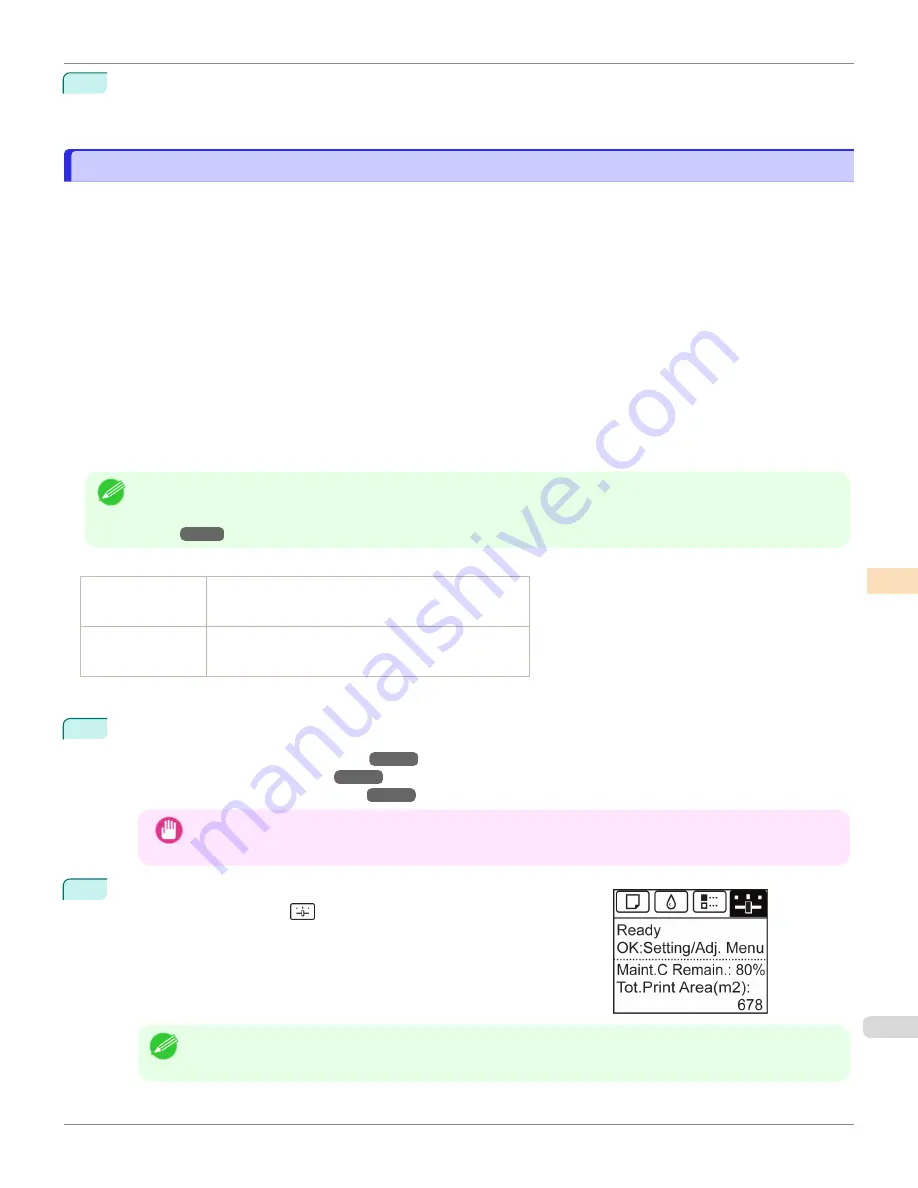
On the
Tab Selection screen
of the Control Panel, press
◀
or
▶
to se-
lect the Settings/Adj. tab (
).
Note
•
If the
Tab Selection screen
is not displayed, press the
Menu
button.
iPF6400SE
Adjusting Line Length
Adjustments for Better Print Quality
Adjusting the feed amount
563
Summary of Contents for imagePROGRAF iPF6400SE
Page 30: ...iPF6400SE User s Guide 30 ...
Page 452: ...iPF6400SE User s Guide 452 ...
Page 530: ...iPF6400SE User s Guide 530 ...
Page 550: ...iPF6400SE User s Guide 550 ...
Page 638: ...iPF6400SE User s Guide 638 ...
Page 664: ...iPF6400SE User s Guide 664 ...
Page 674: ...WEEE Directive iPF6400SE User s Guide Appendix Disposal of the product 674 ...
Page 675: ...iPF6400SE WEEE Directive User s Guide Appendix Disposal of the product 675 ...
Page 676: ...WEEE Directive iPF6400SE User s Guide Appendix Disposal of the product 676 ...
Page 677: ...iPF6400SE WEEE Directive User s Guide Appendix Disposal of the product 677 ...
Page 678: ...WEEE Directive iPF6400SE User s Guide Appendix Disposal of the product 678 ...
Page 679: ...iPF6400SE WEEE Directive User s Guide Appendix Disposal of the product 679 ...
Page 680: ...WEEE Directive iPF6400SE User s Guide Appendix Disposal of the product 680 ...
Page 681: ...iPF6400SE WEEE Directive User s Guide Appendix Disposal of the product 681 ...
Page 682: ...iPF6400SE User s Guide 682 ...


