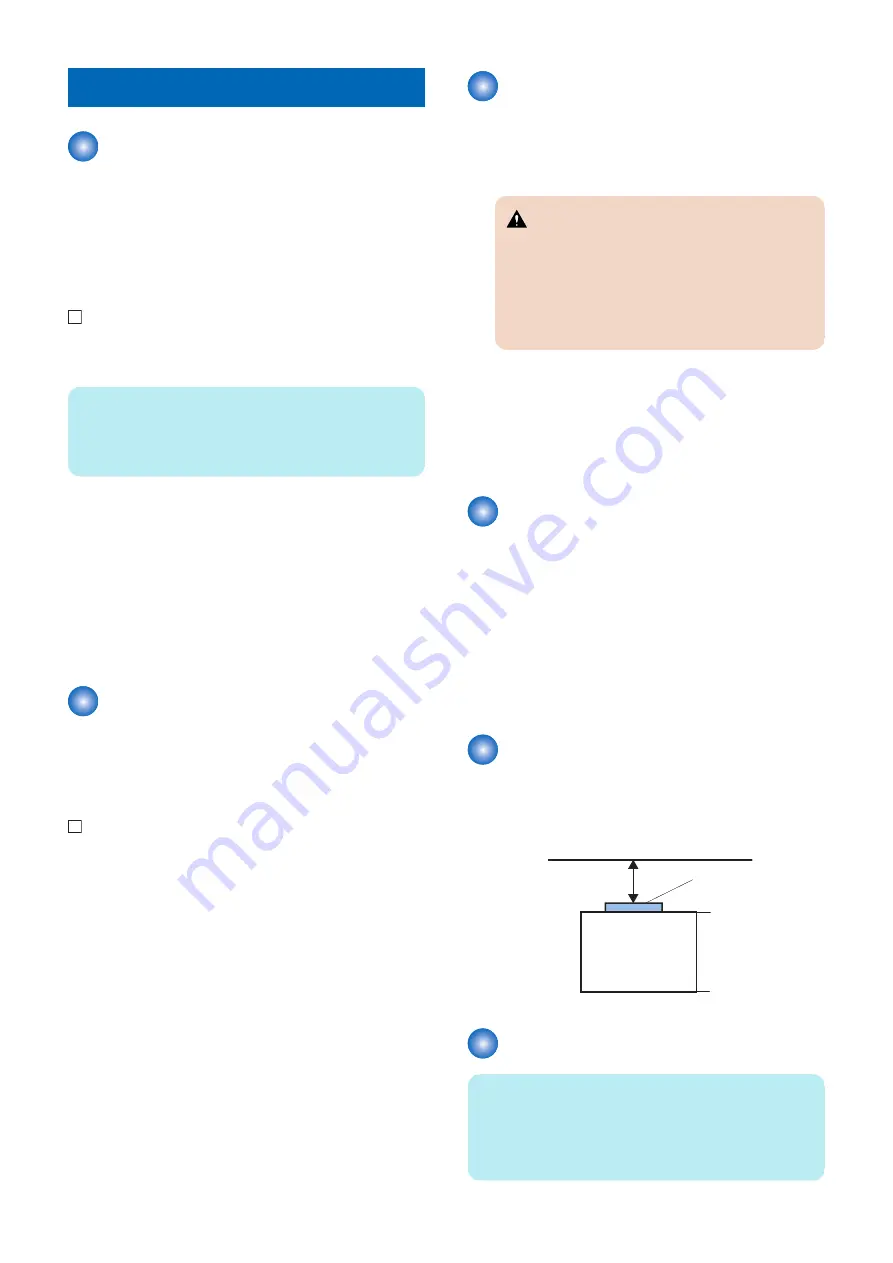
Before Connection
Installing the License
Be sure to take out the license certificate included in the
package and obtain the license key in advance. Make the
setting of this equipment by the Web browser in the Control
Panel.
Register the license by the following procedure.
1. Log in to the host machine as an administrator
(mode).
NOTE:
When [System Manager Information Settings] is set, it is
required to log in as a system manager in accordance with
instructions from the user administrator.
2. Select Settings/Registration > [Management
Settings] > [License/Other] > [Register License].
3. Enter the license key of the Web browser.
Example: 8888-7777-6666-5555-4444-3333
4. Press [Start] > [OK].
5. Turn OFF and then ON the main power switch to
determine the registration.
The IP addresses for
communication between the host
machine and server are set
automatically
1. Enter service mode, and set the setting value to "3".
COPIER > OPTION > INT-FACE > IMG-CONT
2. Exit the Service Mode.
Essential Items to Be
Performed Before Installation
• Turn OFF the main power of the host machine, and
disconnect the power plug from the outlet.
WARNING:
• If performing work without disconnecting the
power plug of the host machine, it may cause
electrical shock.
• If disconnecting the power plug without
turning OFF the main power, it may cause
damage of the machine.
• When turning OFF the main power, follow the below
procedure.
1. Turn OFF the main power switch of the host
machine.
2. The display in the Control Panel and the lamp of the
main power are turned off.
Check When Connecting the
Power Plug to an Outlet
1. When connecting the power plug of this equipment to an
outlet, be sure to use an outlet of a system different from
that of the host machine.
2. Be sure to install this equipment near an outlet so that
the power plug can be disconnected right away in case
of emergency, and do not put anything around the power
plug.
Securing Space for
Installation
A space of 200 mm or more is required from the back of this
equipment.
200 mm or more
Rear
Equipment
Front
Checking the Contents
NOTE:
Power Cord: The connector has a different shape
depending on locations. Use the correct power code to
match the location/area of installation. Make sure not to
leave unused power code at the site.
6. INSTALLATION PROCEDURE
81
Summary of Contents for imagePRESS Server G250 V2
Page 7: ...Introduction 1 Introduction 2 Specifications 7 ...
Page 16: ...Using the imagePRESS Server 2 Using the imagePRESS Server 11 ...
Page 20: ...REPLACING PARTS 3 Replacing Parts 15 ...
Page 52: ...INSTALLING SYSTEM SOFTWARE 4 Installing System Software 47 ...
Page 74: ...TROUBLESHOOTI NG 5 Troubleshooting 69 ...
Page 94: ...9 10 11 2x 1x 12 1x Cross Ethernet Cable 1x 6 INSTALLATION PROCEDURE 88 ...


