


S
ERVICE
P
ROCEDURES
39
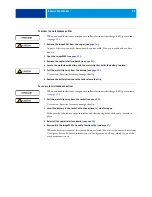
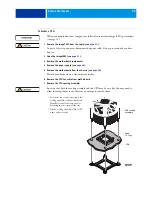
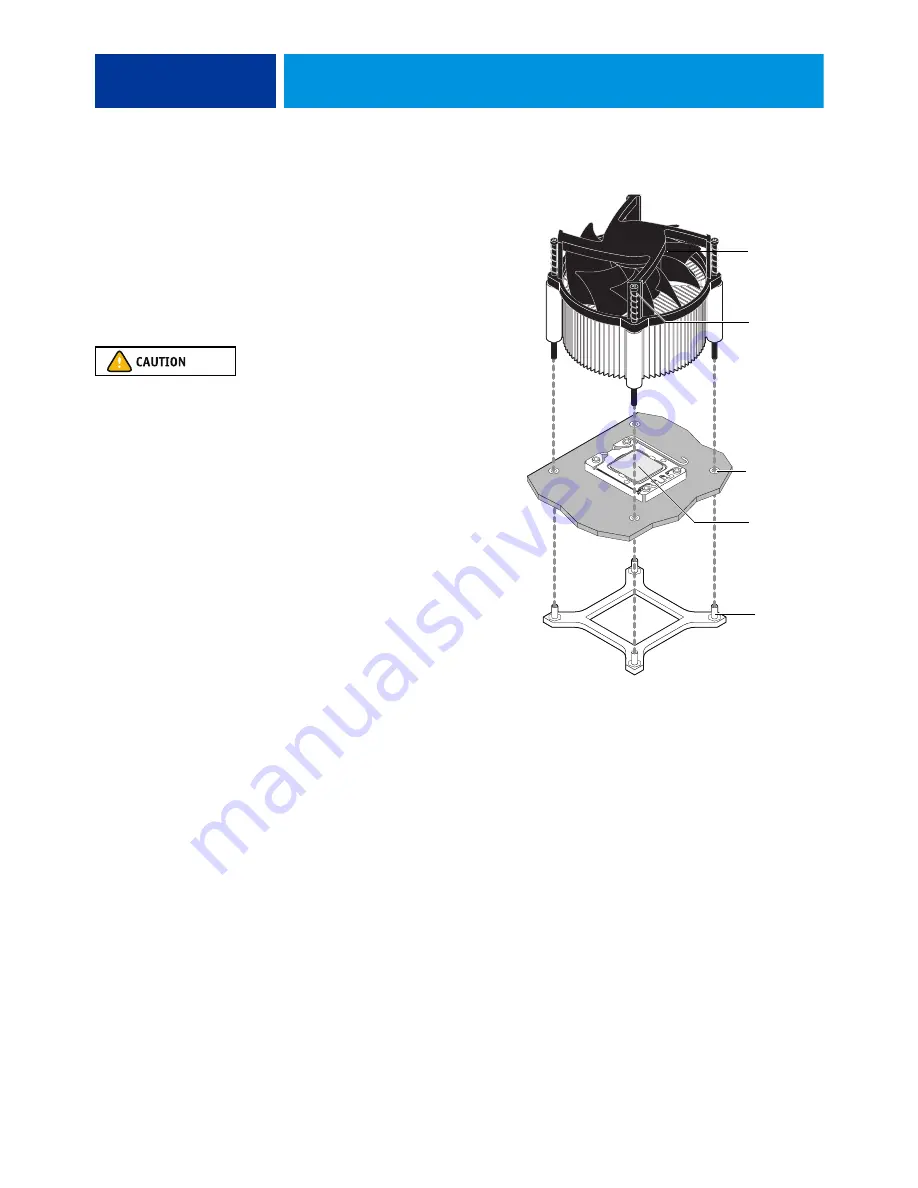
7 Replace the CPU cooling assembly:
8 Connect the CPU fan cable to the motherboard connector CPUFAN.
The cable connector is keyed to fit only one way. Make sure that the connector on the cable is
securely attached to connector CPUFAN on the motherboard.
9 Install the motherboard in the chassis (see
).
10 Replace the power supply (see
).
11 Replace the motherboard components.
12 If you installed a new CPU, clear the CMOS.
You should clear the CMOS after installing a new CPU to ensure compatibility between the
new component and previous settings stored in the BIOS.
N
OTE
:
Make sure that you remove the power cable from the imagePASS before clearing the
CMOS.
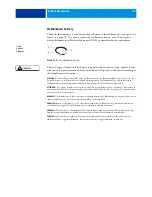
• Remove the battery (see
).
• Wait two minutes to allow the motherboard electrical components to fully discharge.
• Reinstall the battery (see
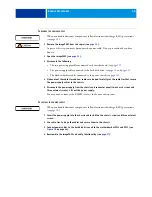
• Orient the cooling assembly so that the
fan cable is near the CPU fan connector
on the motherboard (CPUFAN).
• Place the cooling assembly on the CPU.
Make sure that the thermal pad on the
underside of the heatsink is positioned
on top of the CPU.
Be sure to remove any protective material
that may be covering the surface of the
thermal pad. Otherwise the CPU may
overheat.
• Align the four screws with the four screw
posts.
• Tighten the screws. Partially tighten all
the screws before tightening any one
screw all the way.
CPU cooling
assembly
Screw
(1 of 4)
CPU
Post hole
(1 of 4)
Screw Post
(1 of 4)


