


S
ERVICE
P
ROCEDURES
27
T
O
INSTALL
A
DIMM
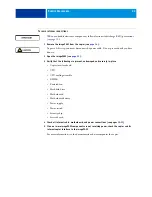
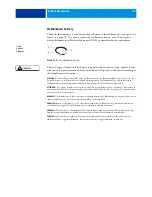
When you handle electronic components, follow electrostatic discharge (ESD) precautions
(see
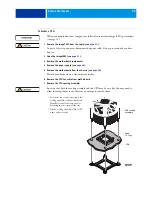
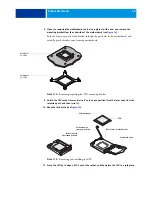
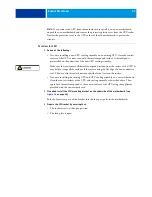
1 Remove the old DIMM (see
2 Insert the replacement DIMM into the socket, one end at a time.
Make sure the DIMM is fully seated into the socket and that the levers snap into place. Avoid
bending the DIMM as you insert it in the socket.
The DIMM fits the socket only one way. Make sure that the notch on the bottom of the
DIMM lines up with the notch in the socket (see
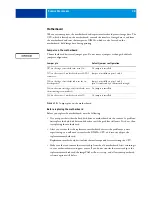
3 If you are installing the new DIMMs, clear the CMOS (see
).
You must clear the CMOS after installing a new motherboard, CPU, DIMM, or hard disk
drive to ensure compatibility between the new component and the previous settings stored in
the BIOS.
4 Reassemble the imagePASS and verify its functionality (see
If you installed a new DIMM, make sure that you reset the date and time in Setup. To verify
memory capacity, print a Configuration page to check the amount of memory recorded.


