10
Notes:
• If the message “The publisher of this remote connection cannot be identified. Do you want to connect anyway?”
is displayed, click
Connect
.
• If “The identity of the remote computer cannot be verified. Do you want to connect anyway?” is displayed, click
Yes
or
Continue
.
8
Enter the username and password, then press the Enter key.
Note:
The default username and password are “Administrator” and “password”.
9
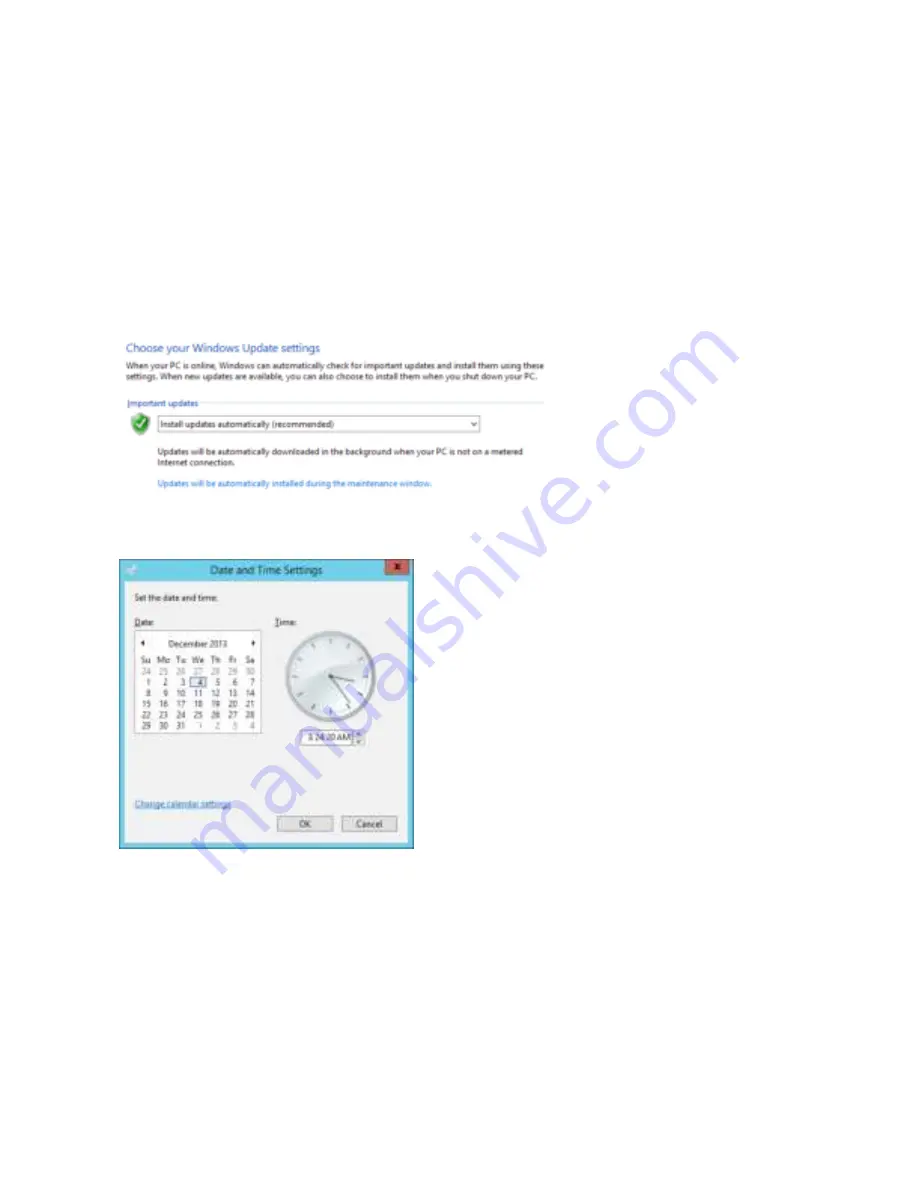
Go to Server Manager and click
Local Server
to install the Windows Storage Server update program. Under
“PROPERTIES”, click the status shown next to “Windows Update”. Click
Change settings
, select “Install updates
automatically”, then click
OK
.
10
Go back to “Local Server” to set the date and time. Under “PROPERTIES”, click the item shown next to “Time zone”. In
the “Date and Time” tab, click
Change date and time
. Select the current date and time and click
OK
.
Note:
In the “Internet Time” tab, click
Change settings
, and check “Synchronize with an Internet time server”. The date
and time will be updated automatically.
11
Create a shared folder. See the “Creating a Shared Folder” section in chapter 7 for more detail.
12
Change the TeraStation’s password. See the “Changing the Password” section in chapter 7 for more detail.
13
In NAS Navigator2, double-click your TeraStation’s icon. For Mac OS, the TeraStation is mounted as a drive icon on
the desktop, or it is displayed in the sidebar of the Finder.
Summary of Contents for TeraStation WSS 5000R2
Page 1: ...TeraStation WSS 5000R2 User Manual www buffalotech com 35020333 01 2014 01...
Page 5: ...5 Chapter 1 Installation Diagrams WS5600DR2 WS5400DR2 WS5200DR2...
Page 17: ...17...
Page 25: ...25 4 Click Next 5 Enter the volume size that you want to create and click Next...
Page 30: ...30 8 Push the unlock button of the failed hard drive and swing the lock mechanism out...
Page 31: ...31 9 Pull out the hard drive cartridge and remove it from the TeraStation...
Page 33: ...33 11Swing the lock back down until it clicks into place...
Page 40: ...40 4 Click Next 5 Select Custom and click Next...
Page 41: ...41 6 Click Add Items 7 Select the backup source folders or drives and click OK...
Page 42: ...42 8 Click Next 9 Specify the schedule to run the backup and click Next...
Page 49: ...49 4 Enter the computer name choose domain or workgroup and click OK...
Page 51: ...51 4 Click Proceed 5 Enter a new password twice...
Page 54: ...54 4 Enter the desired settings then click Add...
Page 56: ...56 8 Click OK 9 Click Close...
Page 58: ...58 4 Click Next 5 Enter the path of an existing folder or a new folder then click Next...


