


83
4
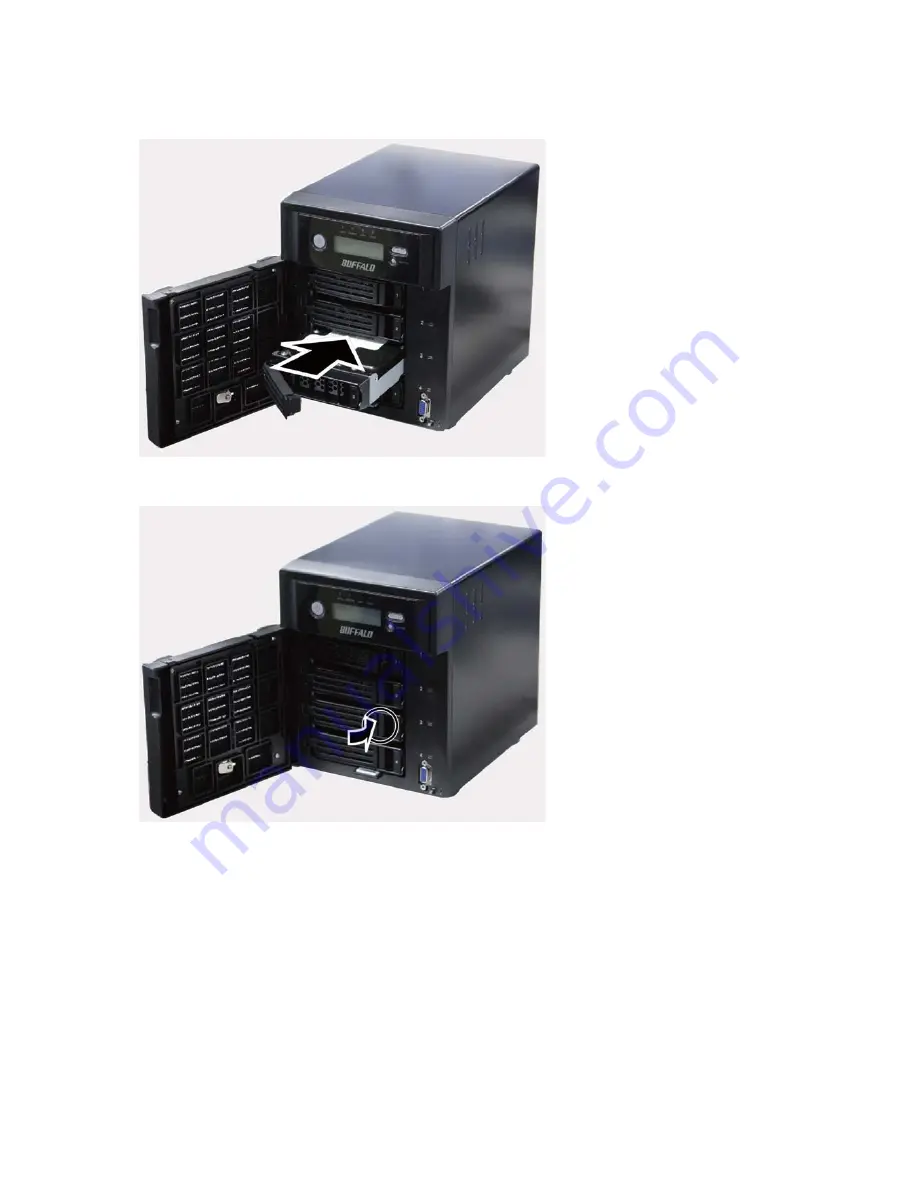
Insert the new hard drive (sold separately) into the empty slot. Slide the drive in with the locking mechanism open.
5
Swing the lock back down until it clicks into place.
6
When the replacement hard drive is recognized, the status LED will fl ash red and the message "Press FuncSW I31
New Disk x ready" will be displayed on the LCD panel.
7
Hold down the function button on the front of the TeraStation for 3 seconds until it beeps. The TeraStation will start
rebuilding the RAID array automatically.
It takes about 5 minutes before the message "RAID I18 ARRAYx Rebuilding" is displayed.
You have now completed the hard drive replacement process.
Drive Replacement (using a redundant RAID mode such as RAID 1, 5, or 6 with auto-