205
Web Admin interface and set the icon to
.
If
is displayed, change the icon to
. After changing the settings, click it again to return it to
.
1
Double-click the
icon on the desktop.
NAS Navigator2 will start.
Note:
For Mac OS X, click the
icon n the Dock.
2
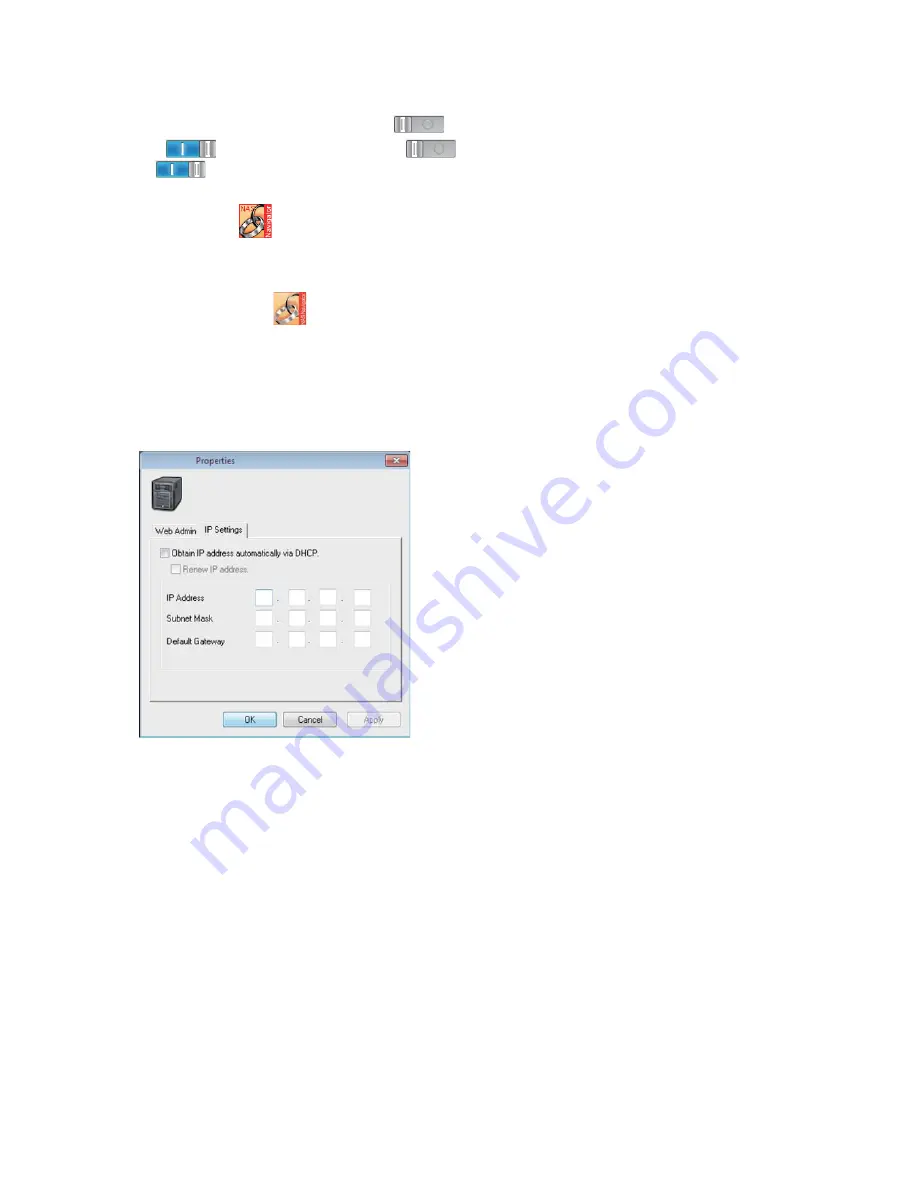
Right-click on your TeraStation's icon, then choose [Properties] - [IP Settings].
Note:
For Mac OS X, click the TeraStation icon while holding down the control key, then click [Confi gure] - [IP Address].
3
Enter the desired settings, then click [OK].
Notes:
• If [Obtain IP address automatically via DHCP] is checked, the IP address is automatically assigned from the DHCP
server. You must have access to a DHCP server to use this setting.
• If [Renew IP address] is checked, a new IP address is obtained from the DHCP server.
• If you are using Mac OS X, click [Apply].
This completes the changing of the IP address.


