Enter a name for your wireless network into “Wireless Network Name
(SSID)”.
Click “Save“.
Wireless -> Wireless Security
Choose and configure your desired security mode. Please note that
WEP is insecure and should only be used if no other option is
available.
Click “Apply Settings“
You can now connect the router to the Internet and your local network.
If you’re running a DHCP server in your LAN, connected wireless
devices will get their IP addresses from the server.
3.2.
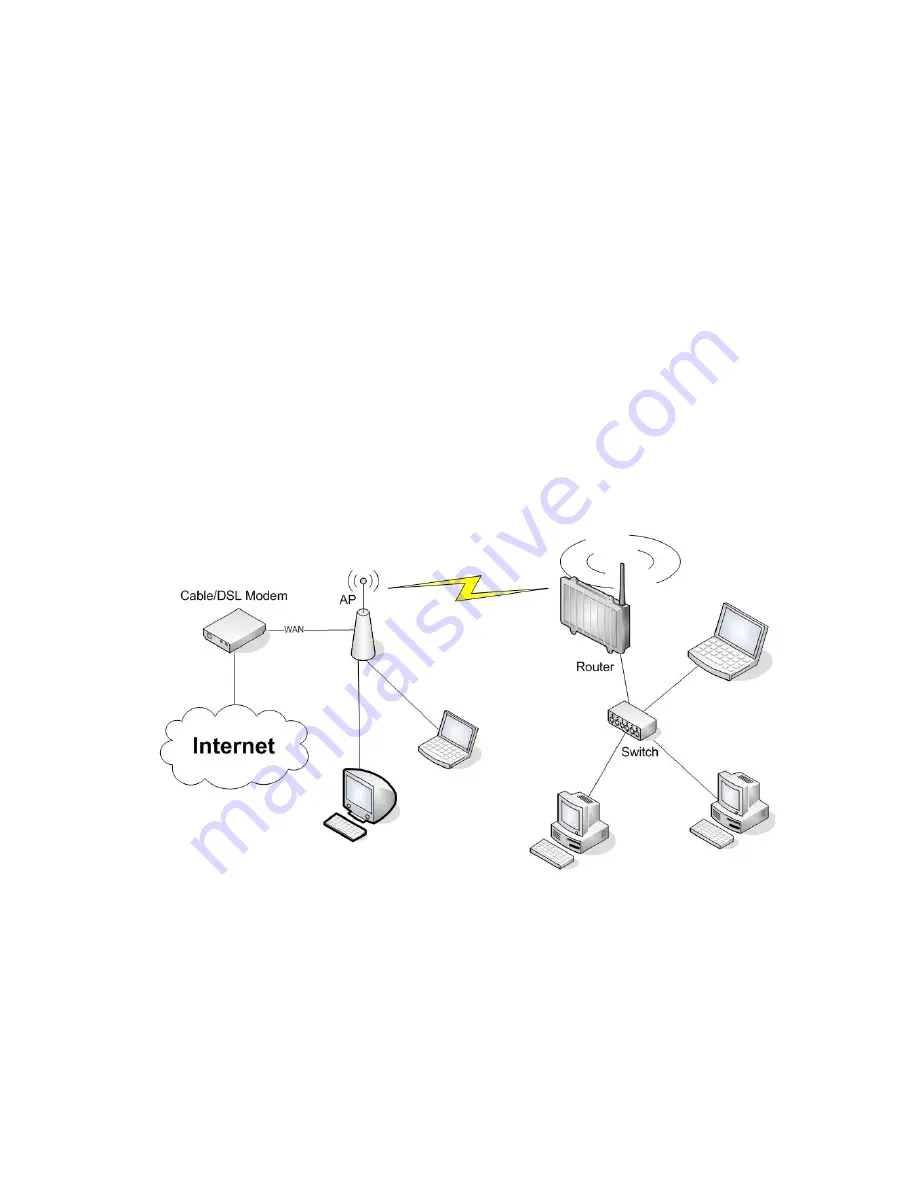
Wireless Client
The router can be also used as a wireless LAN client. This can be
useful if you want to connect devices to your wireless LAN that do not
have a wireless LAN interface. In this configuration, the wireless LAN
interface acts as a wireless client. Attached wired Ethernet devices
can also access the WAN through the wireless connection.
Setup -> Basic Setup
WAN Setup
o
Set “Connection Type“ to “DHCP” to have the AirStation get its IP
address from a DHCP server, or to a “Static IP“ if no DHCP server
is available.
Network Setup
o
Enter the desired LAN-side IP address for the router in “Router
IP“.
o
Set the “DHCP Type“ to “DHCP Server“ (this is the default setting).
o
“Enable” “DHCP Server“ (this is the default setting).
o
Adjust the DHCP address range to match your requirements.
- 20 -
Summary of Contents for AirStation Nfiniti WZR-HP-G300NH
Page 6: ...2 3 Web Interface Structure 5 ...
Page 54: ... 20 Chapter 3 Installation User friendly firmware update screen ...
Page 69: ...Chapter 4 Configuration 35 VPN server Router Mode Only Configure the VPN server ...
Page 77: ...Chapter 4 Configuration 43 AOSS AOSS Status and Settings ...
Page 83: ...Chapter 4 Configuration 49 WMM Set priorities for specific communications ...
Page 98: ... 64 Chapter 4 Configuration Movie Engine QoS Configure Movie Engine options ...
Page 115: ...Chapter 4 Configuration 81 ECO Configure Eco mode from this screen ...
Page 123: ...Chapter 4 Configuration 89 Diagnostic System Info View system information for the AirStation ...
Page 151: ...Chapter 8 Network USB Navigator 117 7 Click Yes 9 Click Next 8 Click Next ...
Page 155: ...Chapter 8 Network USB Navigator 121 6 Click Agree 8 Click Install 7 Click Continue ...


