- 21 -
Chapter 4 - Configuration
The web-based configuration tool lets you change advanced settings for the AirStation. Don’t
change these settings unless you know what you’re doing.
Accessing the Web-based Configuration Interface
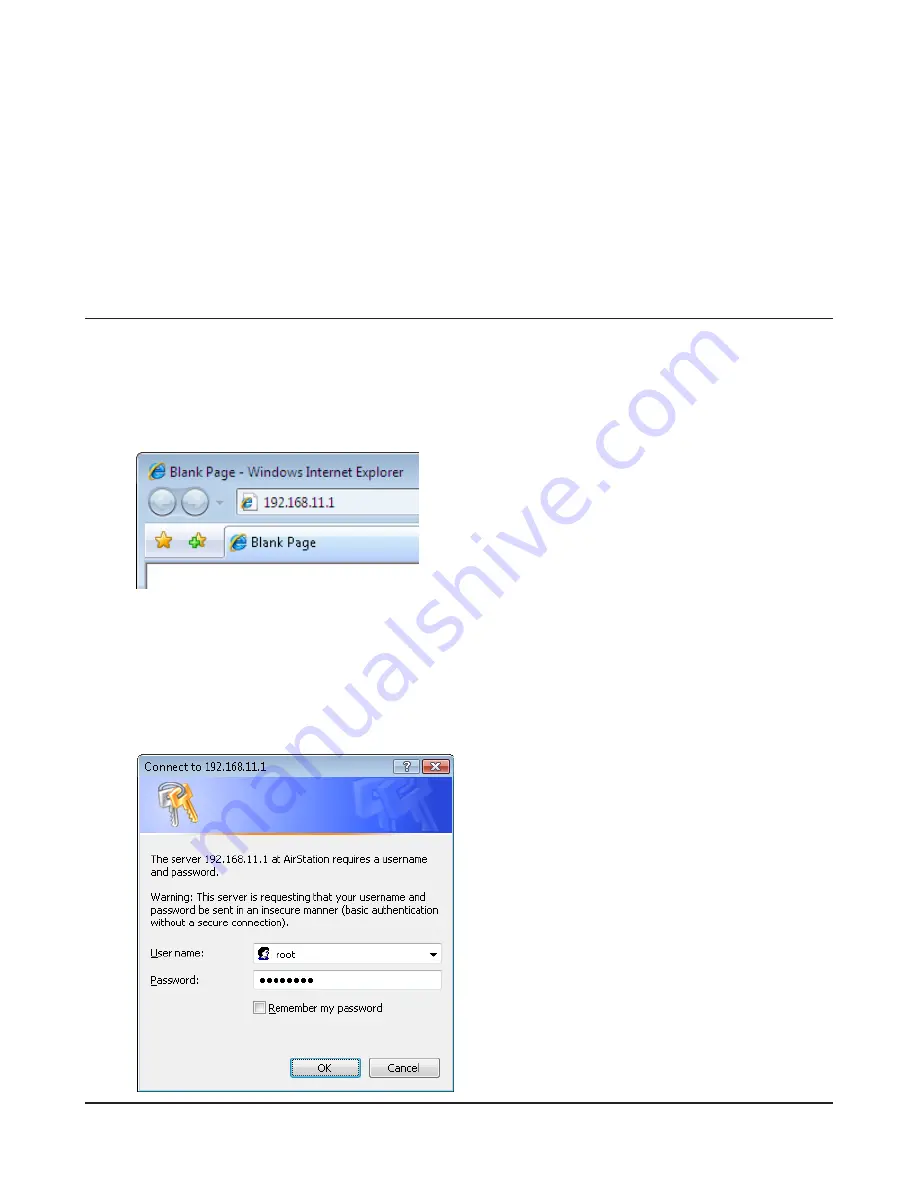
To configure the AirStation’s advanced settings manually, log in to the web-based configuration
interface as shown below.
1
2
3
Launch a web browser.
Enter the AirStation’s LAN-side IP address in the
address field and press the Enter key.
Note: · The AirStation’s default LAN-side IP address depends on the position of the mode switch.
In router mode: 192.168.11.1
In bridge mode: 192.168.11.100
Note: If the router switch is set to auto and the unit is in bridge mode, then the AirStation’s IP
address was assigned by an external DHCP server.
· If you changed the IP address of the AirStation, then use the new IP address.
When this screen appears, enter “root”
(in lower case) for the username and the
password that you set during initial setup.
Click [OK].
Note: · By default, the password is blank (not set).
· If you forget your password, hold down the
reset button (page 12) to initialize all settings.
The password will then be blank. Note that
all other settings will also revert to their
default values.
Summary of Contents for AirStation Nfiniti WZR-HP-G300NH
Page 6: ...2 3 Web Interface Structure 5 ...
Page 54: ... 20 Chapter 3 Installation User friendly firmware update screen ...
Page 69: ...Chapter 4 Configuration 35 VPN server Router Mode Only Configure the VPN server ...
Page 77: ...Chapter 4 Configuration 43 AOSS AOSS Status and Settings ...
Page 83: ...Chapter 4 Configuration 49 WMM Set priorities for specific communications ...
Page 98: ... 64 Chapter 4 Configuration Movie Engine QoS Configure Movie Engine options ...
Page 115: ...Chapter 4 Configuration 81 ECO Configure Eco mode from this screen ...
Page 123: ...Chapter 4 Configuration 89 Diagnostic System Info View system information for the AirStation ...
Page 151: ...Chapter 8 Network USB Navigator 117 7 Click Yes 9 Click Next 8 Click Next ...
Page 155: ...Chapter 8 Network USB Navigator 121 6 Click Agree 8 Click Install 7 Click Continue ...


