14
Ch. 2 Getting Started
Ge
tt
in
g
S
ta
rte
d
3
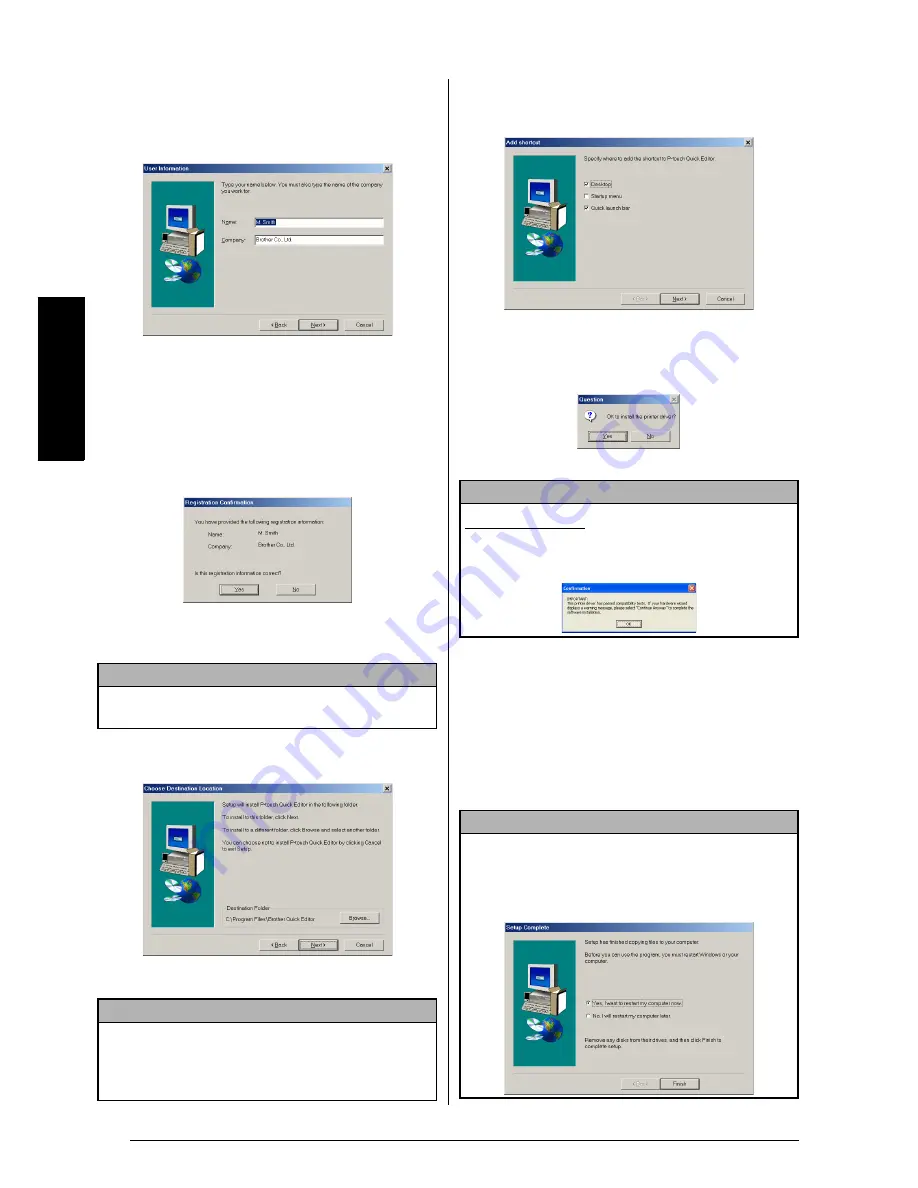
Carefully read the contents of the Welcome
dialog box, and then click the Next button
to continue. The User Information dialog
box appears.
4
Type the necessary information into the
appropriate boxes (If the information has
already been registered in Windows
®
, it
will automatically appear.), and then click
the Next button. A dialog box appears, ask-
ing for confirmation of the entered informa-
tion.
5
Click the Yes button to register the entered
information.
The Choose Destination Location dialog
box appears.
6
Click the Next button to begin installation.
After P-touch Quick Editor is installed, a dialog
box appears, allowing you to select where short-
cuts to P-touch Quick Editor will be added.
7
Select the desired locations for the short-
cuts, and then click the Next button. A dia-
log box appears, allowing you to select
whether or not to install the printer driver.
To install the printer driver, click the Yes button.
The first Driver Setup dialog box appears,
allowing you to select whether the P-touch
will be connected through the USB port or
the RS-232C port.
Continue with the procedure in
Installing
the USB printer driver
on page 17. (To
install the serial printer driver, refer to the
Advanced Functions booklet.)
NOTE
To change the registration information
, click the No
button, and then return to step
4
.
NOTE
To change the location where P-touch Quick Editor
will be installed
, click the Browse button, and then
select the installation folder in the Choose Folder
dialog box that appears. Then, click the OK button.
NOTE
Windows
®
XP only:
A message appears, informing you
that the printer driver has passed compatibility tests and
that the Continue Anyway button should be pressed if a
warning message appears. Click the OK button.
NOTE
If the printer driver is already installed, click the No but-
ton. A dialog box appears explaining that installation is
finished. Select “Yes, I want to restart my computer
now.”, click the Finish button to restart the computer,
and then remove the CD-ROM from the CD-ROM drive.
Summary of Contents for P-touch PT-3600
Page 12: ...vi ...
Page 13: ...1 Ch 1 Before You Start Before You Start Chapter 1 Before You Start ...
Page 17: ...5 Ch 2 Getting Started Getting Started Chapter 2 Getting Started ...
Page 54: ...42 Ch 2 Getting Started Getting Started ...
Page 55: ...43 Ch 3 Functions Functions Chapter 3 Functions ...
Page 91: ...79 Ch 4 Machine Adjustments Machine Adjustments Chapter 4 Machine Adjustments ...
Page 107: ...95 Appendix Appendix Appendix ...
Page 123: ...111 Appendix Appendix ...
Page 134: ......
Page 135: ...GUÍA DE USUARIO ...
Page 138: ...ii ...
Page 212: ...Printed in China LA8622001B ...


