ACS 653, ACS 663 Service Manual
SP00D00624
2021-04-08
Robert Bosch GmbH
40
Diagnostics and Testing
Input Test
The input test displays the current state of
the measurable parts of the unit such as the
amount of refrigerant, temperatures, and the
various pressures present within the unit. The
values shown are absolute and indicate what is
happening within the unit at any given moment
during operation. The values are observable
only and cannot be changed or deleted. They
can indicate whether a sensor or device is
operating within the required limits for proper
unit operation.
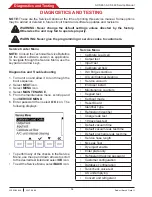
1. From the Service Menu, scroll to
Input Test
.
2. Select
OK
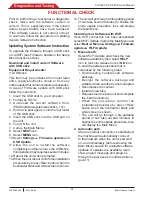
icon. The following displays:
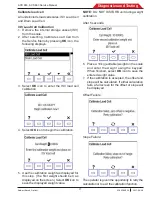
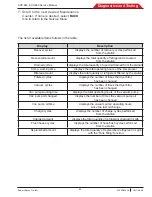
Placeholders X and Y represent numbers
displayed during this test. A list of the sensors and
devices and what the values represent follows:
INPUT TEST
Sensor or
Device
Value
Format
Property
ISV Weight
X.XXXYY ISV Weight
Drain Weight
X.XXXYY Drain Weight
LS Press
X.XYYY Low-Side Pressure
AC Press
X.XYYY Accumulator
Pressure
ISV Press
X.XYYY ISV Pressure
ISV Temp
X.X
0
Y ISV Temperature
HP Sw
X High-Pressure Switch
Overfill
X ISV Liquid Quantity
Air Flow
XXXXrpm Fan Air Flow
(for R1234yf only)
3. Scroll through the sensors or devices to
observe their values. When finished, select
BACK
icon to return to the Service Menu.
Calibrate air flow (for R1234yf only)
The air flow inside the unit must be present at
the correct volume to make sure enough air is
present to prevent the buildup of refrigerant and
to keep the compressor temperature below its
upper limit.
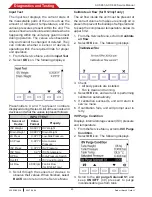
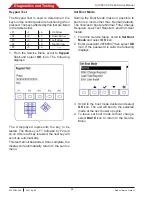
1. From the Service Menu, scroll to
Calibrate
air flow
.
2. Select
OK
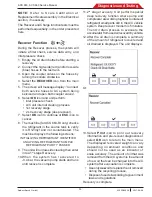
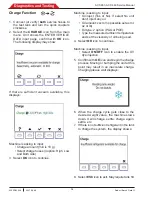
icon. The following displays:
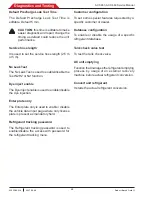
3. Check :
• All body panels are installed.
• Fan is clean and running.
4. Select
OK
icon, and wait unit is performing
calibration automatically.
5. If calibration succeeds, unit will return to
service menu.
6. If calibration fails, unit will prompt user to
retry.
ISV Purge Condition
Displays internal storage vessel (ISV) pressure
and temperature.
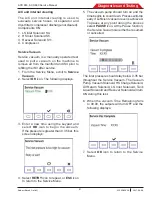
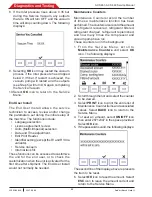
1. From the Service Menu, scroll to
ISV Purge
Condition
.
2. Select
OK
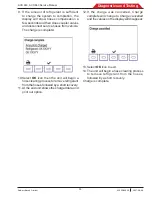
icon. The following displays:
3. Scroll to the
Air purge Solenoid S1
and
keep
ON/OFF
(I/0) pressed to purge
incondensable gas from tank.

