24
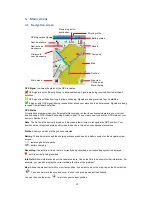
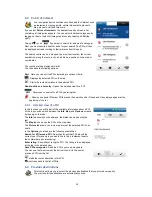
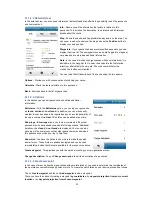
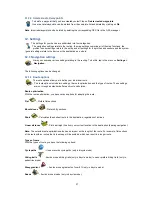
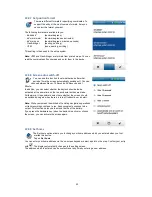
Projection from a specific point means that a new position, that is to say a waypoint, is determined by means of
a bearing (in degrees) and distance from a specific position.
If you create a waypoint by coordinates, enter the coordinates of the new waypoint in the same way as you
would enter a destination using coordinates.
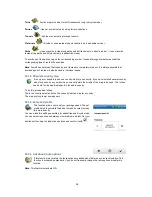
With
waypoint projection from your current location
, your location from which the new waypoint is
determined is used.
Note
: Make sure there is good GPS reception here to obtain an accurate result.
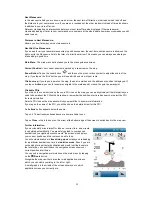
Then enter the bearing and the distance and confirm by tapping
Next
. Positional details and geocoordinates are
output. Enter a name and save the waypoint projection.
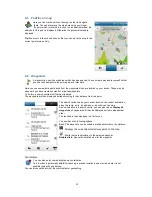
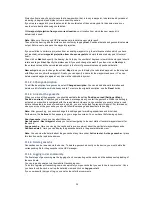
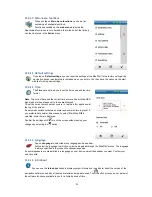
If you would like to perform a projection from an existing waypoint (e.g. the multicache station which you have
just reached), select
waypoint projection from chosen waypoint
and mark the desired waypoint (if several
exist).
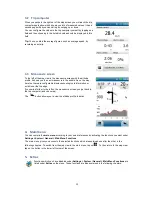
Then click on
Next
and specify the bearing, that is to say the number of degrees, into which the waypoint should
rotate and tap on
Next
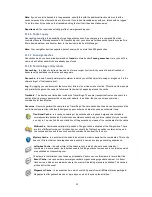
. Specify the distance and if you wish change the
unit
. If you then click on
Next
again,
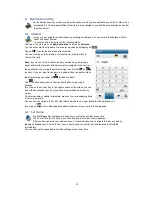
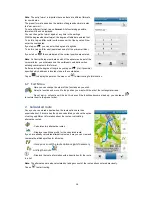
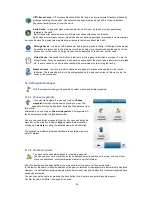
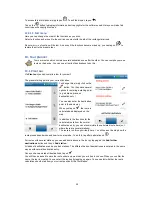
the entered values will be calculated and output in the form of geocoordinates and positional details.
New entry
allows you to change the entries,
Map
allows you to display the calculated waypoint on the map and
with
Ok
you can confirm the waypoint. Finally, you can specify a name for the waypoint and save it. You can
delete created waypoints again at any time via the rubbish bin symbol.
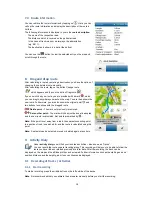
11.1.2.5 Change description
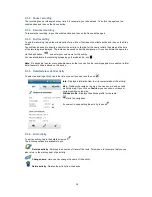
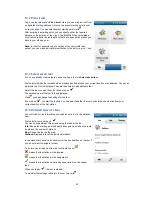
To edit the description for a geocache, select
Change description
. You can add additional information and
delete or edit information which already exists. To restore the original description, use the
Reset
button.
11.1.3 Arrival at the geocache
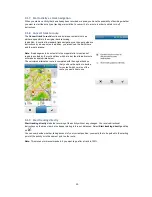
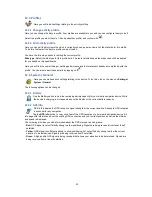
When you arrive at the geocache, you should deactivate the setting
Position on road (Settings > Map >
Position on street
). In addition, you will receive a message when you start the geocache. When this setting is
activated, your position is compared with the road network. However, as geocaches are usually not on a road
but are concealed in an area of woodland, bush etc., you are not guided to precisely this point. For this reason,
when you arrive at the geocache, you should follow the message and deactivate the setting.
Note:
After geocaching, you should change this setting again for walking expeditions and bike rides.
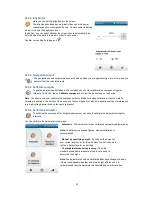
Furthermore, the
Actions
button appears on your navigation screen. You now have the following options:
Abort geocache
- Here you can abort the cache.
Next waypoint
-
Next waypoint
allows you to start navigating to the next station if several waypoints exist for
the cache.
Log geocache
- Here you can log the cache and leave a comment about the particular waypoint/geocache.
Geocache detail
- Here you can display the geocache details in the general detailed view.
Note
: You can view the details about the geocache at any time under
Active route > Active geocache
or place
this function on the rapid access menu.
11.1.4 Delete geocache
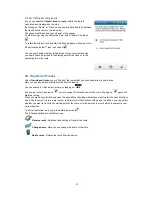
Geocaches can be removed via the device. To delete a geocache directly on the device, you must delete the
corresponding file for the geocache in the GPX manager.
11.1.5 Logging in der community
The final steps of geocaching are the logging of and commenting on the cache and the subsequent uploading of
the saved data.
You can log and comment via the website Geocaching.com.
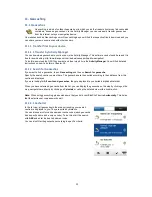
To do this, register at Geocaching.com and search for your geocache that you would like to comment on. Once
you have found the cache, call up the detailed view and click on
Log your visit
.
If you now specify the type of log, you can also leave further comments.

