18
7.4 Route information
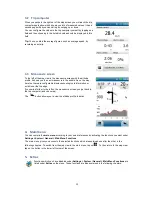
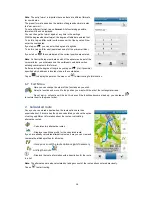
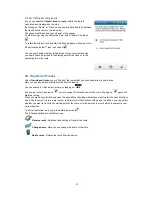
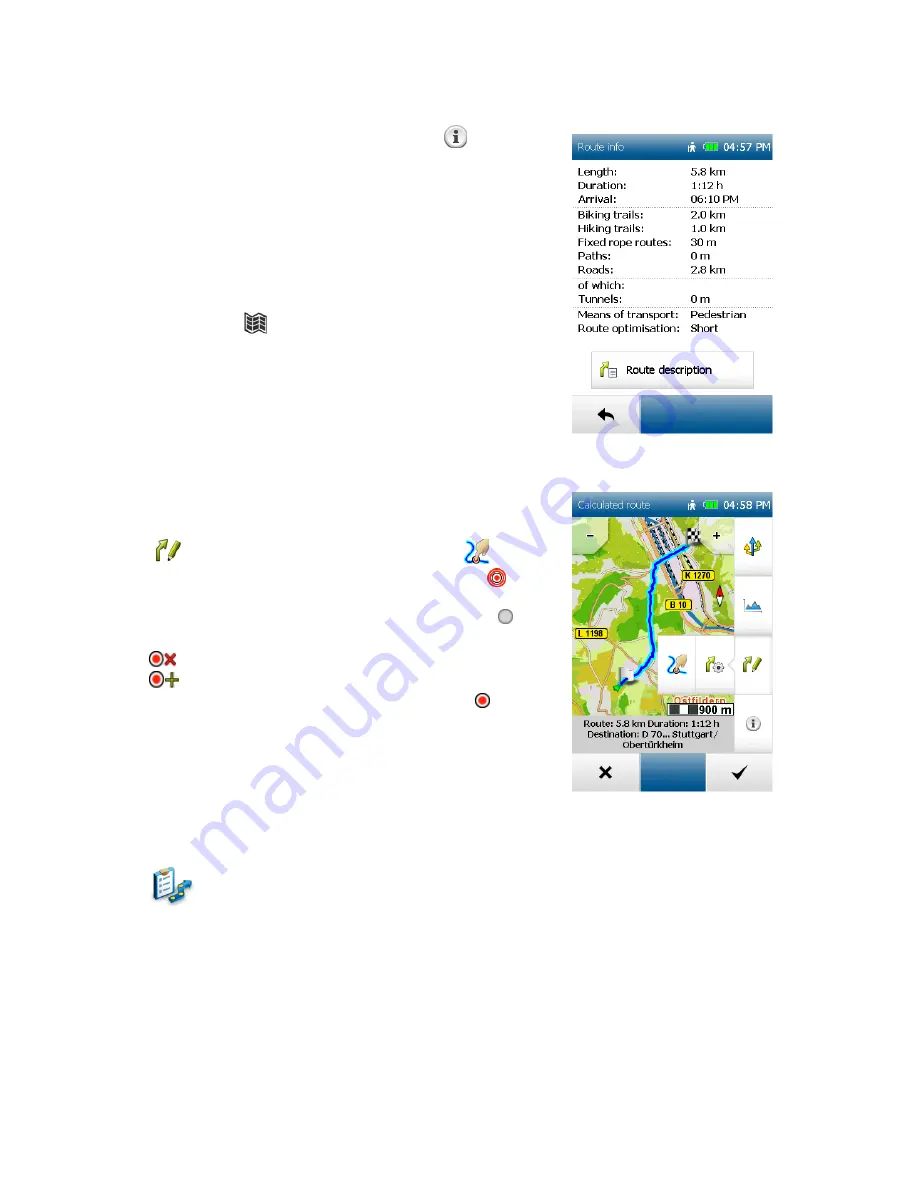
You can retrieve the route information by tapping on
. Here you can
call up the route information and display the description of the route in
list form.
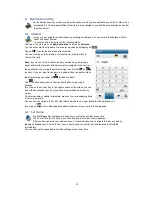
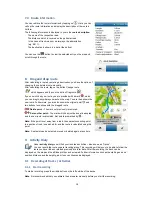
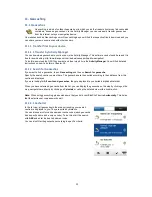
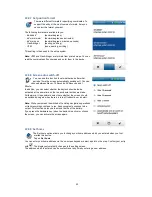
The following information is displayed to you in the
route description
:
-
The name of the respective road.
-
The distance which is covered on the particular road.
-
In the case of trunk roads or motorways, the abbreviation
(e.g. B311).
-
The destination is shown in a bar at the bottom.
You can use the
button to view the selected entry on the map and
scroll through the route.
8. Drag and drop route
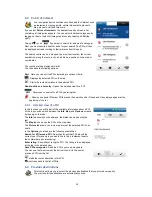
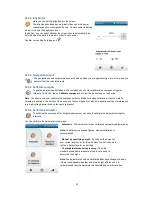
After calculating a route by entering a destination, you have the option of
changing the calculated route manually.
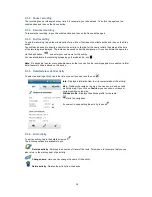
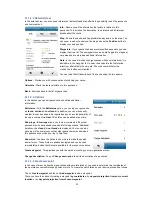
After calculating the route, tap on the button Change route
which appears and then on the button Drag route
.
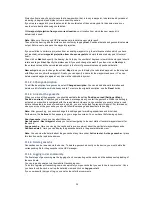
If you now click on your route, you are provided with a mark
, which
you can drag to anywhere you want on the map. You are then shown the
new route. Furthermore, you are also shown the original point
and
two buttons to continue with the dragged route:
Delete point
– The mark set previously is removed.
Set another point
– The mark which has just been set is adopted
and the new route is calculated. Set points are marked by
.
Note:
If the point is set away from a road, the nearest connecting point
to a section of road is searched for and the route is calculated using this
point.
Note:
A set point can be selected, moved or deleted again at any time.
9. Activity Diary
Under
activity diary
you will find your recorded activities
– also known as “tracks”.
You can record the route you are travelling along. This recording will help you to be able to follow the
route you have ridden or walked precisely at a later date. After the recording, the track can be
displayed on the map and the altitude profile can be viewed. Further information such as the starting and end
position, distance and the height gain or loss can likewise be displayed.
9.1 Recording of Tracks / Activities
9.1.1 Start recording
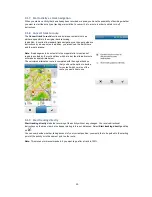
To start a recording, press the middle button on the left outside of the device.
Note
: It is recommended that you calibrate the barometer manually before you start the recording.

