15
CHAPTER 3: Installation
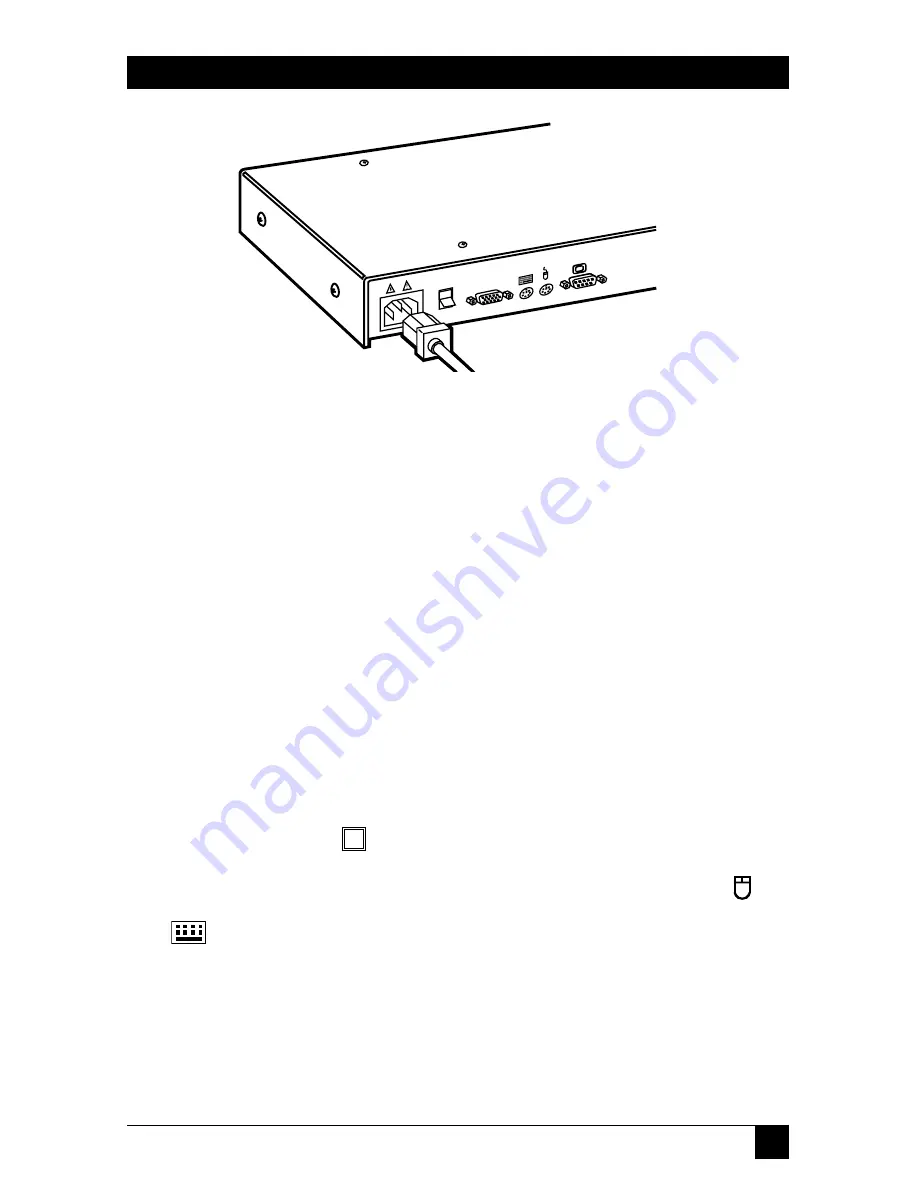
Figure 3-3. Power connection.
3.2 Cascaded Installation
Take these steps to interconnect (cascade) multiple ServSelect units, using a
ServSelect’s CPU port each time, so that the ServSelects remain distinct from each
other and so that the system can be expanded beyond 16 ports (as opposed to
pairing units—see the next section):
1. Choose one of your ServSelects to be the “base unit” (the unit to which the
keyboard, mouse, and monitor will be attached). Follow steps 1 through 3 in
Section 3.1
for this unit.
2. All other ServSelects will be subsidiary “expansion units.” Place (one of) the
expansion unit(s) near the base unit (you can even stack it on top of the base
unit if you like).
3. Plug the DB25 connector of an EHN056 input cable into any available
lettered channel port on the rear of your base unit.
4. Into the port labeled
on your expansion unit, plug the HD15 video con-
nector on one of the other ends of the cable. Plug the 6-pin mini-DIN PS/2
mouse connector, designated by a yellow band or mouse icon, into the
port. Plug the remaining 6-pin mini-DlN keyboard connector into the
port. (The cable’s DB9 and 5-pin DIN connectors are not used for
cascading.) Refer to Figure 3-4 on the next page.
5. If you have other expansion units, repeat steps 2 through 4 for each of them.
Be careful to plug all expansion units into the base unit only. Do
not
attach
any expansion units to other expansion units.


