37
�
Alternatively, if a protocol was added to a Custom Group in error, the user may highlight the protocol to be removed from
the ‘Selected Protocols’ field and click the ‘Remove Protocol’ button.
�
Once satisfied with all of the information entered, click ‘Save’ to save changes and then click ‘Return’ to close the ‘Edit
Custom Groups’ window.
�
To Modify a Previously Created Custom Group:
�
If a user wishes to modify a previously created custom group they must first open the ‘Edit Customs Group’ window and
select the Custom Group to be modified from the ‘Custom Group Name’ drop down menu.
�
They may then add or delete individual protocols as needed using the ‘Add Protocol’ or ‘Delete Protocol’ buttons.
�
After all changes have been made the user must then click the ‘Save’ and ‘Return’ buttons to return to the ‘Editors’ window.
�
To Delete a Custom Group:
�
To delete a previously created Custom Group, click the ‘Custom Group Editor’ button to open the ‘Edit Customs Groups’
window and select the Custom Group to be modified from the ‘Custom Group Name’ drop down menu.
�
With the custom group name displayed in the drop down menu field, click the ‘Delete This Custom Group’ button.
�
NOTE: The software will not ask for confirmation of deletion when performing this step. It is not necessary to
click ‘Save’ after performing this action.
�
After all deletions have been made the user must then click the ‘Return’ button to return to the ‘Editors’ window.
Panel Editor
�
Note: Only accessible under ‘Supervisor’ level security log-in.
�
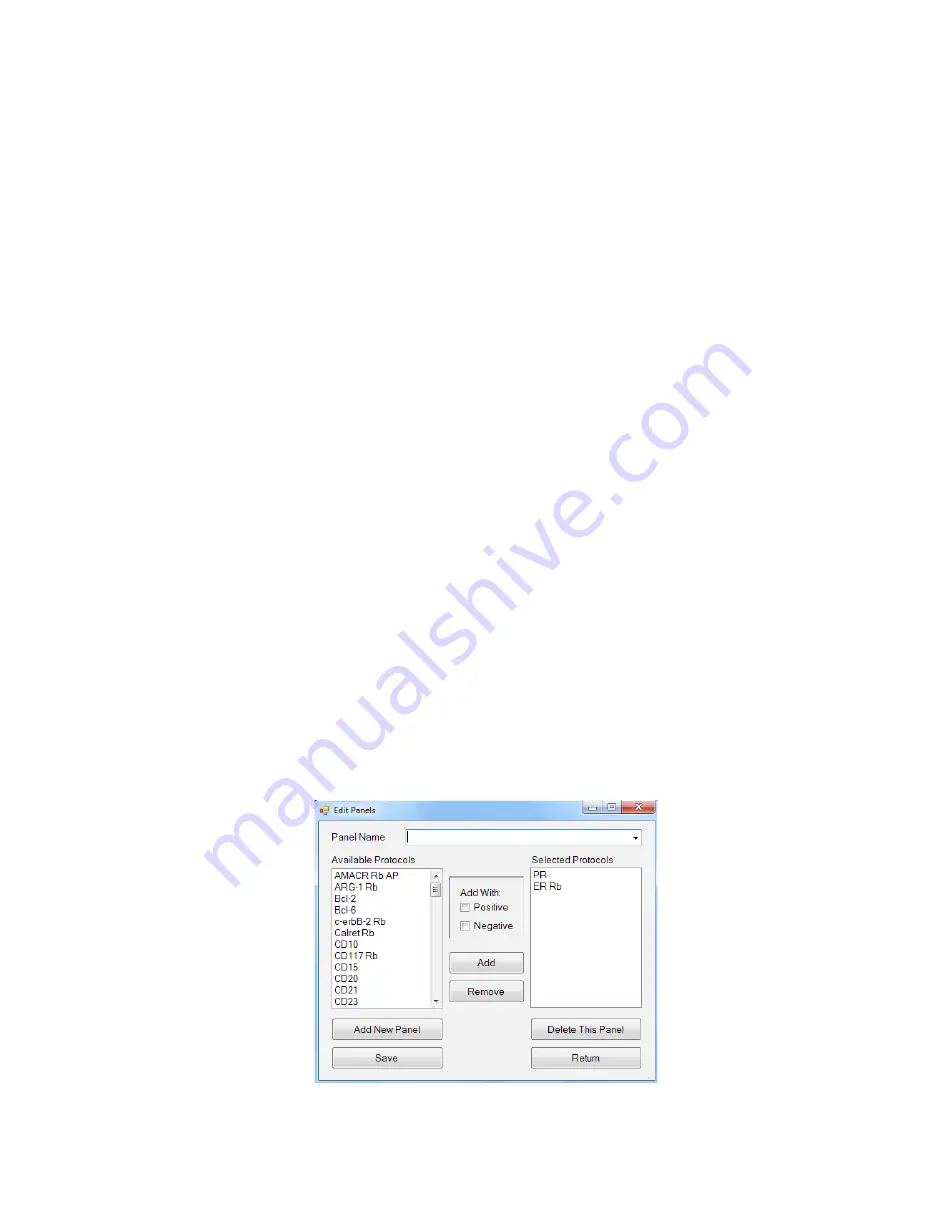
Panels may be used as a shortcut to add multiple protocols to a case at one time. This feature allows the user to create a
Panel of frequently used antibody protocols instead of scrolling through the list of protocols when preparing Slide Labels
in Slide Label Editor. Examples: Breast, Lung.
�
Click the ‘Panel Editor’ button within the ‘Editors’ tab in System Utilities.
�
The ‘Edit Panels’ window will open.


