32
�
To reset all Negative Control protocols to the manufacturer default of ‘Universal Negative’:
�
Click the “Reset” button found at the bottom of the ‘Negative Control Editor’ button.
�
A confirmation window will appear. To accept, click the ‘Yes’ button. To return to the ‘Negative Control Editor’ without
making any changes, click the ‘No’ button.
�
To change the assigned Negative Control for a protocol:
�
Select both the protocol and negative control serum you would like to use in creating a negative control protocol.
�
With both the protocol and negative control serum highlighted, click the ‘Save’ button.
�
To close ‘Negative Control Editor’, click the ‘Return’ button.
Reagent Editor
�
Note: Only accessible under ‘Supervisor’ level security log-in.
�
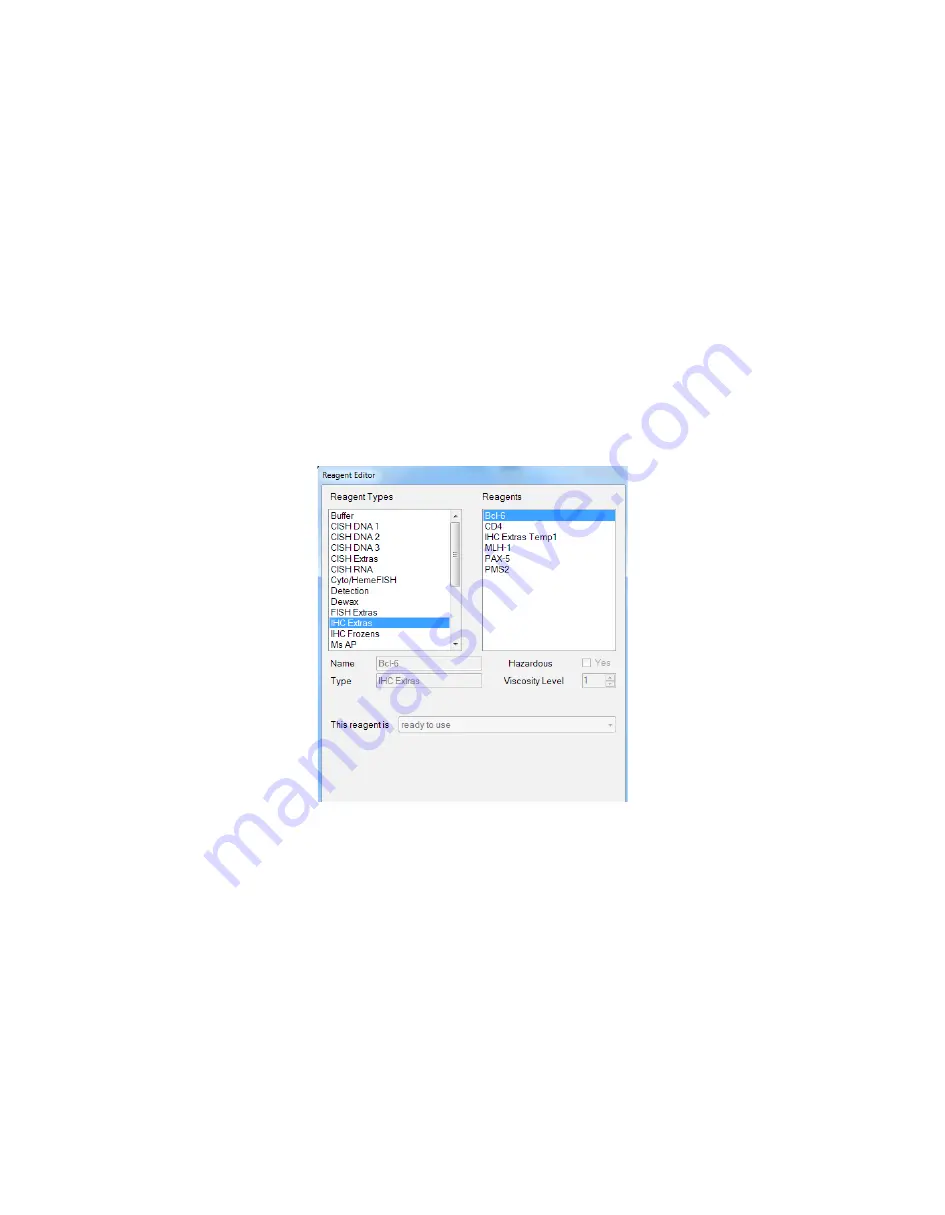
The ‘Reagent Editor’ allows the user to add or delete primary antibodies and probes (and their associated protocol within the
protocol database).
�
Within the ‘Reagent Editor’ Window the user will see two fields: ‘Reagent Types’ and ‘Reagents’.
�
The ‘Reagent Types’ field lists all of the preprogrammed protocol templates and designates them by detection system. After
selecting a designated protocol template in the ‘Reagent Types’ field, the primary antibodies or probes programmed under that
particular template will be displayed in the ‘Reagents’ field.
�
To add a new primary antibody or probe:
�
A user must first select/highlight the appropriate protocol template they would like to assign to that primary antibody or
prober within the ‘Reagent Types’ field.
�
Then click the ‘Add New’ button at the bottom of the window. This will activate the ‘Name’, ‘Viscosity Level’, ‘Protocol
Name’, and ‘Hazardous’ fields.


