72
Virtual Server
NOTE: This feature disables automatically if WAN connection is in BRIDGE mode.
In TCP/IP networks, a port is a 16-bit number used to identify which application program (usually a
server) incoming connections should be delivered to. Some ports have numbers that are pre-assigned
to them by the IANA (the Internet Assigned Numbers Authority), and these are referred to as
“well-known ports”. Servers follow the well-known port assignments so clients can locate them.
If you wish to run a server on your network that can be accessed from the WAN (i.e. from other
machines on the Internet that are outside your local network), or any application that can accept
incoming connections (e.g. Peer-to-peer/P2P software such as instant messaging applications and
P2P file-sharing applications) and are using NAT (Network Address Translation), then you will usually
need to configure your router to forward these incoming connection attempts using specific ports to
the PC on your network running the application. You will also need to use port forwarding if you want to
host an online game server.
The reason for this is that when using NAT, your publicly accessible IP address will be used by and
point to your router, which then needs to deliver all traffic to the private IP addresses used by your PCs.
Please see the
WAN
configuration section of this manual for more information on NAT.
The device can be configured as a virtual server so that remote users accessing services such as Web
or FTP services via the public (WAN) IP address can be automatically redirected to local servers in the
LAN network. Depending on the requested service (TCP/UDP port number), the device redirects the
external service request to the appropriate server within the LAN network.
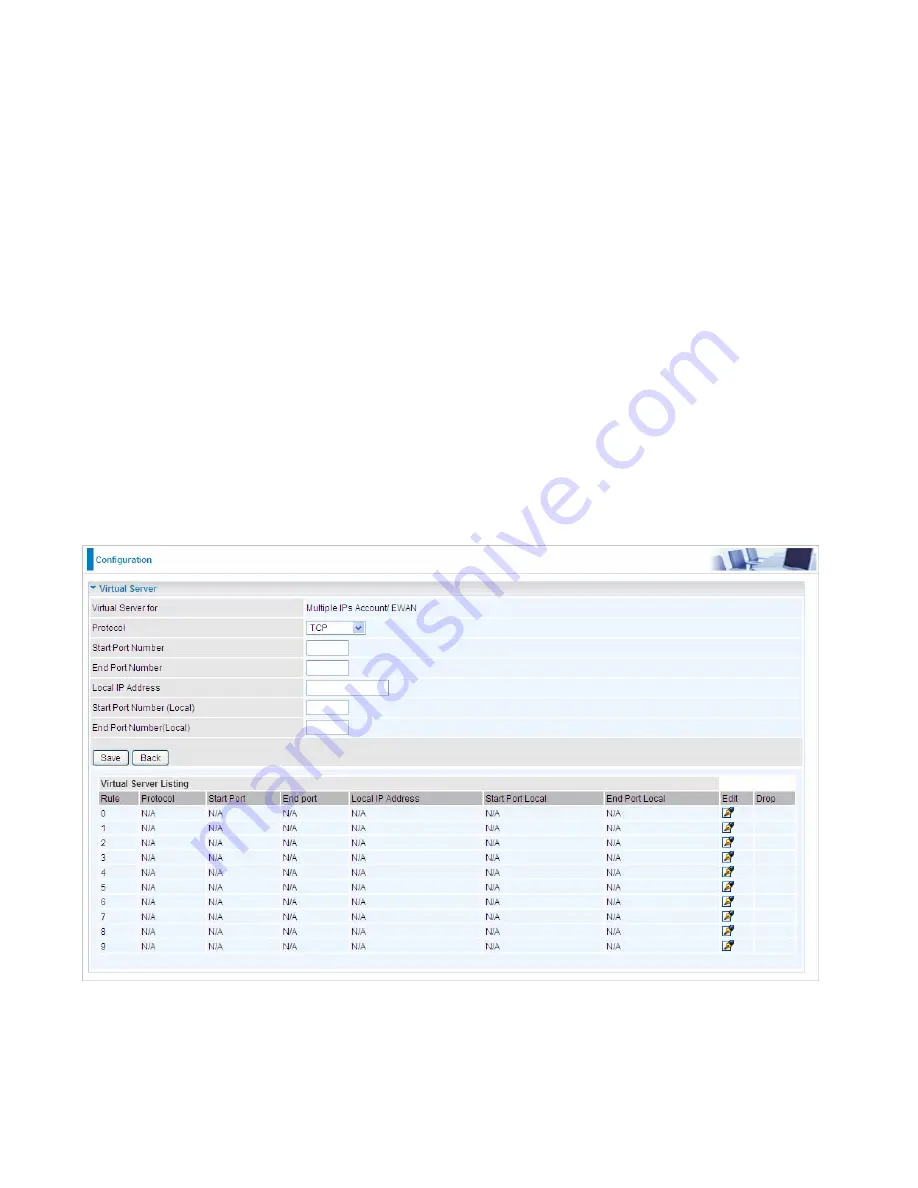
Virtual Server for:
Indicate the related WAN interface which allows outside network to connect in and
communicate.
Protocol:
Choose the application protocol.
Start / End Port Number:
Enter a port or port range you want to forward.
(Example: Start / End: 1000 or Start: 1000, End: 2000).
Summary of Contents for BiPAC 4500NZ(L)
Page 88: ...85...
Page 90: ...87...
Page 92: ...89...
Page 99: ...96 4 Input Internet address and Destination name for this connection and press Next...
Page 100: ...97 5 Input the account user name and password and press Create...
Page 101: ...98 6 Connect to the server...
Page 103: ...100...
Page 142: ...139 EWAN Click START to begin to diagnose the connection...


