11
STARTING THE FAN
To switch the fan on or off, press the
key (L) Fig 4.
Whenever you finish
your exercise, make sure that the
fan is switched off.
By pressing the RESET key the
monitor will enter program selection
status. Holding the RESET key down
for 4 seconds will reset the monitor
allowing you to select a new user by
pressing the
▲
/
▼
and MODE keys.
CHANGING FROM ONE WORK
MODE TO ANOTHER
This monitor allows you to work in 4
different modes:
Manual, Program (Preset), User,
Pulse (HRC). To switch from one
mode to another when User is
flashing, press the UP
▲
/DOWN
▼
buttons and select the desired mode.
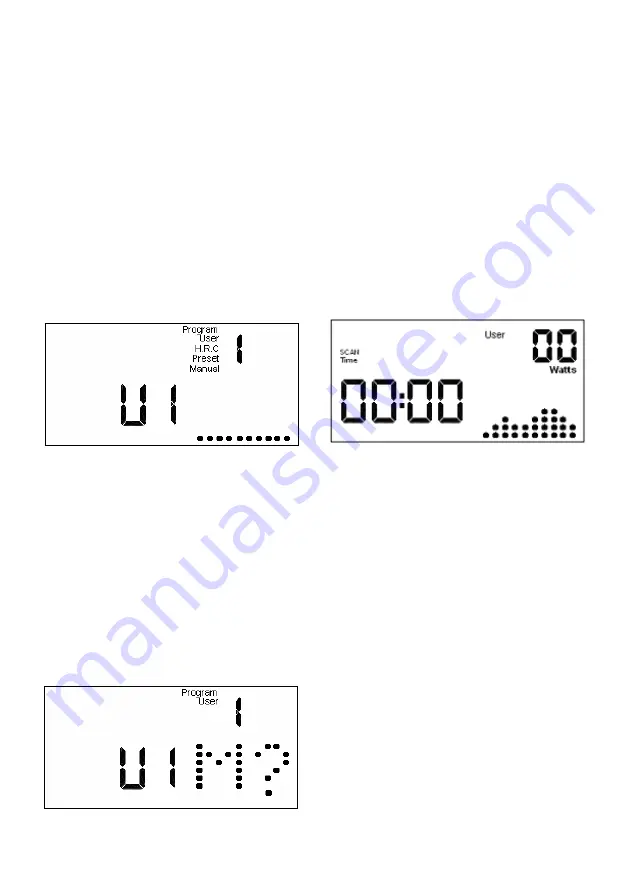
USER FUNCTION U1-U4
Press any key to call up the screen
display and when U1 is on the screen
with User flashing press the UP
▲
key
to select the user (U1 – U4).
Next, press the MODE key and this
screen will appear.
Press the START/ENTER key and the
first minute will appear with the first
user defined exertion level line flashing.
When you have specified the exertion
level for the first minute, press the
START/ENTER key to move onto the
second minute. The second exertion
level column will flash, select the level
and press START/ENTER and so on
until you have completed all 10
minutes on the exertion level graph.
When you reach minute 10 and
specify an exertion level, hold the
START/ENTER key down for a few
seconds and this new screen will
appear:
A constant read-out of Watts
consumed during the exercise and,
when in SCAN mode, scanning
through the Time; Speed; Dist; Cal
and Pulse values every 8 seconds.
To switch SCAN mode off and leave
just one of the values displayed
constantly: Press the MODE key and
SCAN mode will start to flash. Wait for
the value that you want to keep on the
screen
and
then
press
the
START/ENTER key and the chosen
value will stay on the screen.
MANUAL FUNCTION
Press any key to call up the screen
display and when U1 is on the screen
with
User
flashing
press
the
UP
▲
/DOWN
▼
keys to select Manual
mode. This screen will now be
displayed.
Summary of Contents for H106
Page 2: ...Fig 0 Fig 1 Fig 2 Fig 3 Fig 4 Fig 5...
Page 3: ...Fig 4...


