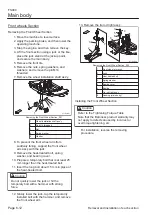
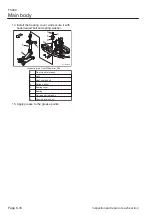

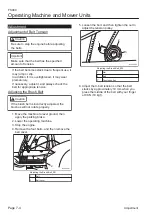
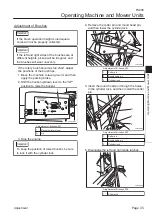


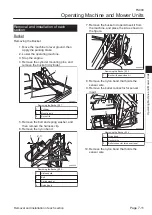

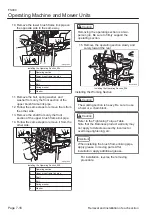
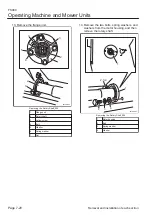
Remove the brush cover.
1
xsi3tb-004
Adjustment of Brushes_005
1
Brush cover
Loosen the bolts securing the brush.
2
1
1
xsi3tb-005
Adjustment of Brushes_006
1
Bolt
2
Brush
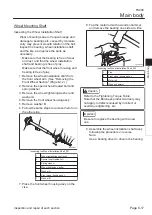
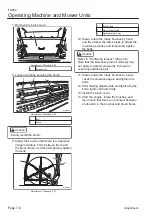
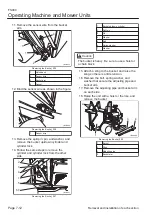
Caution
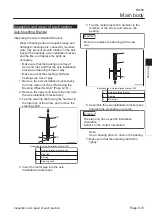
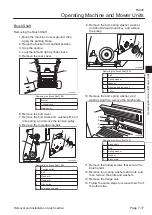
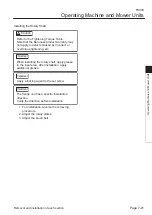
Evenly install the brush.
Adjust the brush so that there is a clearance
of approximately 5 mm between its tip and
the brush frame, and then temporarily tighten
the bolts.
1
A
2
xsi3tb-006
Adjustment of Brushes_007
7.
8.
9.
1
Brush frame
2
Tip of rotary brush
A
Approximately 5 mm
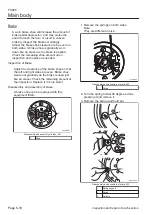
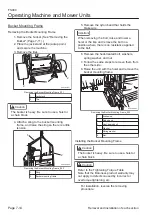
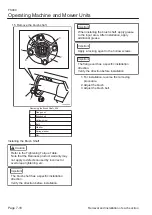
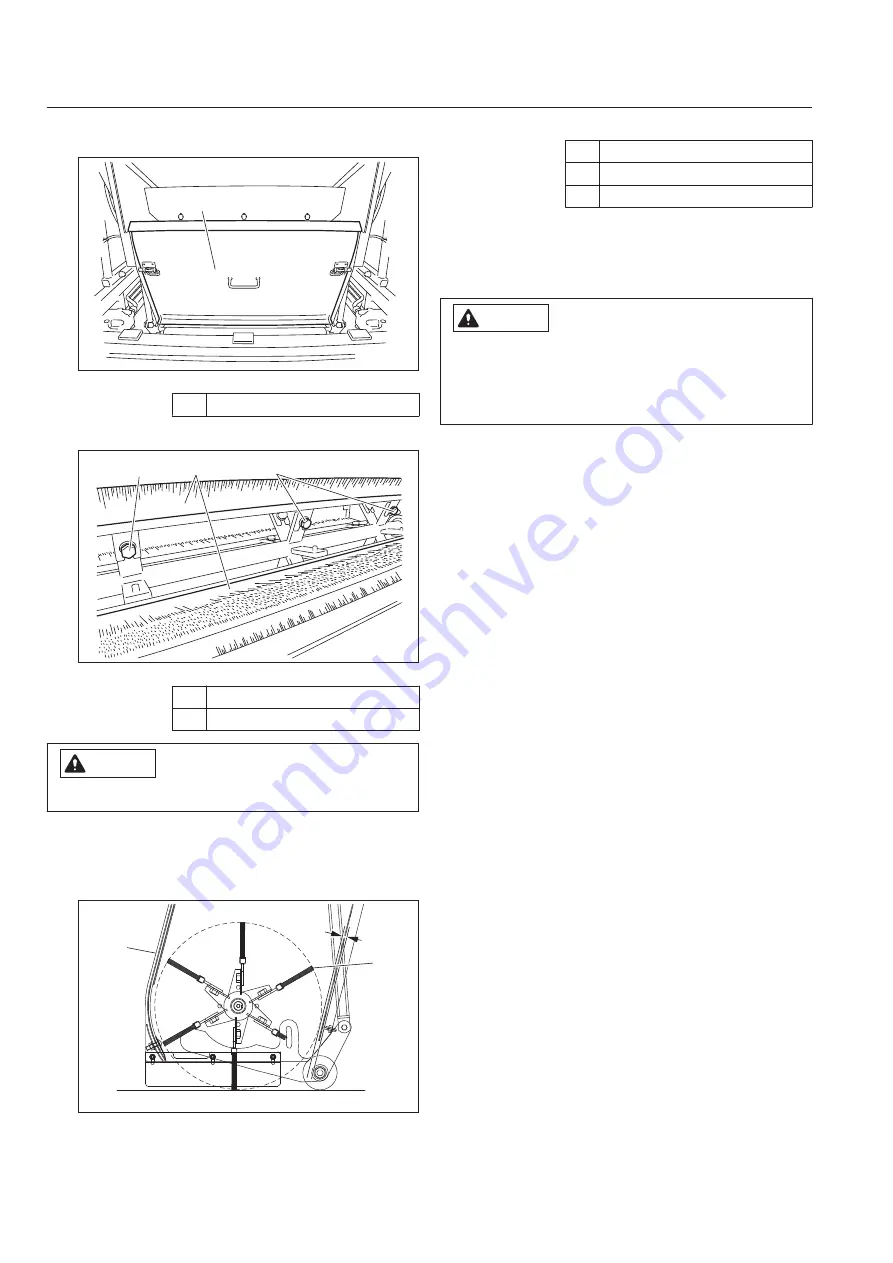
Slowly rotate the rotary brushes by hand,
and then follow the same steps to adjust the
remaining brushes and temporarily tighten
the bolts.
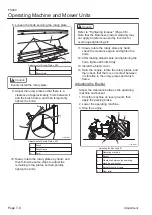
Caution
Refer to "Tightening torques" (Page 3-5) .
Note that the Baroness product warranty may
not apply to defects caused by incorrect or
overtorque tightening etc.
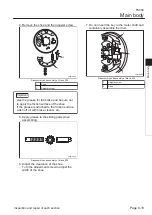
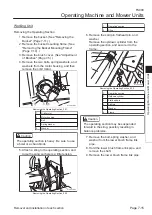
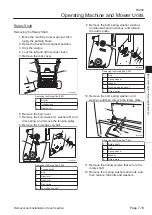
Slowly rotate the rotary brushes by hand,
check the clearance again and tighten the
bolts.
After making adjustments and tightening the
bolts, tighten all bolts firmly.
Install the brush cover.
Start the engine, rotate the brushes, and
then check that there is no contact between
or vibration in the brushes and brush frame.
10.
11.
12.
13.
14.
FS900
Operating Machine and Mower Units
Page 7-6
Adjustment
Summary of Contents for FS900
Page 1: ...Riding Sweeper Service Manual Serial No FS900 10001 Ver 1 0...
Page 4: ...FS900 Contents...
Page 10: ...FS900 Safety Page 1 6 Safety Signs and Instruction Signs...
Page 11: ...Waste Disposal Page 2 2 About the Waste disposal Page 2 2 Disposal FS900 Disposal Page 2 1...
Page 28: ...FS900 Maintenance standards and maintenance Page 3 16 Greasing...
Page 74: ...FS900 Hydraulic system Page 4 46 Inspection and repair of each section...
Page 98: ...FS900 Electrical system Page 5 24 General inspection and repair...
Page 118: ...FS900 Main body Page 6 20 Inspection and repair of each section...