


8. GUI – Installation
8.5
Blending
About Blending
Blending is used in multi channel installation to have a seamless transition between the channels. Image blending gives the appear-
ance of a single view, thus achieving realistic immersion for the majority of wide screen applications.
The principle is that the light intensity in the blend zone from each projector will be adjusted individually, so that the rendering on the
screen are perceived as from one projector.
Picture frame
Projector 1
Picture frame
Projector 2
Width, Projector 2
Width, Projector 1
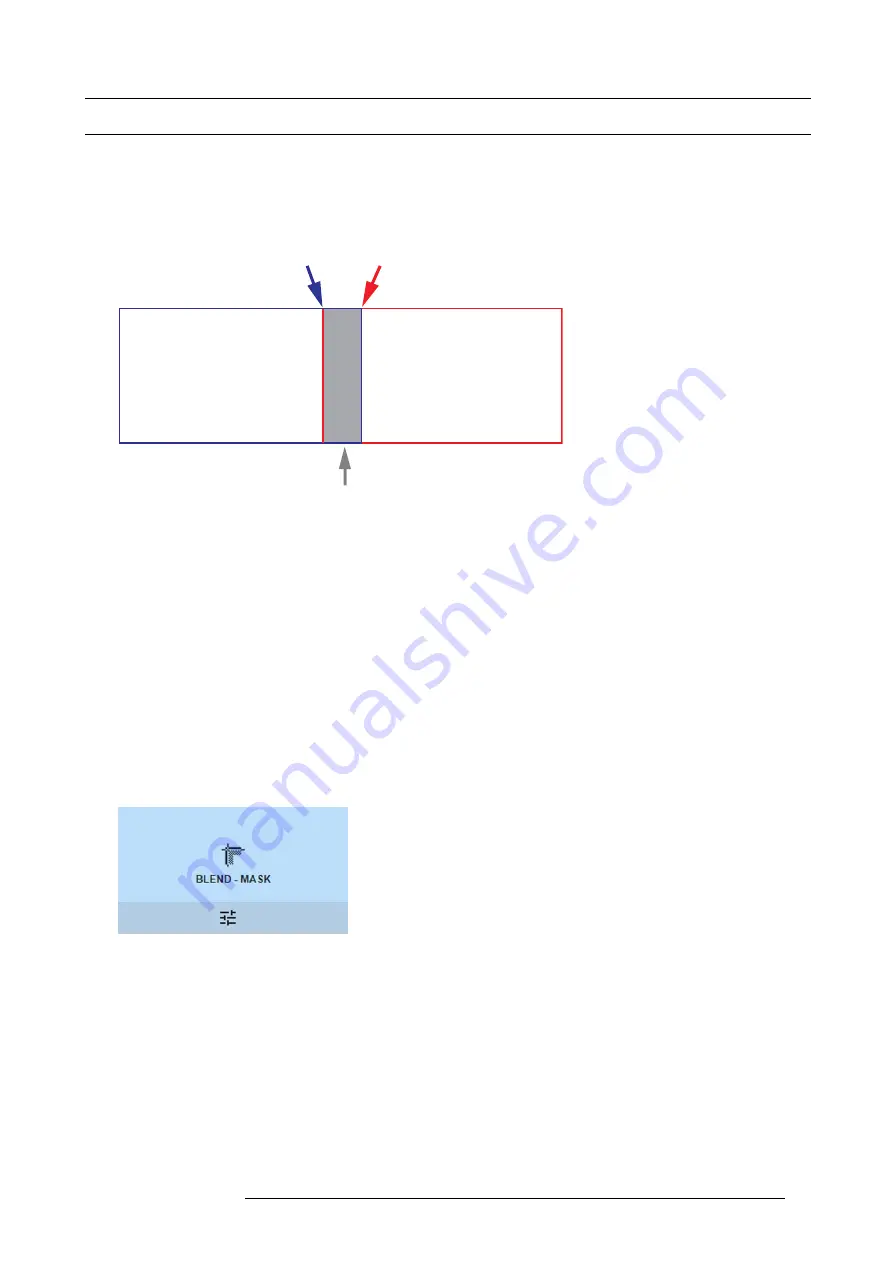
Overlap / Blend Zone
Image 8-35
From the start (mask) position, you can blend zone size per edge (left, top, right, bottom). For each edge there will be a drop-off
curve for the blend zone.
8.5.1
Blend & Mask
About masking and blending width or height
Offset is used to clip the image on one or multiple sides (masking). This is used to hide parts of the picture that should not be shown
on the screen. For example: if the source is a Windows PC, you can hide the menu bar using this method.
The larger the Mask value, the more the image is masked (by black bar) at the corresponding side. E.g. Top mask of 100 will blank
the top 100 lines.
Height or width is used to create a blending zone with a smooth brightness drop off. This is used to compensate for the double
brightness in overlap areas. The value is the size of the blended area in pixels.
How to adjust blend zones?
1. In the main menu, select
Installation
→
Blend and Mask
→
Blend – Mask
.
Image 8-36
Blend and Mask menu, Blend – Mask
R5906151 XDL 17/04/2018
67
Summary of Contents for XDL-4K75
Page 1: ...XDL User Manual R5906151 00 17 04 2018...
Page 4: ......
Page 16: ...1 Safety 12 R5906151 XDL 17 04 2018...
Page 22: ...2 Pulse Remote Control Unit 18 R5906151 XDL 17 04 2018...
Page 46: ...5 Graphic User Interface GUI 42 R5906151 XDL 17 04 2018...
Page 58: ...7 GUI Image 54 R5906151 XDL 17 04 2018...
Page 82: ...8 GUI Installation 78 R5906151 XDL 17 04 2018...
Page 96: ...9 GUI System Settings 92 R5906151 XDL 17 04 2018...
Page 98: ...10 Status menu 94 R5906151 XDL 17 04 2018...
Page 104: ...11 Maintenance procedures 100 R5906151 XDL 17 04 2018...


