


6. GUI – Source
Image 6-3
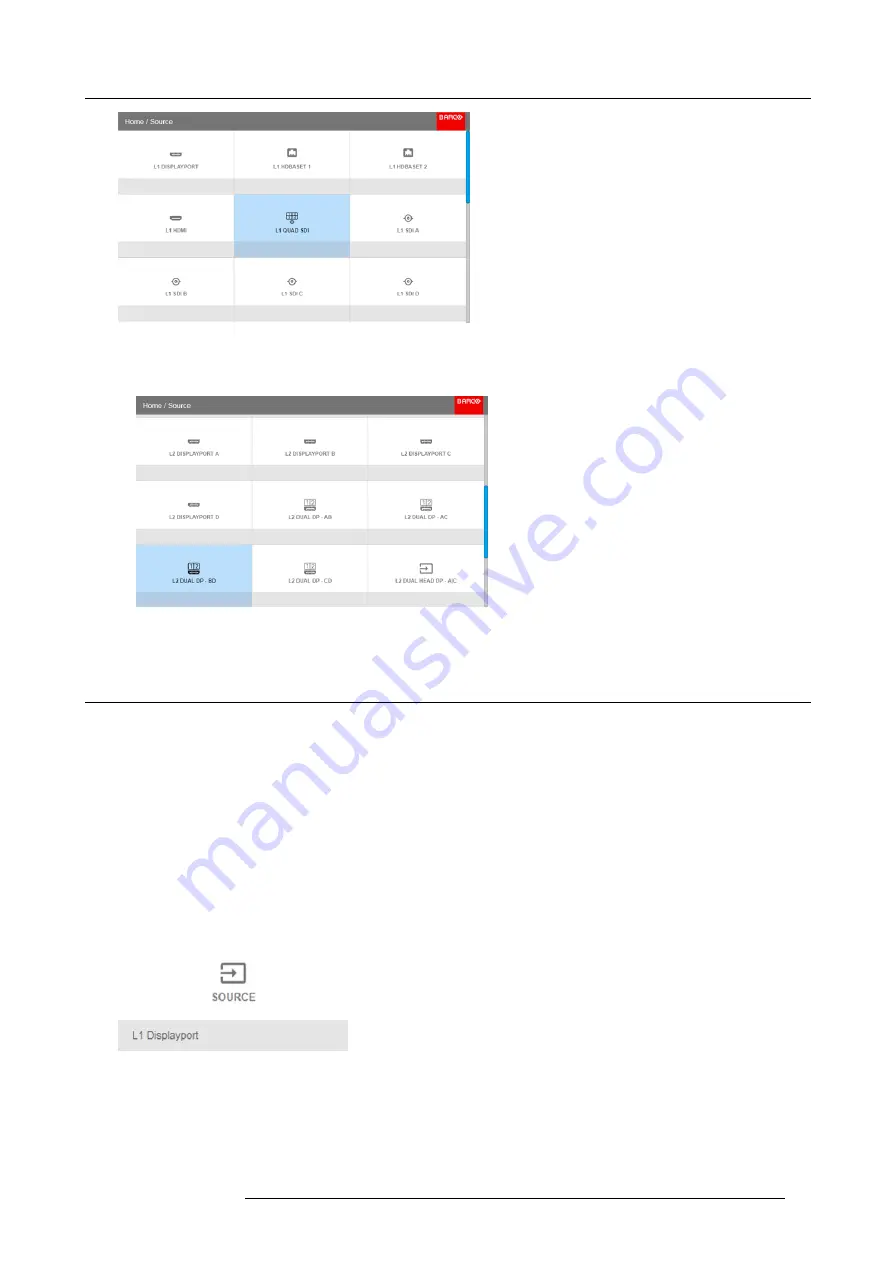
Input selection menu
3. Select the desired stitched input.
Tip:
If the V&AR board is installed, scroll all the way down the Input Selection menu for the stitched options on that board.
Image 6-4
Input Selection menu, stitched options
6.3
Connector Settings
About Connector Settings
The Connector Settings menu allows you to change settings for each input connector of the projector.
By default all options for every connector are set to automatic, together with the native Extended Display Identi
fi
cation Data (EDID).
When entering the menu for each input connector, you can change the following:
•
Color Space
•
Signal Range
•
EDID
How to con
fi
gure a connector
1. Press
Menu
to activate the menus and select
Source
.
Image 6-5
Select Source
2. Press
OK
.
The
Select Source
menu is displayed with the actual available sources
fi
lled out.
3. Scroll down to the bottom of the list of available sources and select
Connector Settings
.
R5906151 XDL 17/04/2018
45
Summary of Contents for XDL-4K75
Page 1: ...XDL User Manual R5906151 00 17 04 2018...
Page 4: ......
Page 16: ...1 Safety 12 R5906151 XDL 17 04 2018...
Page 22: ...2 Pulse Remote Control Unit 18 R5906151 XDL 17 04 2018...
Page 46: ...5 Graphic User Interface GUI 42 R5906151 XDL 17 04 2018...
Page 58: ...7 GUI Image 54 R5906151 XDL 17 04 2018...
Page 82: ...8 GUI Installation 78 R5906151 XDL 17 04 2018...
Page 96: ...9 GUI System Settings 92 R5906151 XDL 17 04 2018...
Page 98: ...10 Status menu 94 R5906151 XDL 17 04 2018...
Page 104: ...11 Maintenance procedures 100 R5906151 XDL 17 04 2018...


