7. Random Access Adjustment Mode
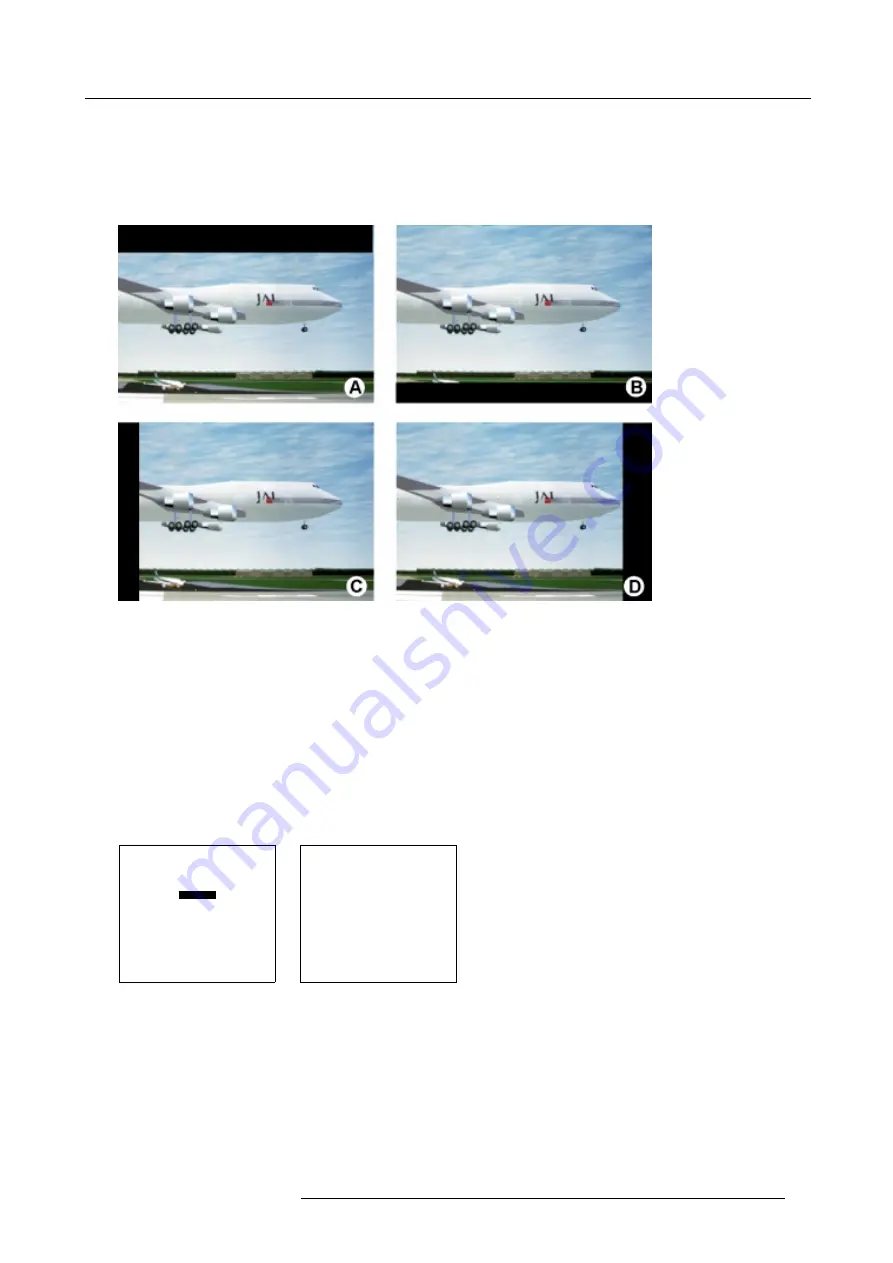
Which blanking adjustments are available ?
•
top blanking
•
bottom blanking
•
left blanking
•
right blanking
Image 7-7
Blanking
A
Top blanking
B
Bottom blanking
C
Left blanking
D
Right blanking
Adjusting the blanking.
1. Push the cursor key
↑
or
↓
to highlight
Blanking
. (menu 7-43)
2. Press
ENTER
to display the blanking menu. (menu 7-44)
3. Push the cursor key
↑
or
↓
to highlight the desired blanking.
4. Press
ENTER
to start up the chosen blanking.
5. Use the cursor keys to adjust the blanking.
GEOMETRY
SHIFT
SIZE
SIDE KEYSTONE
BLANKING
ASPECT RATIO [4:3]
Select with
↑
or
↓
then <ENTER>
<EXIT> to return
Menu 7-43
BLANKING
TOP
BOTTOM
LEFT
RIGHT
Select with
↑
or
↓
then <ENTER>
<EXIT> to return
Menu 7-44
7.4.7
Aspect Ratio
Purpose
To force the projector in a typical aspect ratio. E.g. projecting a 4:3 image in a 16:9 aspect ratio.
R5976483 BARCOSLM R6 17092002
67
Summary of Contents for BARCOSLM R6
Page 1: ...BARCOPROJECTION BARCOSLM R6 R9001901 OWNERS MANUAL 17092002 R5976483 01 ...
Page 4: ......
Page 8: ...Table of contents 4 R5976483 BARCOSLM R6 17092002 ...
Page 13: ...2 Packaging and Dimensions Image 2 4 Top view dimensions R5976483 BARCOSLM R6 17092002 9 ...
Page 14: ...2 Packaging and Dimensions 10 R5976483 BARCOSLM R6 17092002 ...
Page 28: ...3 Installation Guidelines 24 R5976483 BARCOSLM R6 17092002 ...
Page 40: ...4 Connections 36 R5976483 BARCOSLM R6 17092002 ...
Page 82: ...7 Random Access Adjustment Mode 78 R5976483 BARCOSLM R6 17092002 ...
Page 106: ...9 Service Mode 102 R5976483 BARCOSLM R6 17092002 ...
Page 108: ...10 Programmable Function Keys 104 R5976483 BARCOSLM R6 17092002 ...
Page 112: ...A Standard Source set up Files 108 R5976483 BARCOSLM R6 17092002 ...


