


When connecting more than one remote head, they will normally be daisy chained together via
the RS-422 outputs/inputs between each head.
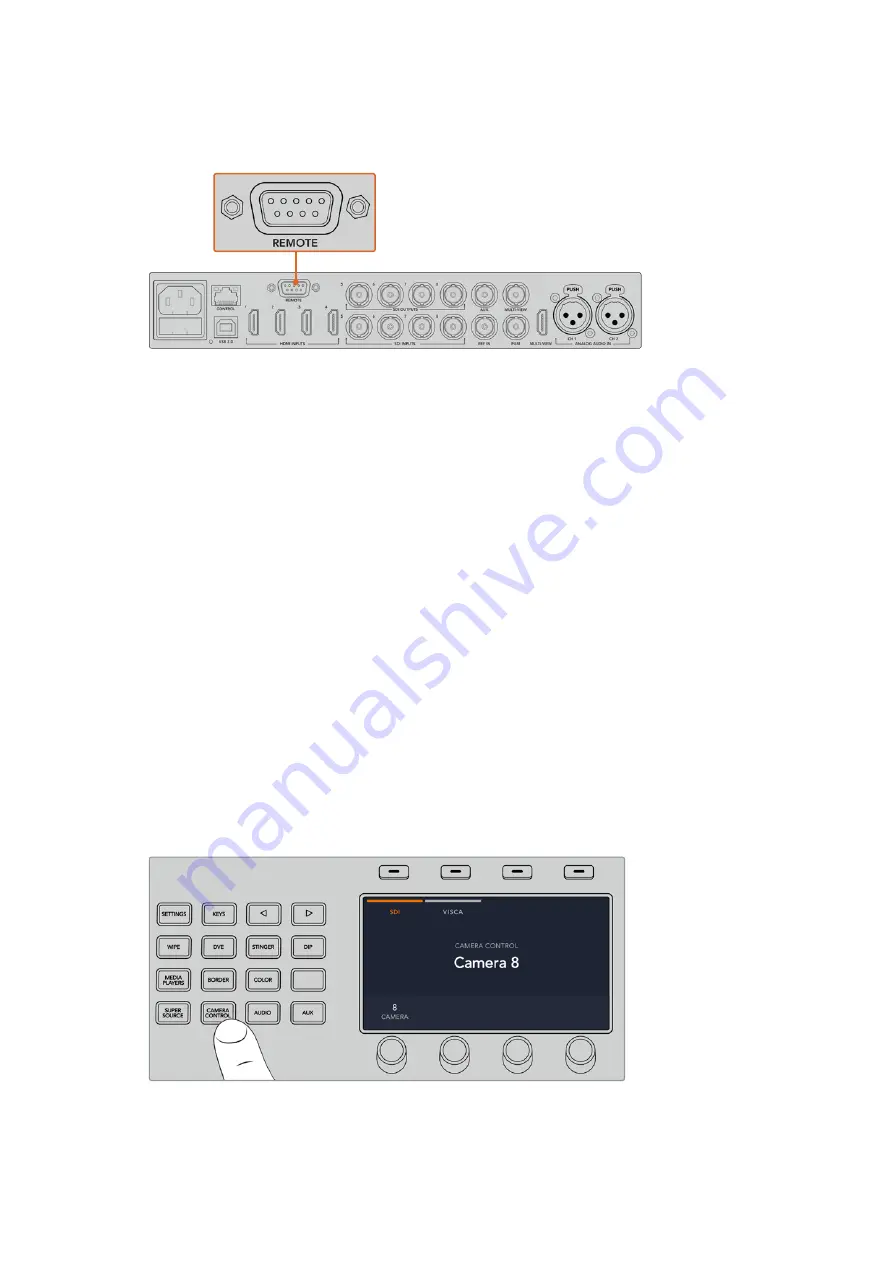
Connect a remote camera head to your ATEM switcher via the
RS-422 port labelled ‘remote’ on the rear panel
PTZ Setup for Remote Heads
All PTZ setup options are set using the ‘settings’ LCD menu. Press the arrow buttons to move to
the last page of switcher settings and set the remote port to VISCA. Set the baud rate to match
the rate used by your PTZ camera. Refer to your camera’s support documentation to confirm
the appropriate baud rate.
Pressing the camera control button opens the camera settings, where you can select VISCA
control and choose the camera you want to adjust. But first, you will need to make sure the
connected cameras are detected.
To detect the connected devices:
1
Press the VISCA soft button to select VISCA control.
2
Press the ‘detect’ soft button.
The first camera connected to your switcher will appear on the LCD as ‘camera 1’. If you have
more than one camera connected, they can each be selected by turning the ‘camera’ soft
control knob. Camera numbering is based on consecutive order from the first remote head
connected, through to the last in the chain.
If the number of connected cameras that appear on the LCD menu don’t match the physical
number you have connected, check that all your camera heads are powered and their RS-422
ports are plugged in correctly. Once all your camera heads are visible on your ATEM advanced
panel, select each camera using the soft control knob or numeric keypad and make some quick
adjustments with the joystick to check they are all working properly.
To use VISCA PTZ control, press the ‘camera control’ button
and select VISCA by pressing the VISCA soft button.
100
Using ATEM Hardware Panels