


For example if you want cuts when you select sources, then select the cut button. It will be
illuminated and now when you select sources you will see a cut. If you want to do transitions
now, then press the auto button. It will illuminate and now when you select sources, you will see
that each transition will use your currently selected transition. Use the same process as shown
in the previous examples to select the type of transition you want in the LCD menus.
In Case of Strange Behavior!
It’s important to note that anything you change on the front panel buttons or in the LCD menus
here will also be reflected on the software and hardware panel. What this means is if the front
panel does not behave in a normal way and seems to be doing strange things that are
unexpected, then it could be that another user has selected a mode that you cannot easily see
on the front panel. For example, another user could have a keyer selected and no background,
so when you press the auto button you are actually selecting a keyer. If you see this happen,
it’s a good idea to check the LCD menus or use the software control panel to clear these
settings back to normal.
This is very important if someone selects a specific switcher feature and then saves the
switcher state! It could mean you turn on the switcher and the front panel does not do what
you expect!
Audio Levels
The function of the knob on the front panel is primarily for audio level adjustment, although it is
used for menu selection when you are in the LCD menus. Normally it’s used for audio level
control and you can tell what it’s controlling by looking at the LCD. The label on the LCD will tell
you what the knob is adjusting.
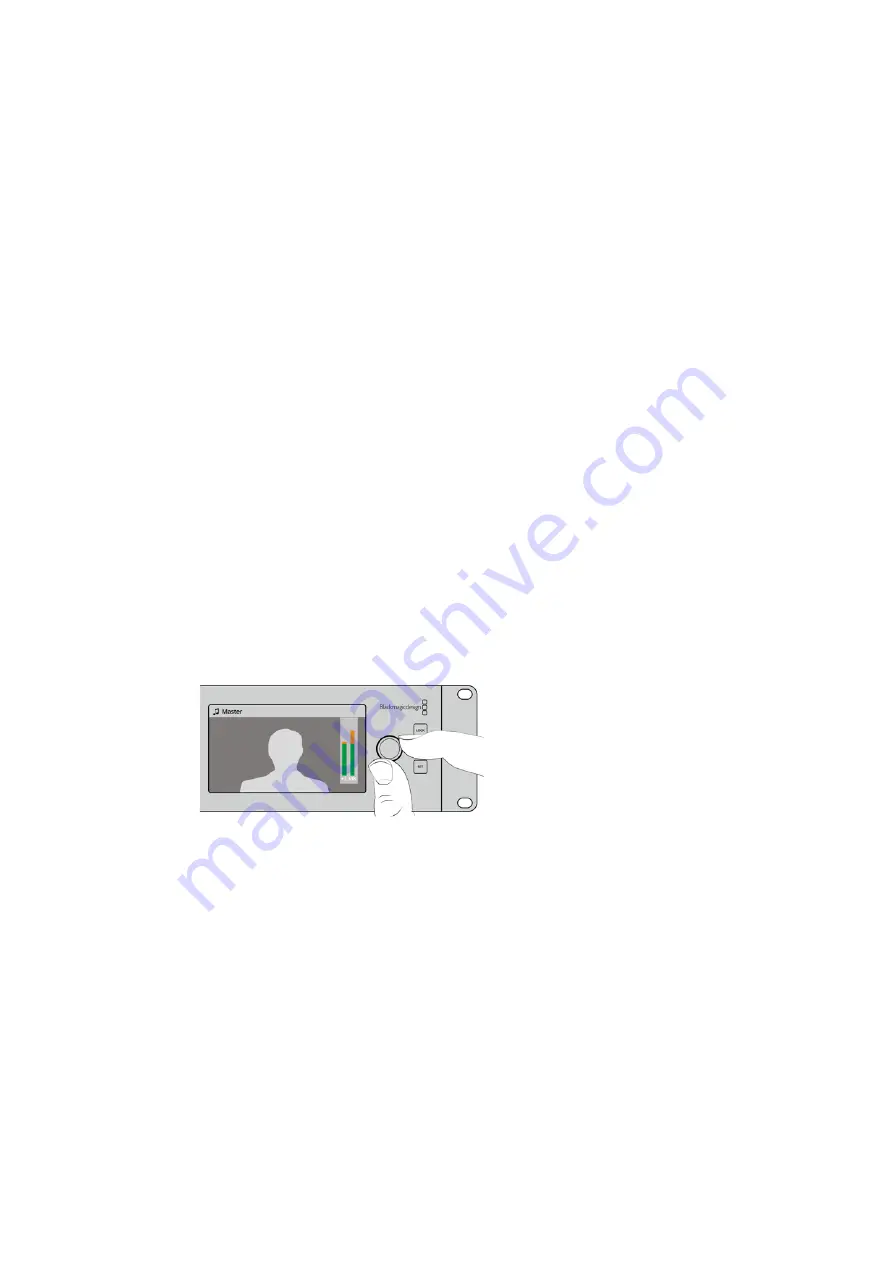
Normally, the LCD has the label ‘master’ and this means the knob is adjusting the main audio
mixer master output. Adjusting the knob will lower the whole program audio levels and you can
see the effect on the main audio meters in the LCD that are superimposed on the
video preview.
Use the knob to adjust the master audio level and you
can see the effect on the main audio meters in the LCD
If you want to adjust the audio for each of the SDI inputs, you can view and adjust the audio
levels individually through the menus on the LCD. This is a useful way to identify when the main
audio level is too high because single input is too high level. In this case you don’t want to
adjust the master audio level because all the other inputs will now become too low. You really
want to select the input audio level and adjust just that single audio level.
To adjust an input audio level, for example on input 4:
1
Select the input 4 button. This is easier when using program/preview mode as you can
just select it on the preview source.
2
The label on LCD will change to that input, for example input 4, to show you’re adjusting
the level for that specific input.
3
Adjust the knob and you will see the audio meter on the LCD will reduce in level.
36
Using the ATEM Constellation 8K Front Panel