


Auto Roll
You can toggle your HyperDeck’s auto roll function from the second screen of the HyperDeck
settings menu. While in the HyperDeck settings menu, use the ‘left’ or ‘right’ arrow buttons in
the system control panel to navigate to this screen.
While in this menu, press the LCD soft button above the ‘auto roll’ indicator to turn the auto roll
feature on. The indicator text will illuminate blue when auto roll is on.
The auto roll feature lets you set a HyperDeck disk recorder to automatically roll video when it
is switched to the program output. For example, you can cue a HyperDeck to the point you
want your source to begin, then roll the clip by pressing the HyperDeck’s input button on the
program row.
As HyperDecks must buffer a couple of frames before commencing playback, the actual cut will
be delayed a preset number of frames to ensure a clean transition. This is just like setting a
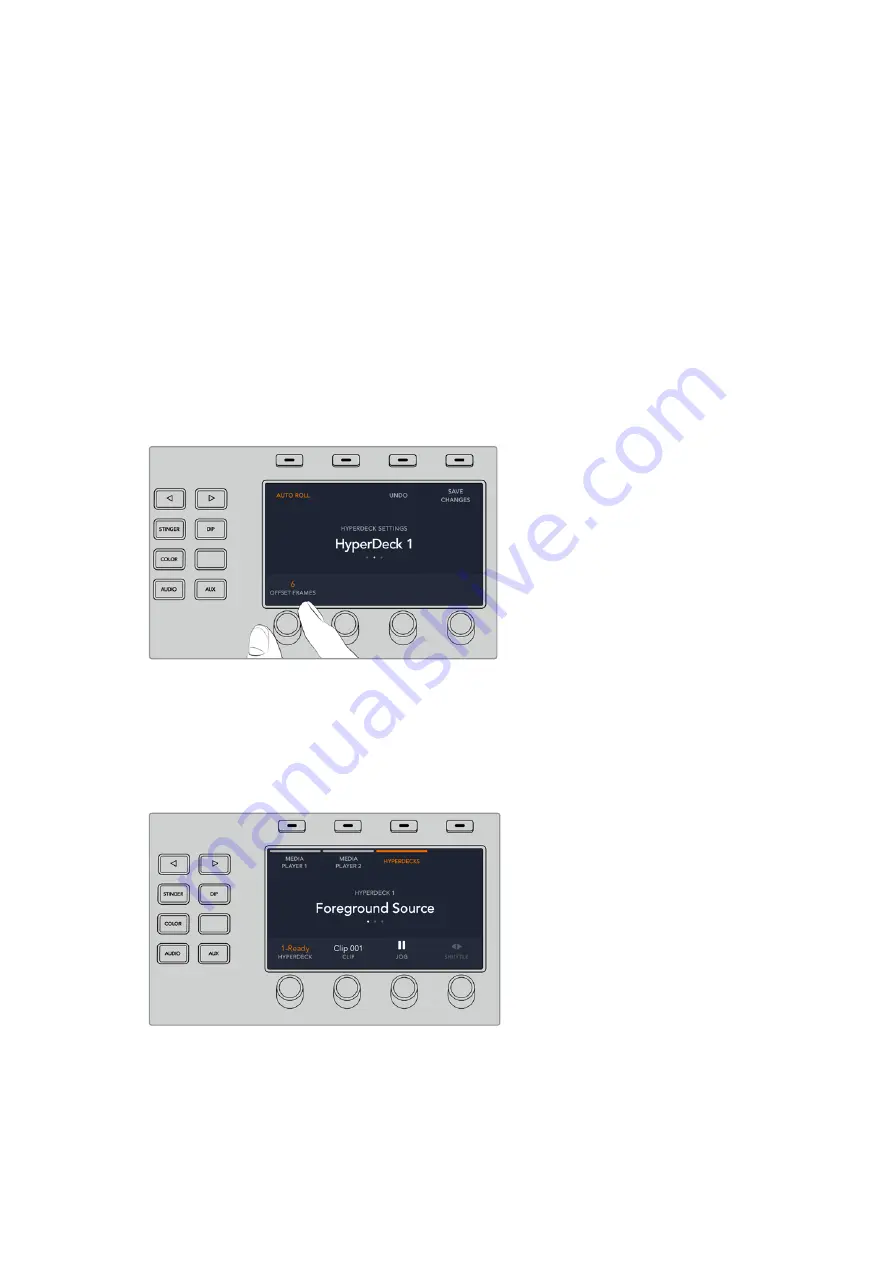
preroll on a videotape machine. You can adjust the length of this delay by changing the ‘offset’
frames number using the control knob under this indicator. Press the soft button above the
‘save changes’ indicator to confirm your change.
Controlling HyperDecks with ATEM Advanced Panels
HyperDeck controls are available in the ‘media players’ menu in your ATEM 1 M/E Advanced
Panel. To access this menu, press the ‘media players’ control panel button and press the soft
button above the ‘HyperDecks’ indicator to access HyperDeck control. If your switcher has
more than two media players, you may need to navigate to the next menu page to access
HyperDeck controls.
You can now use the rotating knobs below the ‘hyperdeck,’ ‘clip,’ ‘jog’ and ‘shuttle’ indicators to
select HyperDecks, select clips and jog and shuttle these clips.
90
HyperDeck Control