


The lower section of the CCU is where most of the
camera control occurs during live production
Other buttons and knobs in this section of the CCU are for adjusting the sensitivity of the
joystick control, setting the coarse level, locking and unlocking the CCU and more. Details on
all the features are provided in the following section.
Controlling Cameras
This section describes all the features on each CCU and a general overview on how to
approach camera control.
The first step to controlling cameras is to assign a camera for a CCU.
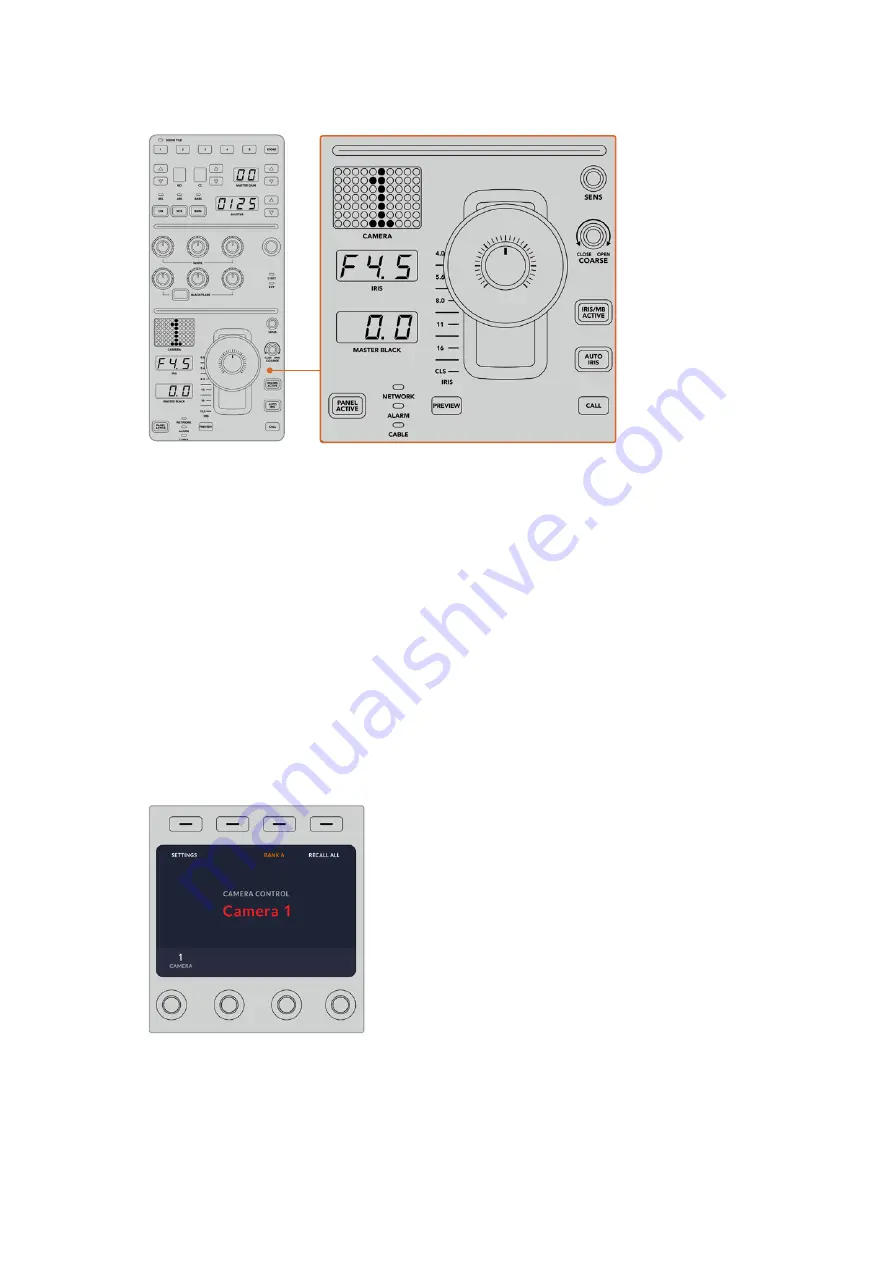
Assigning a Camera to a CCU
At the bottom of the LCD home screen for each CCU, you will see its camera number displayed
and a soft control knob underneath it. Simply turn the knob to change the camera number.
You will also see the camera name change on the LCD. The camera name will illuminate red
when on air.
The camera name and number on the LCD home screen
shows the camera currently selected for each CCU
175
Using ATEM Camera Control Panel