Getting Started
34
QL-800 User Guide
3
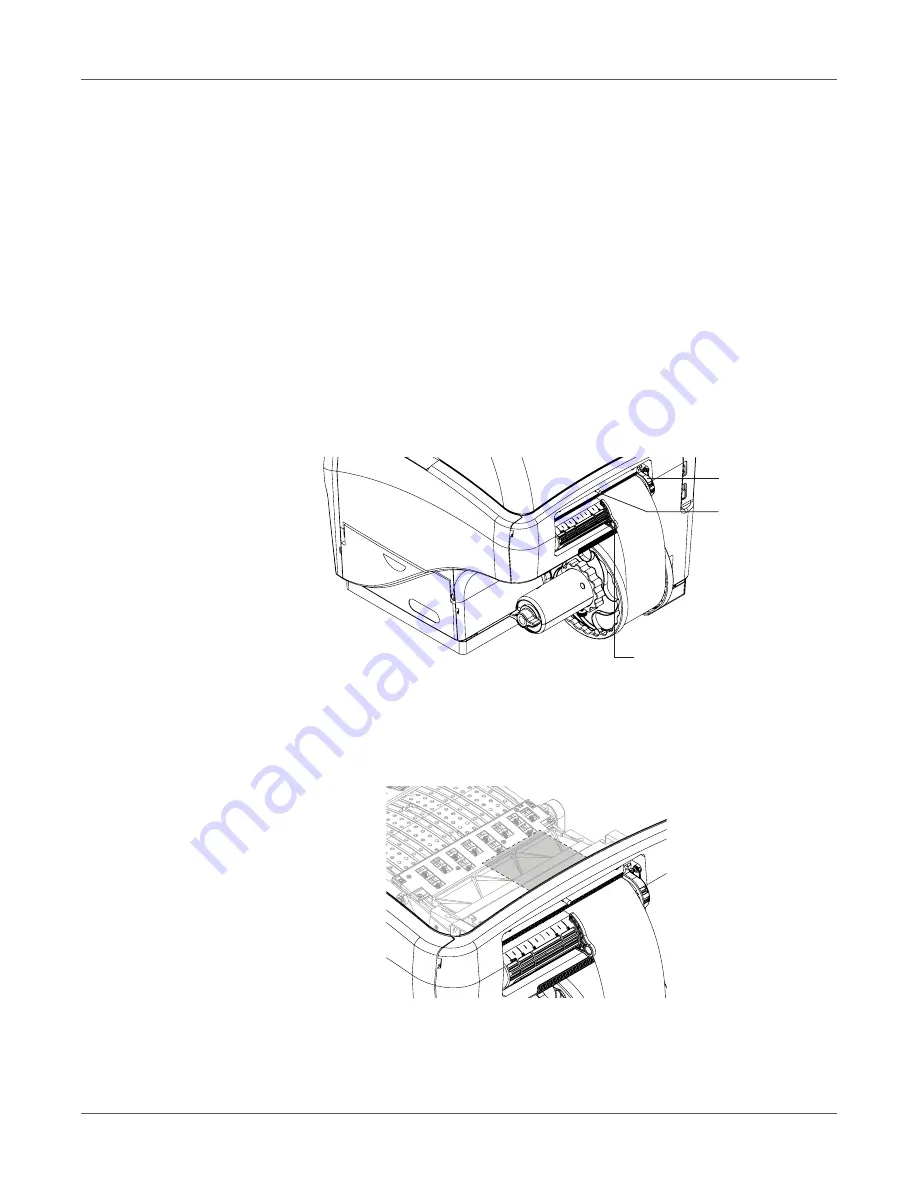
Orient the media roll [2] as illustrated and put it on the mandrel. Make sure the roll makes
contact with the inner flange [3].
4
Turn the wing nut [1] on the end of the mandrel clockwise until you feel resistance. This
secures the roll in place.
5
Put the outer flange [4] on the mandrel. Make sure the outer flange makes contact with the
roll [2].
6
Tighten the fastener on the outer flange [4] until you feel resistance. This secures the outer
flange in place.
7
On the front of the printer, slide the media exit guide [5] all the way to the right toward the
control panel. You can adjust this guide before printing.
8
Open the top cover. This step deactivates the automatic media loading feature.
9
Place the media near the entry slot and slide the adjustable media guide [6] to the width of
the media. The edges of the media should lightly contact the edges of the fixed media guide
[7] and the adjustable media guide [6].
10
Lift the roller handle [8] to open the input pinch rollers.
11
Slowly guide the media into the printer as illustrated. Advance the media until it stops. The
media will be positioned under the first star wheel on the transport unit. Make sure there is
no excessive slack in the media during this process.
12
Release the roller handle [8] to close the input pinch rollers.
[6]
[7]
[8]
Summary of Contents for QuickLabel QL800
Page 1: ...QL 800 User Guide ...
Page 2: ......
Page 38: ...Getting Started 38 QL 800 User Guide ...
Page 84: ...QL 800 Maintenance Utility 84 QL 800 User Guide ...
Page 96: ...Printer Maintenance 96 QL 800 User Guide ...
Page 128: ...Error Messages 128 QL 800 User Guide ...
Page 150: ...Rewinder 150 QL 800 User Guide ...
Page 158: ...Shipping Precautions 158 QL 800 User Guide ...
Page 168: ...Specifications 168 QL 800 User Guide ...
Page 172: ...Index 172 QL 800 User Guide ...


