21
E
ngl
is
h
4. Loosen the right
wheel nut (15 mm).
Important:
• The left pedal is unscrewed in a clockwise direction, whilst
the right pedal is unscrewed in an anti-clockwise direction.
• Wear protective gloves.
Check for any looseness in the pedals
1. Take firm hold of the pedal and jerk it in all directions.
See if it feels loose.
2. If there is any looseness, first check that the pedal is
tightly screwed into the crank arm.
3. If it still feels loose, the looseness will be in the pedal
spindle, so you should replace the pedal.
Gears
Adjusting the gears
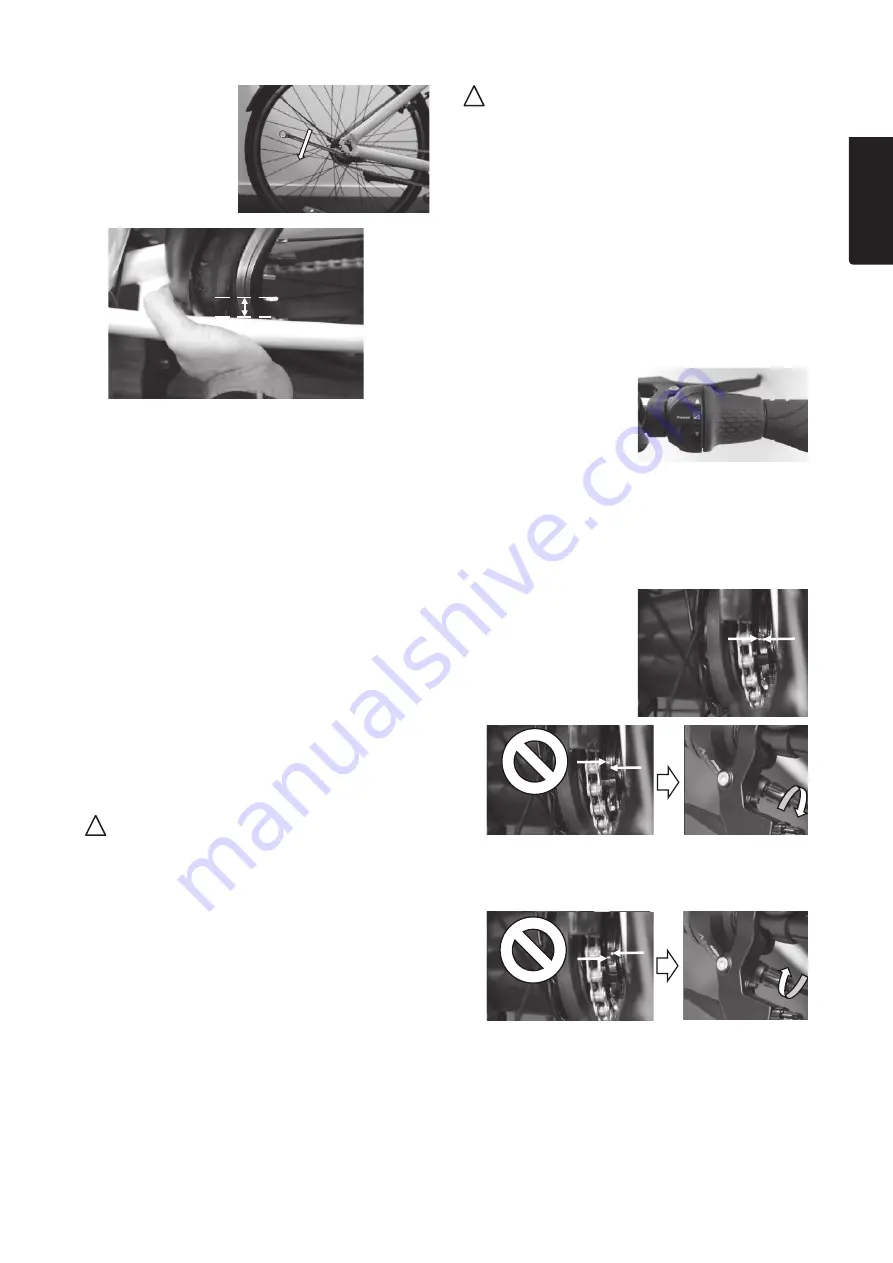
5. Press the front part of the wheel sideways against:
-
the right-hand chainstay to increase the chain tension
-
the left-hand chainstay to decrease the chain tension.
Feel the tension of the chain while you are pressing
the wheel.
6. Hold the wheel in place when the chain tension looks
right, and tighten the right wheel nut.
7. Loosen the left wheel nut (15 mm).
8. Press the front part of the wheel sideways in
the direction needed to ensure that the distance
between the side of the rim/tyre and the chainstay is
equal on both sides of the wheel.
9. Tighten the left wheel nut.
10. Check the chain tension in accordance with step 3.
11. If required, repeat steps 2–10 until the chain has
the correct vertical alignment and the wheel sits
centred between the chainstays.
12. Tighten both wheel nuts securely.
13. Tighten the screw and nut on the brake stay.
Pedals
Attaching the pedals
Important:
• The left pedal is marked
L
on the end of the pedal
spindle. It has a left-hand thread, which means that it is
tightened by screwing it in an anti-clockwise direction.
This can only be used on the left-hand crank arm.
• The right pedal is marked
R
on the end of the pedal
spindle. It has a right-hand thread, which means that
it is tightened by screwing it in a clockwise direction.
This can only be used on the right-hand crank arm.
1. Apply a thin layer of bicycle grease to the pedal spindle
threads.
2. Screw the pedal to the crank arm by hand.
3. Tighten the pedal using a pedal (or open-ended)
spanner (15 mm).
Removing the pedals
Unscrew the pedal from the crank arm using a pedal
(or open-ended) spanner (15 mm).
1. Turn the gear shifter to
position 4.
2. Remove the rear chain guard (X6) (see
Drivetrain
in
the
Settings and adjustments
section).
3. Check the position of the two yellow markings on
the gear switch on the right-hand side of the rear
wheel hub. The position of the outer marking is
fixed, whilst the position of the inner marking varies
according to the tension of the gear cables.
-
If the markings are
aligned with each
other, the gears
have been
correctly adjusted.
-
If the inner marking is in front of the outer marking,
you must turn the gear shifter adjustment screw
in an anti-clockwise direction until the yellow
markings are aligned.
-
If the inner marking is behind the outer marking, you must
turn the gear shifter adjustment screw in a clockwise
direction until the yellow markings are aligned.
4. Twist the gear shifter back and forth several times,
alternating between the highest and lowest gear
positions. Turn the gear shifter to position 4.
5. Check that the markings are aligned – fine-tune using
the gear shifter adjustment screw.
Summary of Contents for 31-9779
Page 2: ......


