92
•
Anti-Dither: This field allows the user to set the anti-dither time. The values in this field can range from 5 to
600 seconds. This time value controls how long the alarm signal lasts. Based on motion detection, a buzzer
can go off, a tour can begin, PTZ can be activated, a snapshot can be taken, or a channel can begin recording.
o
For example, if the anti-dither time is set to 10 seconds, each alarm may last 10 seconds if the local
alarm is activated. During the process, if the system detects another local alarm signal at the fifth
second, the buzzer, tour, PTZ activation, snapshot, record channel functions will begin another 10
seconds while the screen prompt, alarm upload, email will not be activated again. After 10 seconds,
if system detects another alarm signal, it can generate a new alarm since the anti-dither time has
expired.
•
Show Message: This checkbox allows the user to enable the system to show an on-screen message when a
motion detection alarm is triggered.
•
Alarm Upload: This checkbox allows the user to enable the system to upload alarm information when a
motion detection alarm is triggered.
•
Send Email: This checkbox allows the user to enable the system to send an email when a motion detection
alarm is triggered.
•
Record Channel: This checkbox allows the user to enable the system to record video for that channel when a
motion detection alarm is triggered.
•
PTZ Activation: This checkbox allows the user to enable the system to activate PTZ movement when a
motion detection alarm is triggered. To setup the PTZ activation settings, click the setup button next to PTZ
activation.
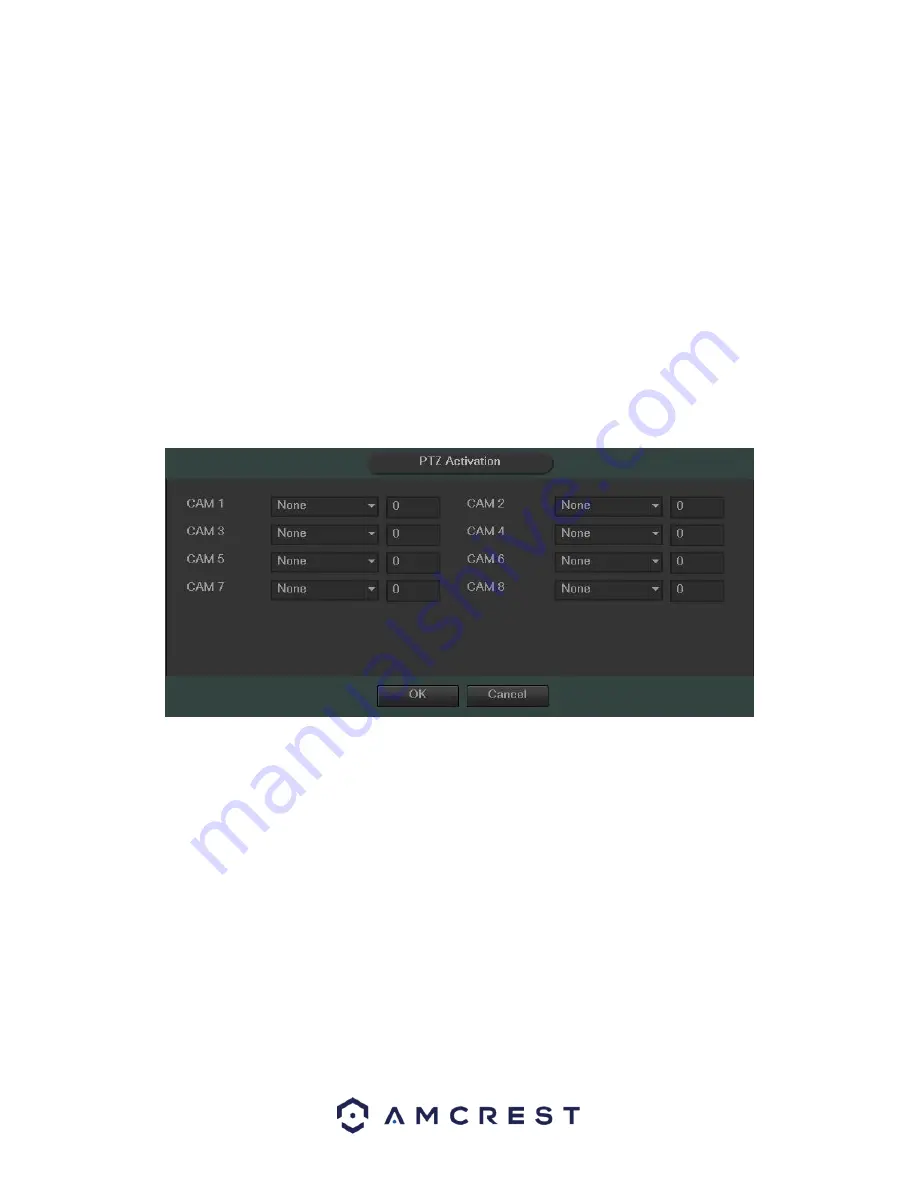
The screenshot on the next page shows the PTZ activation setup screen:
o
On this screen, each camera can be setup to perform a preset PTZ action based upon motion
detection.
o
Delay: This field specifies in seconds how long the delay between alarm activation and
PTZ activation should be.
•
Tour: This checkbox allows the user to enable the system to cause a PTZ tour to occur when a motion
detection alarm is triggered. Multiple cameras can be specified to perform a tour.
•
Snapshot: This checkbox allows the user to enable the system to take a snapshot when a motion detection
alarm is triggered. Multiple cameras can be specified to perform a tour.
•
Buzzer: This checkbox allows the user to enable the system to activate a buzzer when a motion detection
alarm is triggered.
To revert to default settings, click the Default button near the bottom left hand corner. To copy settings to
another channel, click Copy near the bottom left hand corner. To test a channel’s motion detection, click Test near
the bottom left hand corner. To confirm settings, click the OK button near the bottom right hand corner. To cancel
Summary of Contents for AMDVTENL8
Page 1: ...1 Amcrest 1080p Lite AMDVTENL8 DVR User Manual...
Page 7: ...7 This page is left blank intentionally...
Page 14: ...14...
Page 25: ...25 2 Connect a USB mouse to the front of the DVR...
Page 65: ...65...


