EN
12
Preparation of aScope 3
1. Carefully slide the bending control lever forwards and backwards in each direction until it stops. Confirm that the bending section functions smoothly
and correctly.
2. Slide the bending lever slowly to its neutral position. Confirm that the bending section returns smoothly to a neutral position.
3. Using a syringe insert 2ml of sterile water into the working channel port (if Luer Lock syringe use the enclosed introducer). Depress the plunger, ensure
there are no leaks, and that water is emitted from the distal end.
4. If it is anticipated that suction will be required during the procedure, prepare the suction equipment according to the supplier’s manual. Connect the
suctioning tube to the suction connector and press the suction button to check that suction is applied.
5. If applicable, verify that endoscopic accessory of appropriate size can be passed through the working channel without resistance. The enclosed
introducer can be used to facilitate the insertion of soft accessories such as microbiology brushes.
3.2. Operating the aScope 3
WARNING
• Excessive force should never be used when operating aScope 3.
• If any malfunction should occur during the endoscopic procedure, stop the procedure immediately, put the distal tip in its neutral and non-angled
position and slowly withdraw the aScope 3 without touching the bending lever.
• Always observe the live endoscopic image while withdrawing the aScope 3.
• If needed remove secretion or blood from the airway before and during the procedure. The suction function of any appropriate suction device can be used
for this purpose.
• The temperature of the distal end of the endoscope may reach up to 45C (113F) due to heating of the LEDs. Long, sustained contact with the mucosal
membrane may cause mucosal injury. Avoid long periods of contact between the tip of the device and the mucosal membrane.
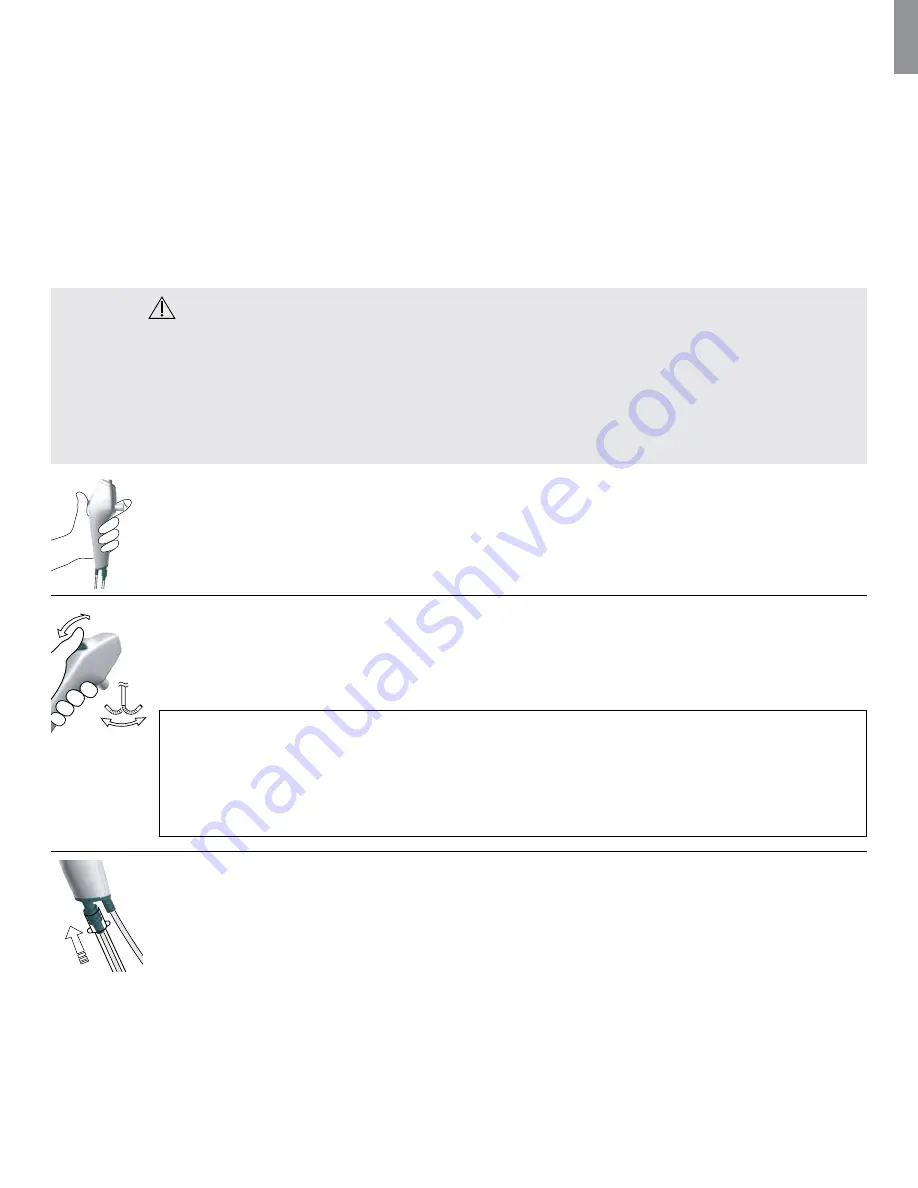
Holding the aScope 3
The handle of the aScope 3 can be held in either hand. Use the thumb to move the control lever and the index finger to operate
the suction button. The hand that is not holding the aScope 3 can be used to advance the insertion cord into the patient’s mouth
or nose.
Manipulating the tip of the aScope 3
The control lever is used to flex and extend the tip of the aScope 3 in the vertical plan. Moving the control lever downward will make
the tip bend anteriorly (flexion). Moving it upward will make the tip bend posteriorly (extension).
The insertion cord should be held as straight as possible at all times in order to secure an optimal tip bending angle.
CAUTION
Do not exert excessive force on the bending section as this may result in damage to the equipment. Examples of inappropriate
handling of the bending section include:
- Manual twisting
- Operating it inside an ETT or in any other case where resistance is felt
- Inserting it into a preshaped tube or a tracheostomy tube with the bending direction not aligned with the curve of the tube
Tube connection
The tube connection can be used to mount ETT and DLT with an ISO connector during intubation.


