EN
21
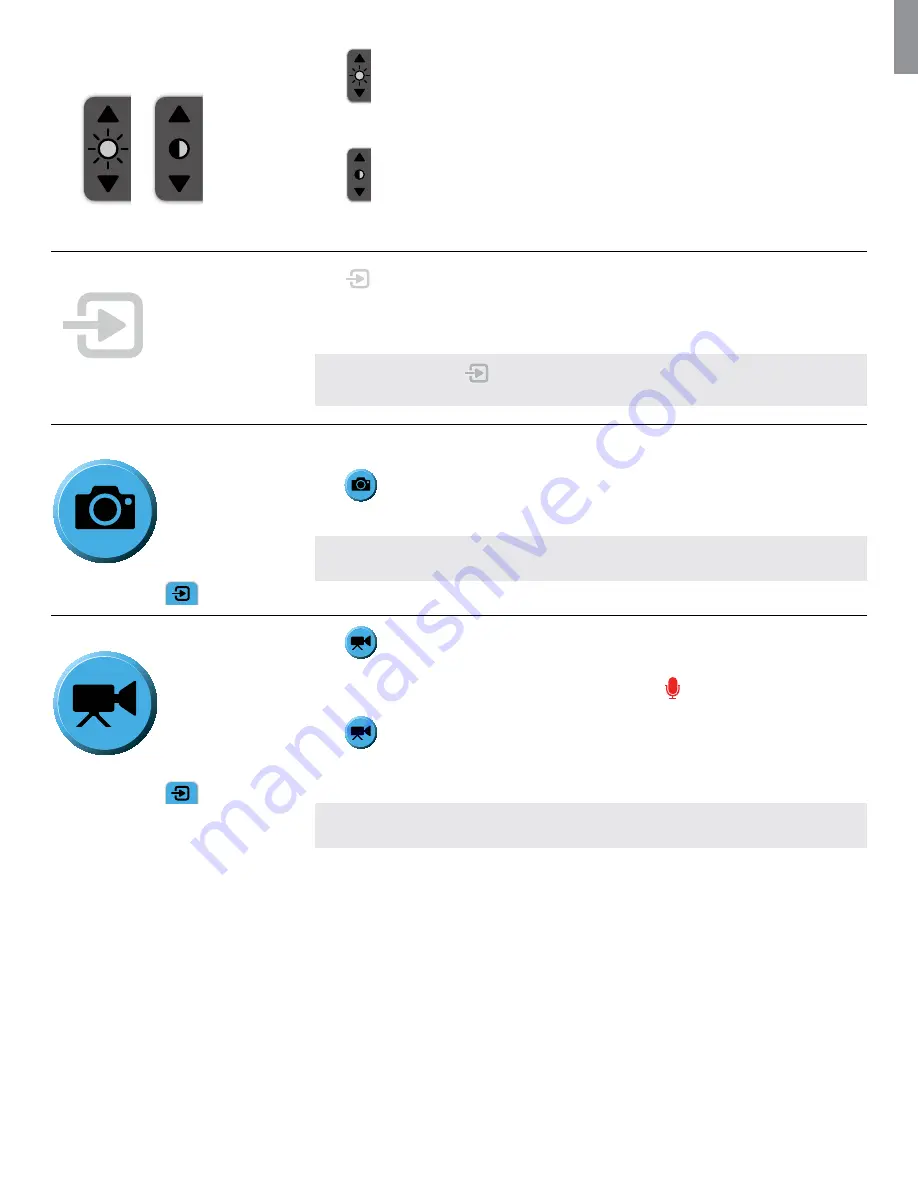
How to adjust brightness
and contrast
(Accessible from SIMPLE MODE
and ADVANCED MODE)
Press
the up arrow to increase brightness and the down arrow to decrease brightness.
- The arrow will light up red when pressed and the level attained will be shown for a few seconds
instead of the brightness icon.
Press
the up arrow to increase contrast and the down arrow to decrease contrast.
- The arrow will light up red when pressed and the level attained will be shown for a few seconds
instead of the contrast icon.
How to view Device Usage Time
(Accessible from SIMPLE MODE
and ADVANCED MODE indicator bar)
Press
to view the total time theAmbu Visualization Device connected has been turned on.
- Usage time is displayed for 2 seconds and then disappears automatically or will disappear when
the touch screen is pressed.
NOTE:
The device icon
will be in the colour of the device interface where the Ambu
Visualization Device is connected.
How to take a SNAPSHOT
(Accessible in ADVANCED MODE
– blue
Live Image
tab
)
Keep the Ambu Visualization device as still as possible when taking a snapshot to prevent blurring of
the picture.
Press
to take snapshot.
- The button turns red while the file is saved and then returns to blue.
NOTE:
The snapshot is saved automatically in the folder for the device. See section ‘Placement of
files’ for file placement.
How to record a VIDEO
(Accessible in ADVANCED MODE
– Blue
Live Image
tab
)
Press
to start recording video.
- The button turns red while recording.
- If audio recording is turned ON the microphone icon turns red
.
Press
to stop recording video.
- The button turns back to blue.
- If audio recording is turned ON the microphone icon turns back to white.
NOTE:
The video is saved automatically in the folder for the device. See section ‘Placement of files’
for file placement.
To record audio together with the video the microphone must be turned on. See section ‘How to mute
and unmute microphone’.


