EN
18
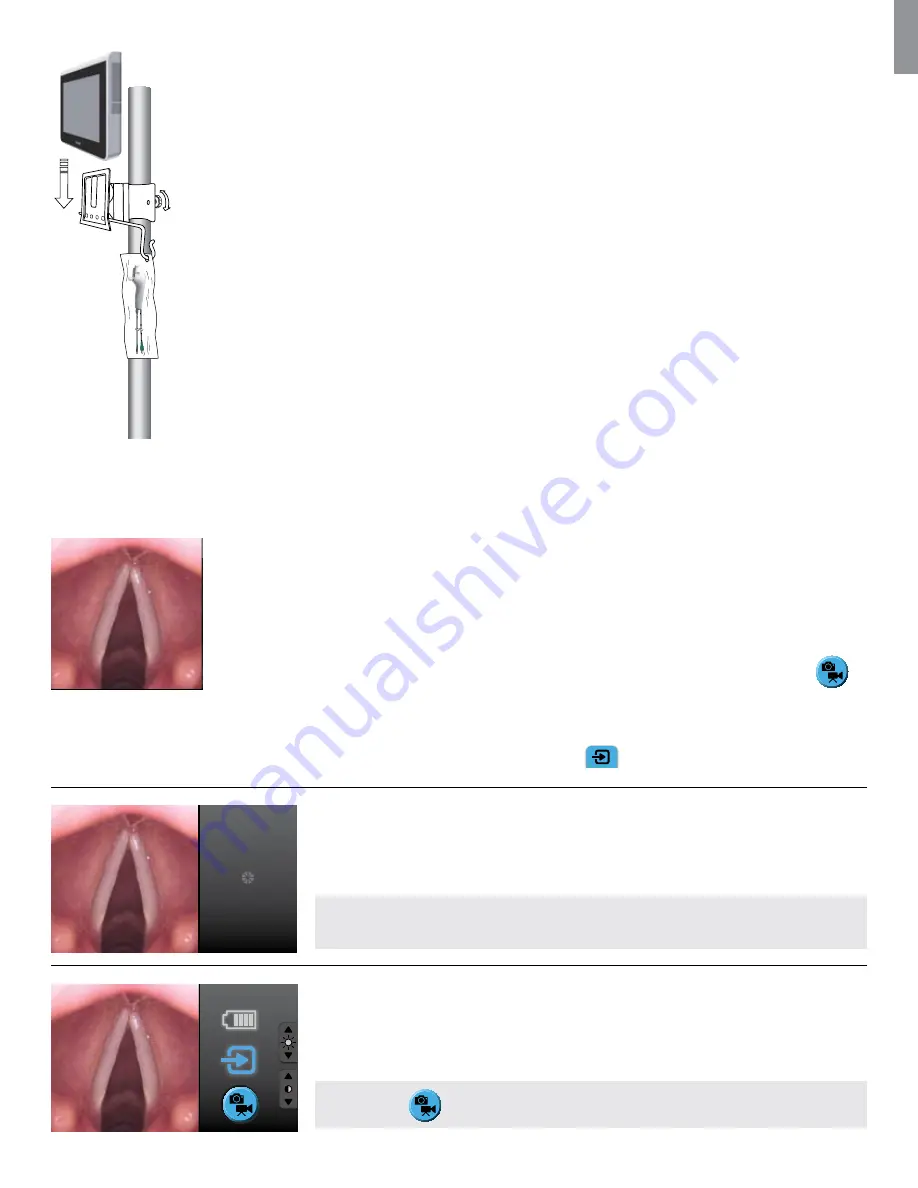
6.3. Mounting of the bracket to the aView
It is recommended to use the bracket supplied. The bracket is mounted on a pole by tightening the wing nut and
the aView can then be placed on the bracket. To adjust the position of the aView horizontally, loosen the wing nut
and the bracket can be repositioned. To adjust the position of the aView vertically, it can be moved up and down
and will stay in the position chosen. Occasionally it may be necessary to tighten the screw on the side of the bracket.
This is done with the hexagonal key supplied with the aView.
The maximum allowed weight on the bracket must not exceed the weight of one aView and one aScope 3.
7. How to Operate aView
7.1. MODES in aView
aView has 3 modes of operation:
STARTUP IMAGE MODE
- Live image available while aView is loading.
When the User Interface is loaded aView automatically initiates SIMPLE MODE.
SIMPLE MODE
- Live image available and the User Interface displays basic user functions.
Advanced functions can be initiated from SIMPLE MODE by pressing ADVANCED MODE button
.
aView loads the User Interface for ADVANCED MODE.
ADVANCED MODE
- Live image available and the User Interface displays advanced user functions.
- aView starts up in the
Blue tab
for
Live Image
- Viewing and recording live image
Startup Image Mode
STARTUP IMAGE MODE starts one second after the ON/OFF button is pressed and continues
until the User Interface is loaded.
- Live image from a plugged in Ambu Visualization Device is available.
NOTE:
The moving icon to the right of the live image indicates that the aView is loading
the User Interface.
11:55:30PM
Simple Mode
SIMPLE MODE starts automatically once the aView User Interface is loaded.
- Live image from a plugged in Ambu Visualization Devices is available. Further functions available
are battery status, brightness/contrast control and possibility of displaying device usage time for
the connected device.
NOTE:
Press
to enter ADVANCED MODE


