115
I N S T A L A C I Ó N
E S
▷
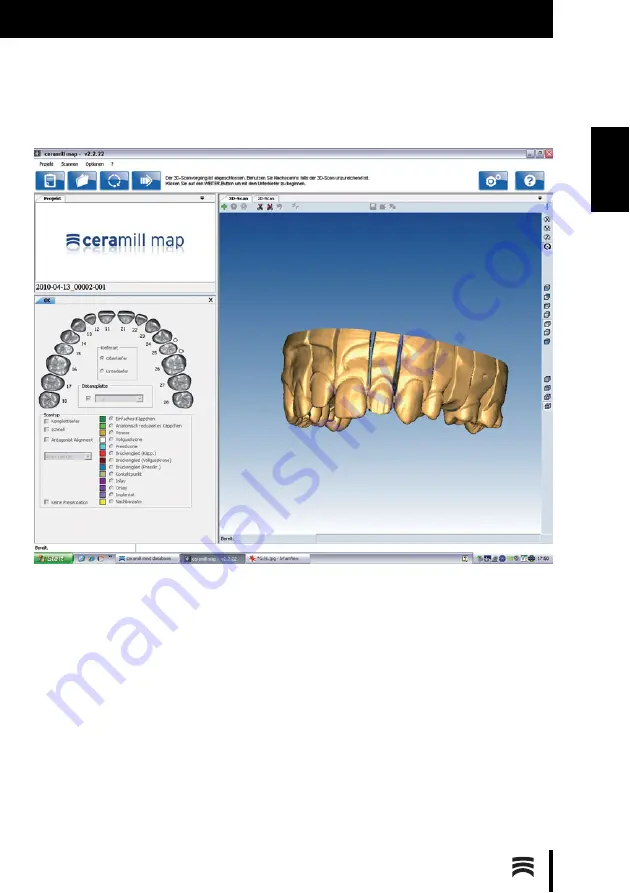
Verificar el resultado, y repetir si fuese insatisfactorio.
Fig. 10
▷
Seguir las instrucciones indicadas en el software.
▷
Retirar el maxilar superior.
▷
Ubicar el maxilar inferior en el escáner, empleando la placa de suplemento necesaria (0, 1, 2 ó 1+2)
para que éste quede dentro del campo de medición (ver capítulo 6.2).
▷
Realizar un escaneo 2D.
▷
Determinar la cantidad necesaria de placas de suplemento.
▷
Elegir bajo el punto Tipo de escaneo
Arcada Completa.
▷
Arrancar el escaneo 3D con el botón
Continuar.
▷
Verificar el resultado, y repetir si fuese insatisfactorio.
▷
Seguir las instrucciones indicadas en el software.
▷
Retirar el maxilar inferior junto con el soporte para modelos (ver figura 3 en página 107).
▷
Posicionar ambos modelos en el Fixator.
Summary of Contents for 179140
Page 2: ......
Page 19: ...19 I N S T A L L A T IO N D E Mit der Leertaste auf den Vestibulärscan umschalten Bild 13 ...
Page 21: ...21 I N S T A L L A T IO N D E Mit dem Button Weiter die Oberkiefer Zuordnung starten Bild 15 ...
Page 23: ...23 I N S T A L L A T IO N D E Mit dem Button Weiter die Feinausrichtung starten Bild 17 ...
Page 43: ...43 I N S T A L L A T IO N E N Switch to the vestibular scan by pressing the space bar Fig 13 ...
Page 45: ...45 I N S T A L L A T IO N E N Start the upper jaw scan by clicking on theNext button Fig 15 ...
Page 47: ...47 I N S T A L L A T IO N E N Start the fine alignment by clicking on theNext button Fig 17 ...
Page 123: ...123 I N S T A L A C IÓ N E S Arrancar el posicionamiento fino con el botón Continuar Fig 17 ...
Page 129: ...129 ...
Page 130: ...130 ...
Page 131: ......


