Chapter 7: LACP Port Trunks
116
Configuration
Example
The following procedure provides an example for an LACP group
configuration:
1. Use the procedure given in “Create a Port Trunk” on page 103:
Configure Trunk ID 1 as Active with ports 1 - 9.
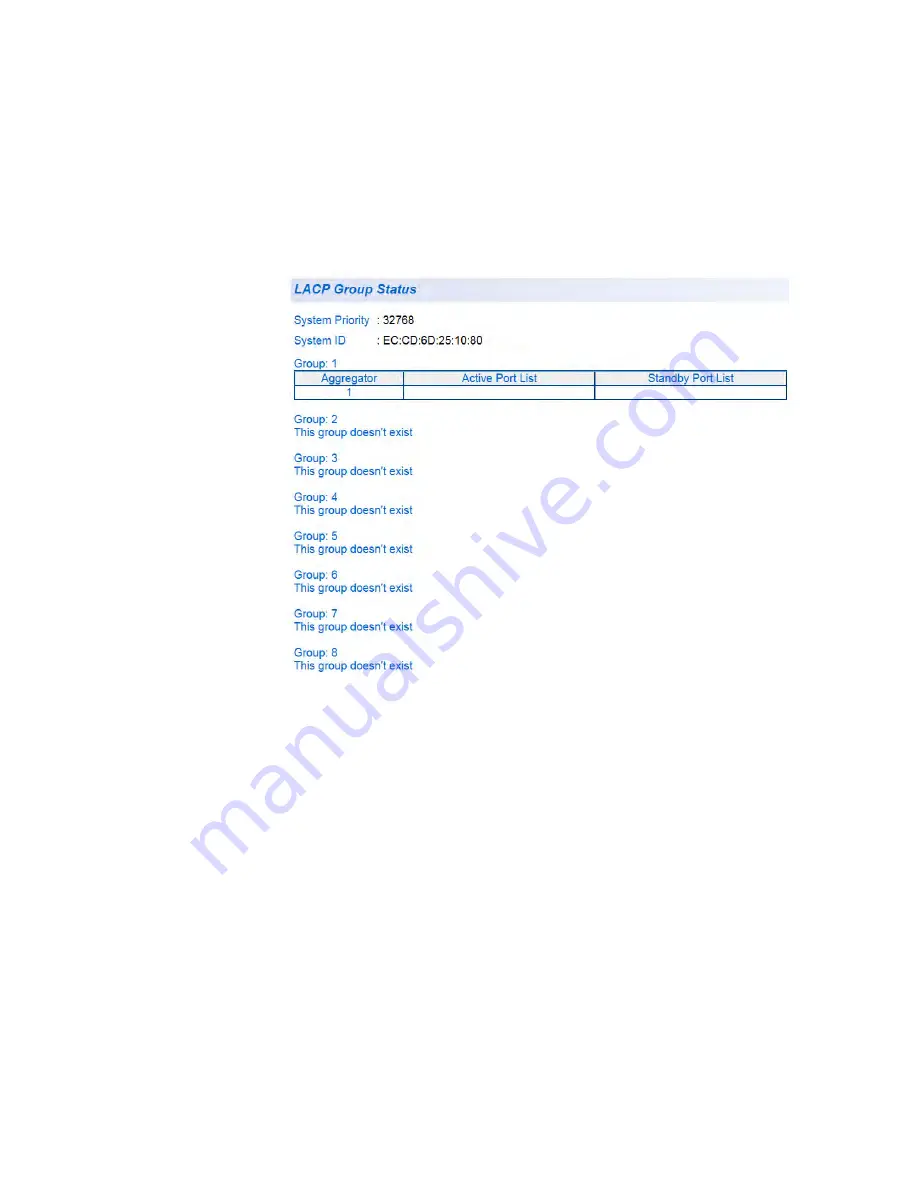
The LACP Group Status Page is updated. This configuration is shown
in Figure 38 before the Ethernet cables are connected.
Figure 38. LACP Group Status Page with No Cables Connected
2. Physically connect the network cables between the switch and a
second LACP device.
The second device should be pre-configured with an LACP activated
trunk of nine or more ports.
The LACP Group Status Page is updated. An example of these
updates is shown in Figure 39 on page 117 after nine trunking cables
are installed and the ports have Link-Up status.
Summary of Contents for AT-GS950/48
Page 10: ...Contents 10...
Page 14: ...Figures 14...
Page 16: ...List of Tables 16...
Page 20: ...Preface 20...
Page 22: ...22...
Page 62: ...Chapter 2 System Configuration 62...
Page 64: ...64...
Page 108: ...Chapter 6 Static Port Trunking 108...
Page 124: ...Chapter 8 Port Mirroring 124...
Page 186: ...Chapter 13 Virtual LANs 186...
Page 194: ...Chapter 14 GVRP 194...
Page 210: ...210...
Page 224: ...Chapter 16 SNMPv1 and v2c 224...
Page 242: ...Chapter 17 SNMPv3 242...
Page 258: ...Chapter 18 Access Control Configuration 258...
Page 272: ...Chapter 19 RMON 272...
Page 302: ...Chapter 21 Security 302...
Page 324: ...Chapter 23 LLDP 324...
Page 338: ...338...
Page 356: ...Chapter 27 LED ECO Mode 356...
Page 360: ...Chapter 28 Energy Efficient Ethernet 360...
Page 370: ...Chapter 29 Rebooting the AT GS950 48 370...
Page 392: ...Appendix A MSTP Overview 392...


