


61
ADOBE PHOTOSHOP CS2
User Guide
See also
“To create slices from guides” on page 573
To show or hide a grid, guides, or smart guides
❖
Do one of the following:
•
(Photoshop) Choose View > Show > Grid.
•
Choose View > Show > Guides.
•
View > Show > Smart Guides.
•
Choose View > Extras. In Photoshop, this command also shows or hides layer edges, selection edges, target paths,
slices, and annotations, and, in ImageReady, selection edges, slices, auto slices, image maps, text bounds, and text
selections.
To place a guide
1
If the rulers are not visible, choose View > Rulers.
Note:
For the most accurate readings, view the image at 100% magnification or use the Info palette.
2
Do one of the following to create a guide:
•
(Photoshop) Choose View > New Guide. In the dialog box, select Horizontal or Vertical orientation, enter a
position, and click OK.
•
(ImageReady) Choose View > Create Guides. In the dialog box, specify guide options and click OK.
•
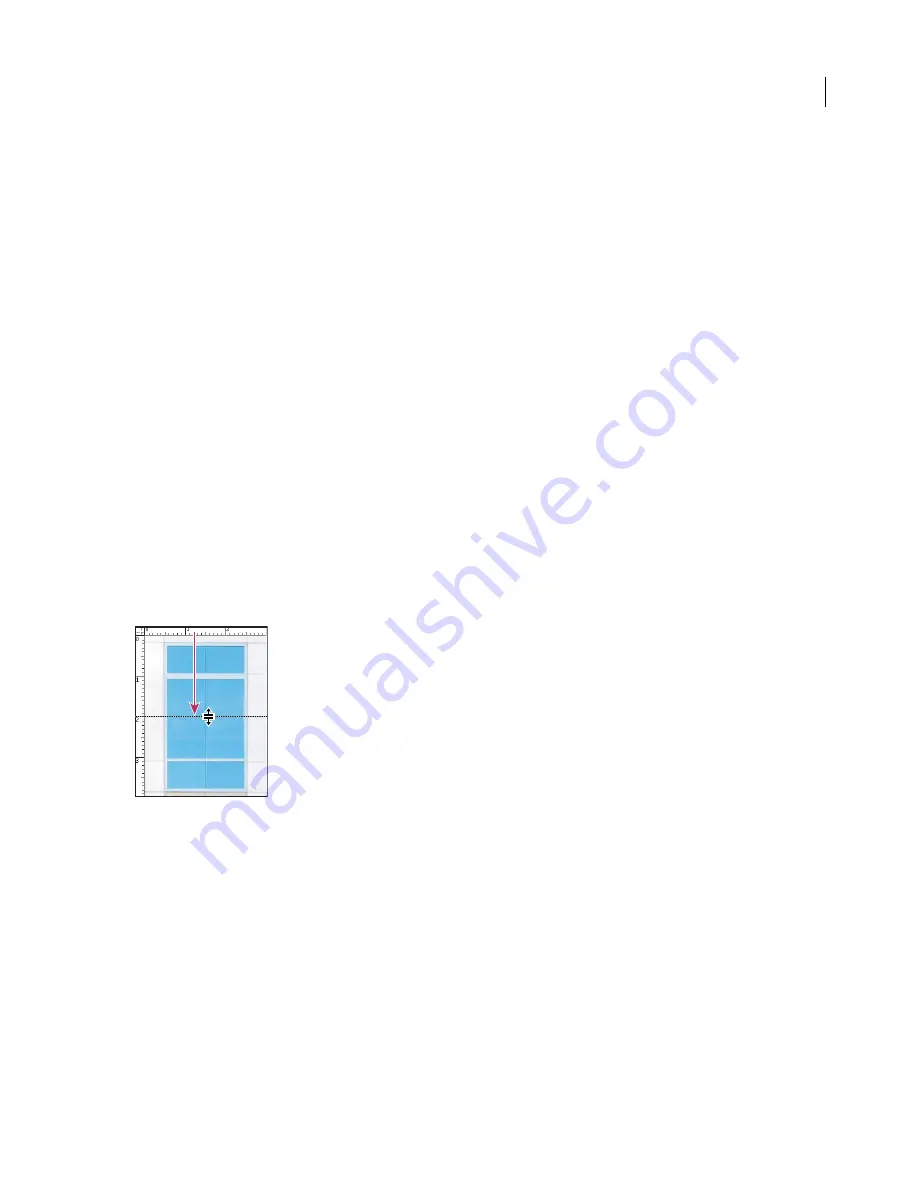
Drag from the horizontal ruler to create a horizontal guide.
Dragging to create a horizontal guide
•
Hold down Alt (Windows) or Option (Mac OS), and drag from the vertical ruler to create a horizontal guide.
•
Drag from the vertical ruler to create a vertical guide.
•
Hold down Alt (Windows) or Option (Mac OS), and drag from the horizontal ruler to create a vertical guide.
•
(Photoshop) Hold down Shift and drag from the horizontal or vertical ruler to create a guide that snaps to the ruler
ticks. The pointer changes to a double-headed arrow when you drag a guide.
3
(Optional) If you want to lock all guides, choose View > Lock Guides.


