


325
ADOBE PHOTOSHOP CS2
User Guide
To expand or contract a selection by a specific number of pixels
1
Use a selection tool to make a selection.
2
Choose Select > Modify > Expand or Contract.
3
For Expand By or Contract By, enter a pixel value between 1 and 100, and click OK.
The border is increased or decreased by the specified number of pixels. Any portion of the selection border running
along the canvas’s edge is unaffected.
To frame an existing selection with a new selection
1
Use a selection tool to make a selection.
2
Choose Select > Modify > Border.
3
Enter a value between 1 and 200 pixels for the border width of the new selection, and click OK.
The new selection frames the original selected area.
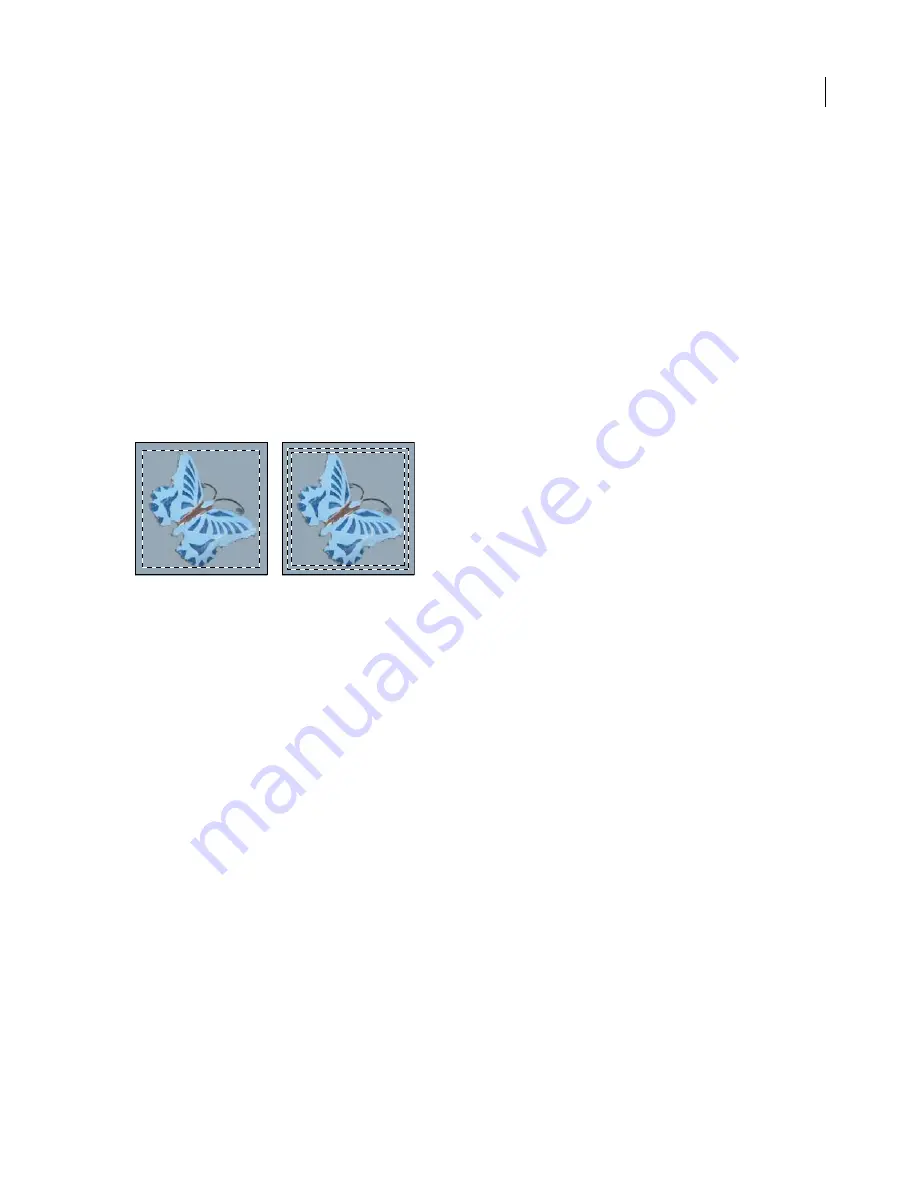
Original selection (left), and after Border command: 5 pixels (right)
The Border command creates an anti-aliased selection. To paint a hard-edged border around a selection, use the
Stroke command.
See also
“To fill a selection or a layer with a foreground or background color” on page 498
To expand a selection to include areas with similar color
Do one of the following:
•
(Photoshop) Choose Select > Grow to include all adjacent pixels falling within the tolerance range specified in the
magic wand options.
•
Choose Select > Similar to include pixels throughout the image, not just adjacent ones, falling within the tolerance
range.
To increase the selection in increments, choose either command more than once.
Note:
You cannot use the Grow and Similar commands on Bitmap mode images or 32-bits-per-channel images.
To clean up stray pixels in a color-based selection
1
Choose Select > Modify > Smooth.
2
For Sample Radius, enter a pixel value between 1 and 100, and click OK.


